Small Container Herb Garden: A Beginner’s Guide to the First Three Pots
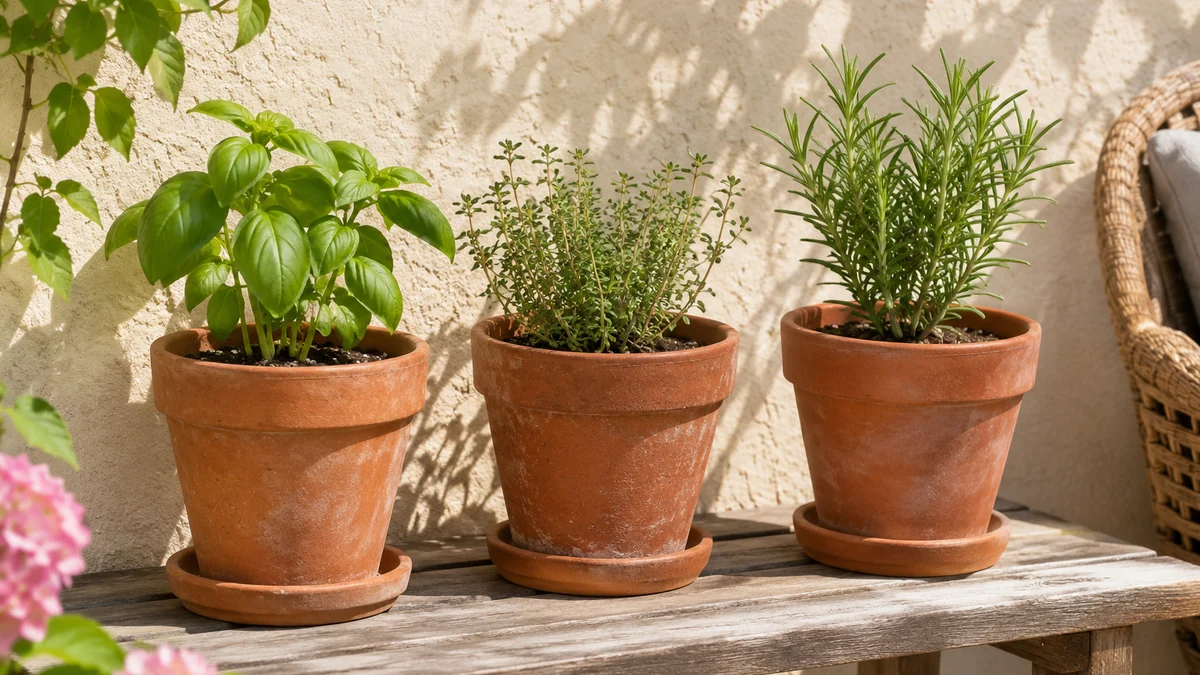
A small container herb garden is easiest to learn when you can see and care for each plant separately. Three pots are a useful first project: enough variety to make the garden interesting, but few enough to notice when one plant dries faster or grows toward the light. Start with herbs you actually cook with and a location you will visit often.
The goal is a workable routine rather than an instant display of mature plants. Young herbs need room to grow, suitable containers, and care matched to their species and conditions. This guide walks through eight decisions for a modest outdoor herb collection. If containers are entirely new to you, our beginner container gardening guide explains the broader setup before you choose herbs.
In this guide
- 1. Observe the place where the pots will live
- 2. Choose three herbs for your kitchen and conditions
- 3. Give each herb a container with drainage
- 4. Use a suitable commercial potting mix
- 5. Arrange the pots so every plant stays reachable
- 6. Water by observation rather than a fixed calendar
- 7. Feed and harvest with a light, informed approach
- 8. Build a routine before expanding the collection
- Choose three herbs from the meals you actually cook
- Make the watering differences visible in your arrangement
- Harvest basil with a small, deliberate cut
- Plan the next season before the current pots decline
- Common beginner questions
- Plan the next part of your space
1. Observe the place where the pots will live
Spend a few days watching the actual growing position. Note when direct sunlight arrives, when nearby buildings cast shade, and whether a wall or paved surface becomes particularly hot. An outdoor corner that looks bright through a window may receive less direct sun than you expect. Seasonal changes can alter the pattern as well.
Use those observations when comparing plant labels and local growing advice. Many culinary herbs need a sunny position, but their precise needs and seasonal performance differ. Avoid buying three plants solely because they look attractive together. A suitable local variety in the right conditions is a better starting point than a fashionable herb struggling in the wrong place.
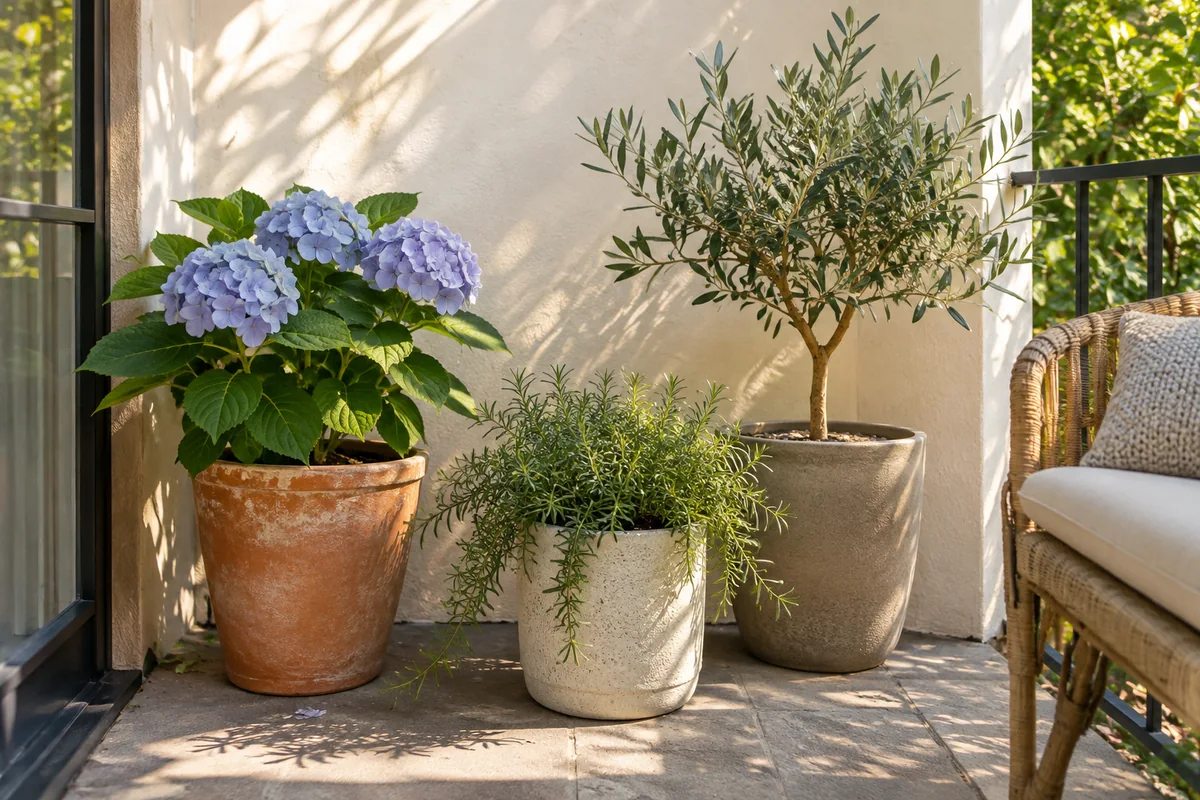
Choose a position you can reach without moving furniture. You will need to inspect the growing mix, remove damaged leaves, and harvest small amounts. On a balcony, also consider wind, access, and building restrictions. Our balcony garden planning guide helps you assess those practical limits before adding filled containers.
2. Choose three herbs for your kitchen and conditions
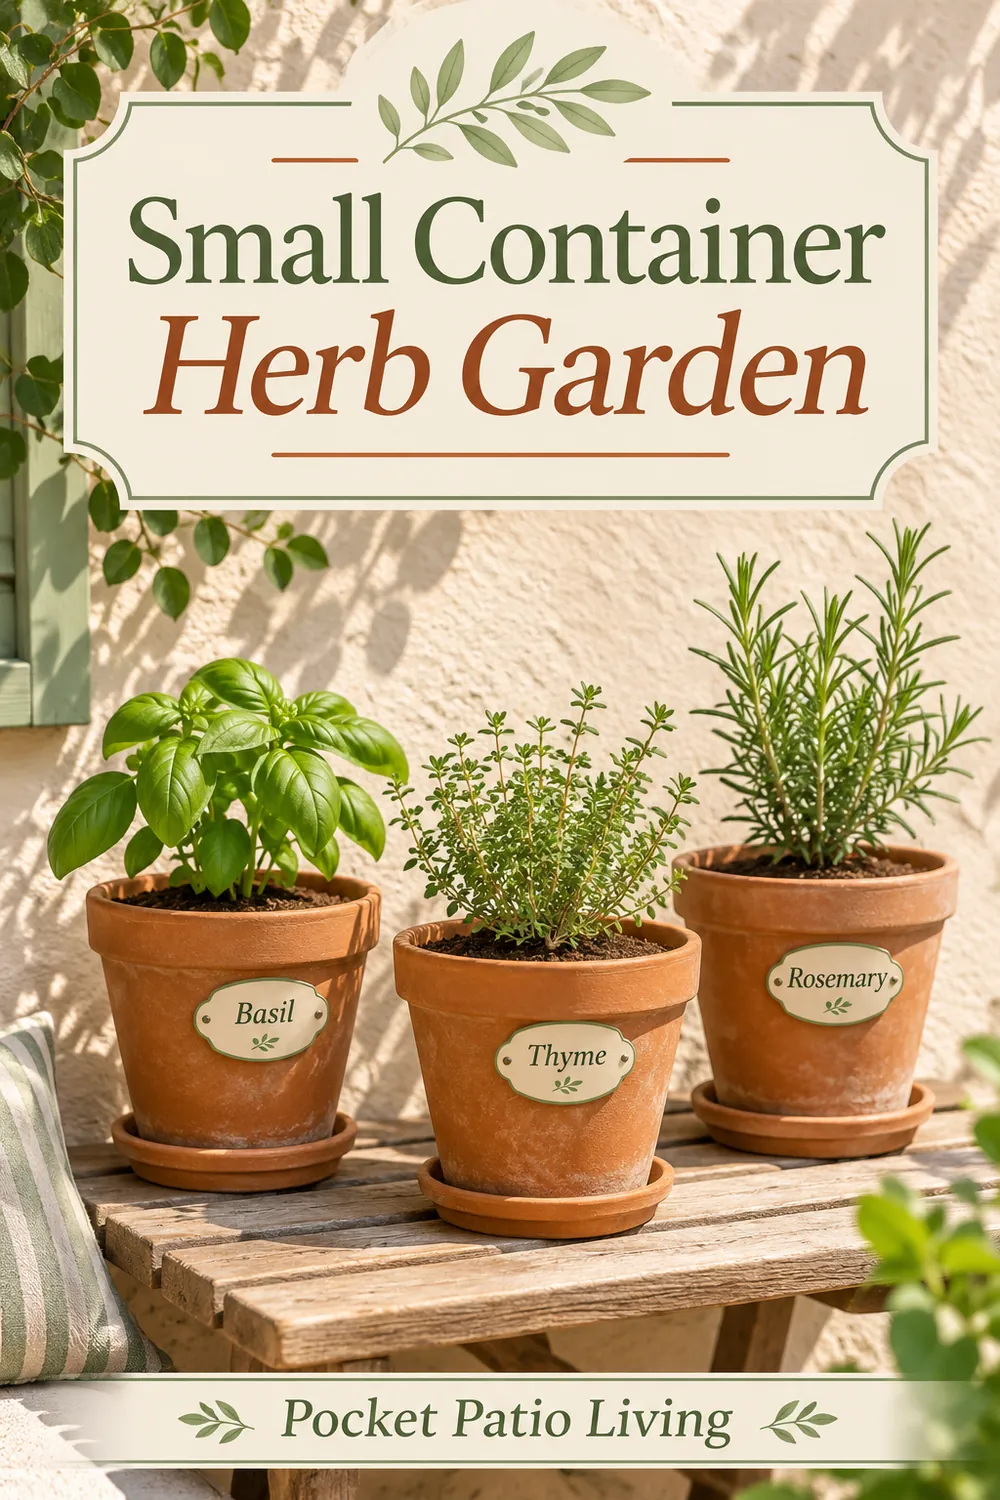
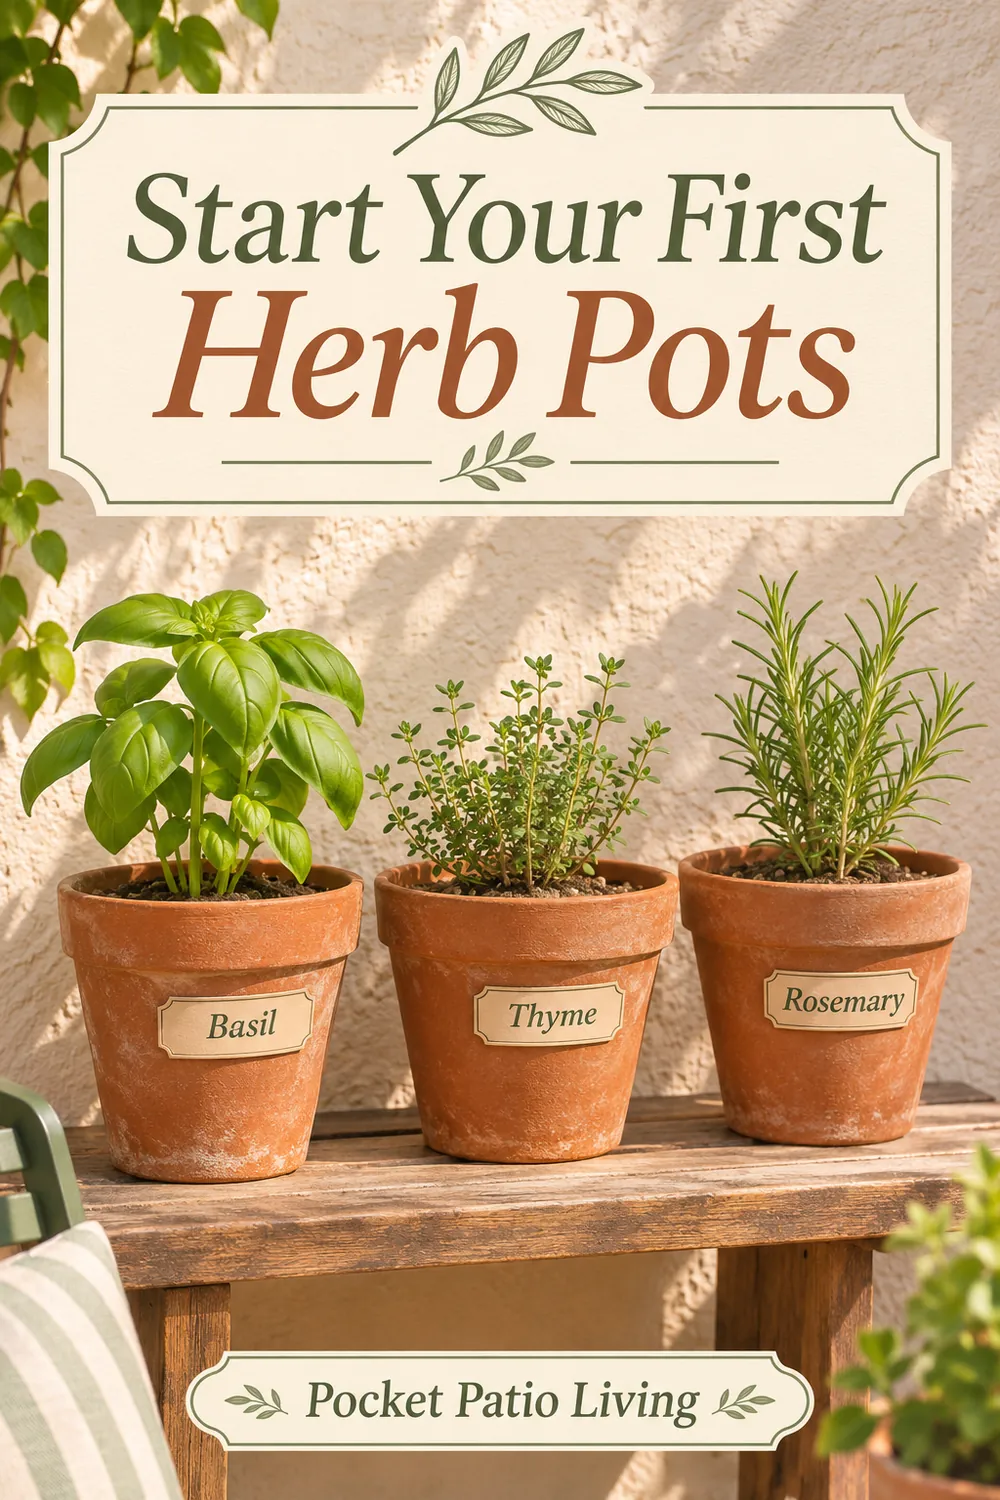
Make a short list based on meals you prepare. Basil may be useful for salads and pasta, thyme for roasted vegetables, and rosemary for cooking where its stronger flavor suits the dish. These are examples rather than a universal combination. Your climate, available light, and willingness to protect tender plants should determine the final choice.
Buy correctly identified edible culinary herbs from a reliable supplier. Check the variety name and read the label rather than identifying an unfamiliar plant from its appearance alone. Look for healthy growth and inspect leaves and stems before bringing plants home. Avoid treating an ornamental lookalike as something to harvest for food.
Keep the first selection small enough to learn. Three different herbs can reveal useful differences in growth and care, but one herb in three pots can also be a sensible choice if that is what you use most. Do not add varieties simply to fill an attractive tray. A garden that contributes to ordinary meals is more likely to receive regular attention.
3. Give each herb a container with drainage
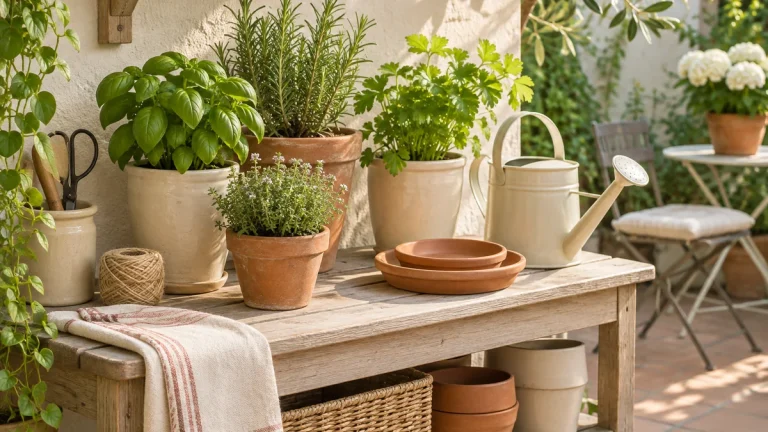
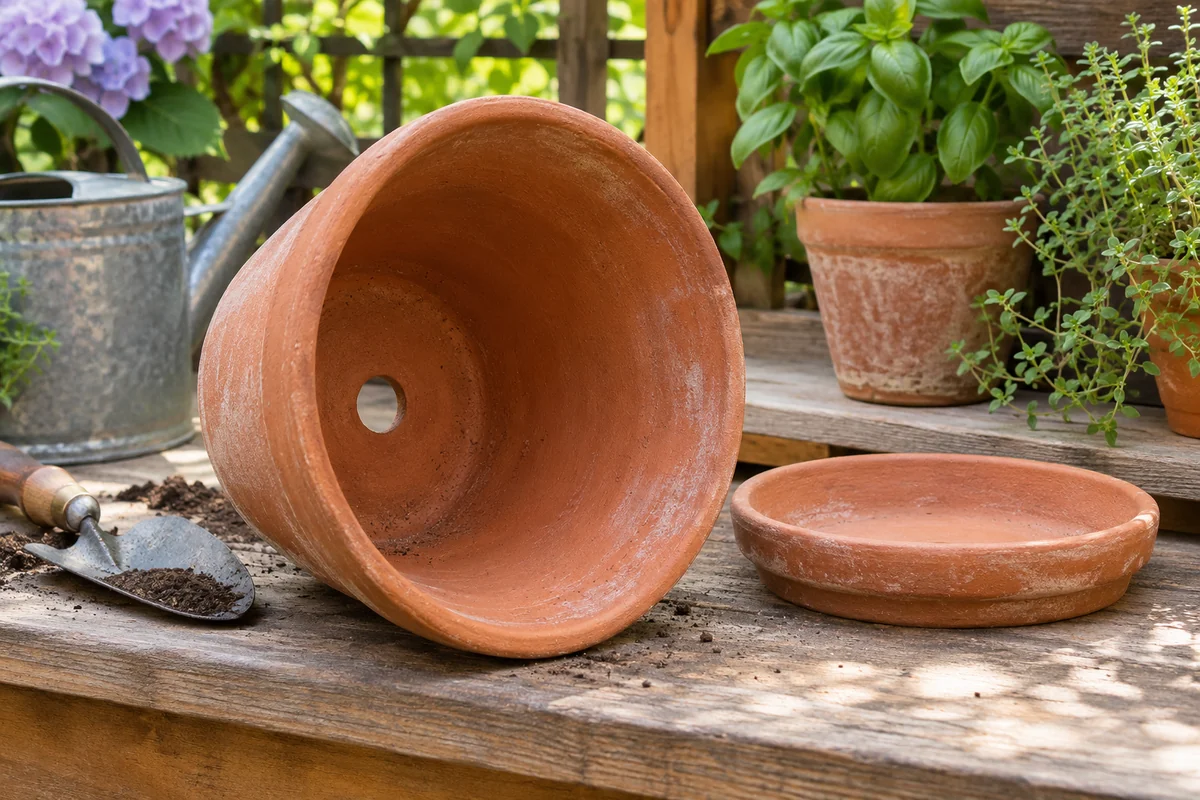
Separate pots make it easier to adjust position and watering for each plant. Choose containers according to the plant’s root space and expected growth, not only the size of the nursery pot on shopping day. Read the plant label and ask a local nursery when the likely mature size is unclear.
A decorative outer pot without drainage needs a workable arrangement with an inner planting container. Make sure you can remove collected water and inspect the base. Do not assume an attractive bowl can function as a planting pot without planning how excess water will leave it.
Think about handling the container when it is filled and wet. A heavy pot may be awkward to move for cleaning, while an unstable shape may be unsuitable for an exposed location. Protect the surface below and keep the balcony’s existing drainage routes clear. Avoid using a layer of gravel as a substitute for drainage holes. The planting container and growing mix should work together from the start, rather than relying on a decorative layer to solve a fundamental drainage problem.
4. Use a suitable commercial potting mix
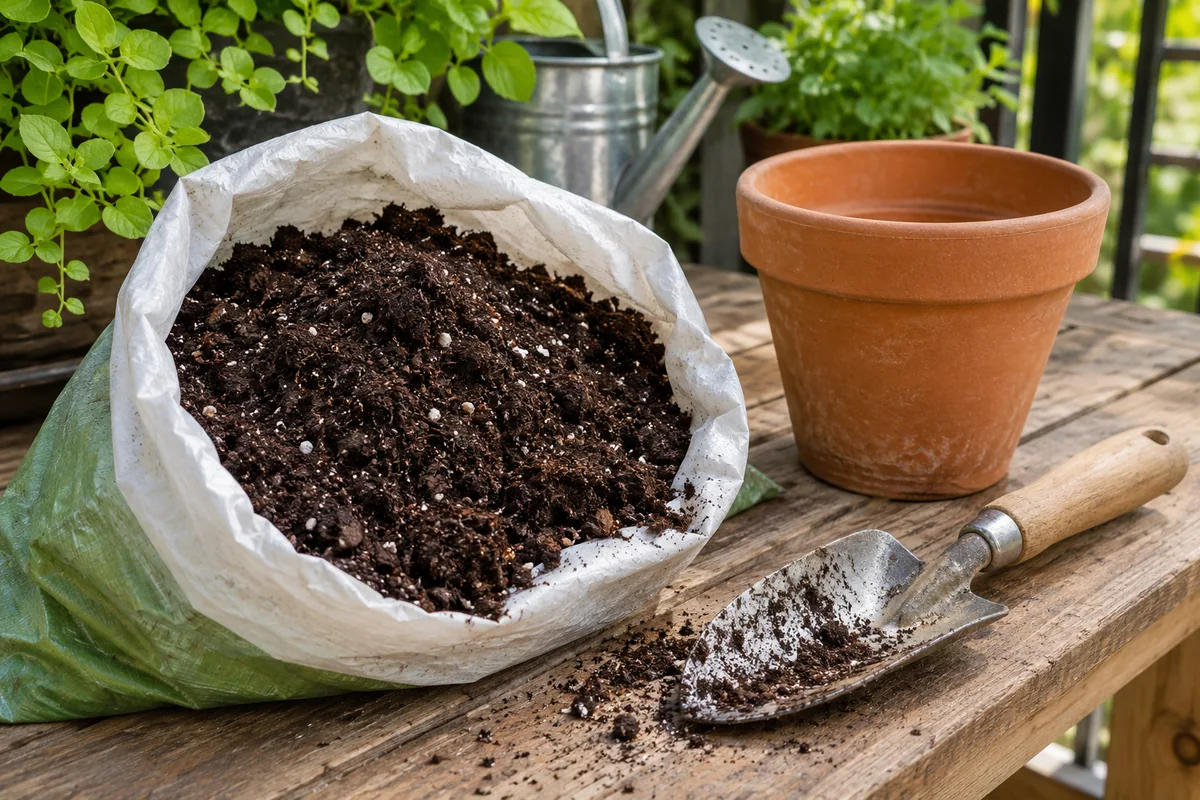
Choose a potting mix intended for containers and appropriate for the herbs you select. Read the packaging for information about drainage, intended use, and nutrients already included. Soil dug from a garden bed may behave differently in a pot, so do not assume it will provide the same growing conditions once confined in a container.
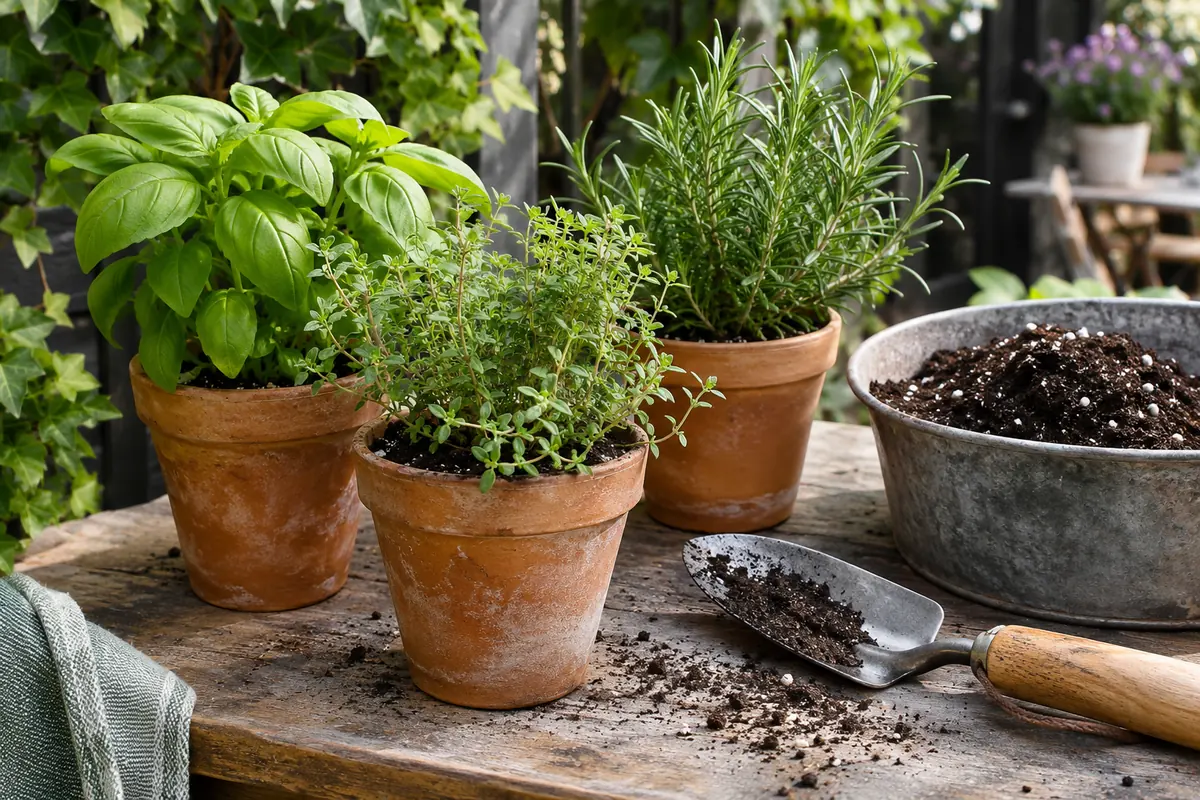
Prepare the work area before removing plants from their nursery pots. Set out the containers, mix, a small tool, and water. Work where spilled mix can be cleaned up without entering a building drain. Follow the product’s handling instructions and keep the bag closed and stored properly afterward.
When planting, follow guidance for the actual herb and maintain the appropriate planting depth. Leave practical space for watering at the top rather than filling the pot to its rim. Water and allow excess to drain according to plant needs. Avoid adding several fertilizers or amendments immediately because the plant looks small. A newly planted herb needs suitable conditions and observation, not a collection of unmeasured extras.
5. Arrange the pots so every plant stays reachable
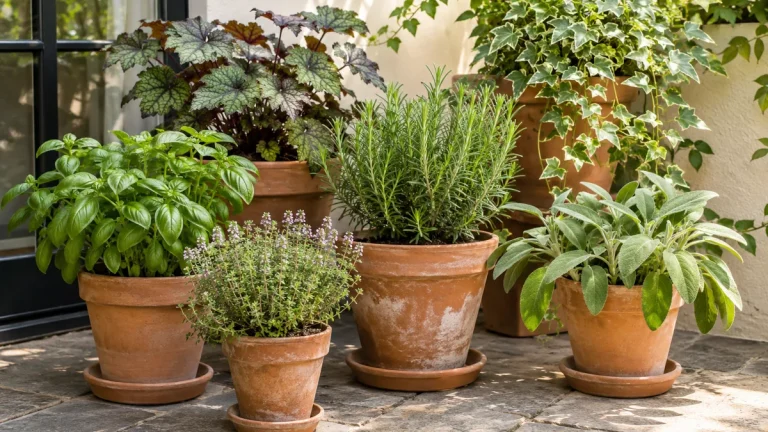
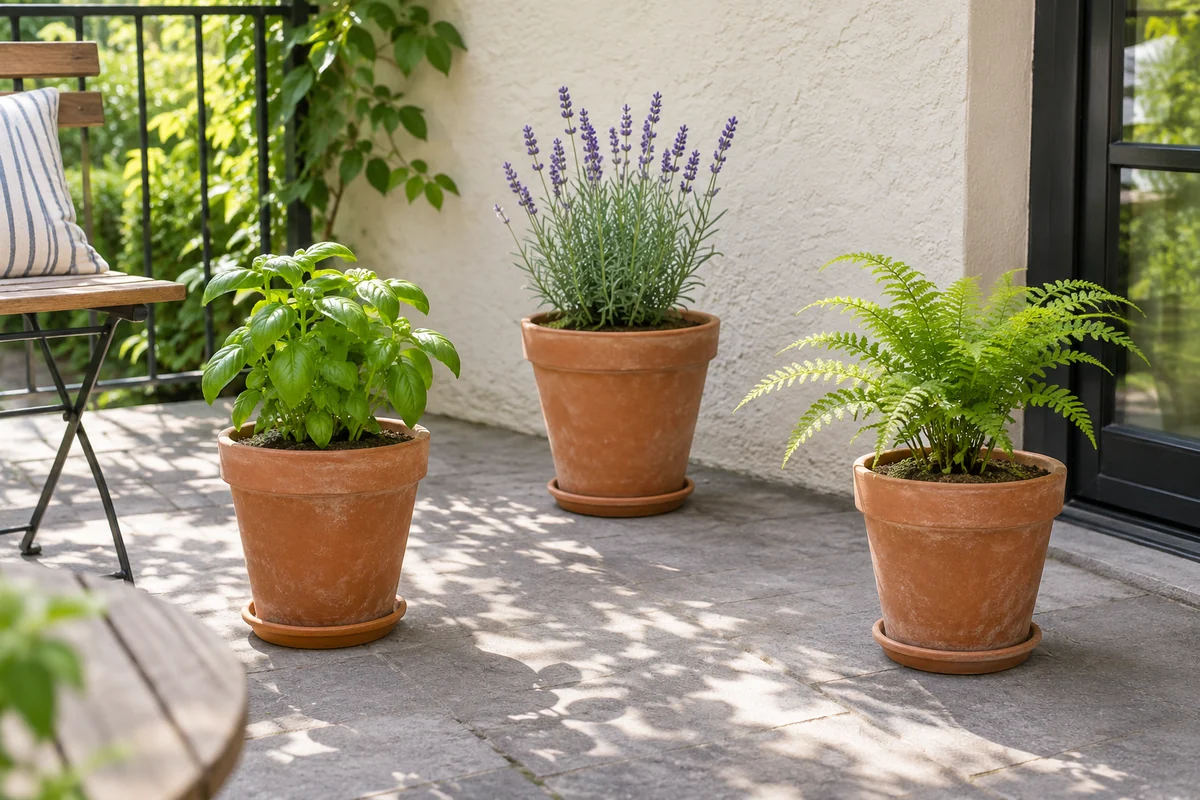
Place the containers where each herb can receive suitable light without being crowded by its neighbors. A simple row can be convenient on a broad, stable surface; a small floor-level group may work better beside seating. Choose the arrangement around the plants and the household route rather than arranging a photograph and trying to maintain it afterward.
Leave room to see the growing mix and inspect the back of each plant. Crowded foliage can make it difficult to notice damage or reach a container without bending stems. Keep a record of which plant occupies each pot, especially if labels become difficult to read after weather exposure.
Separate pots do not mean identical care. University extension guidance distinguishes the moisture preferences of herbs, so learn each plant rather than applying a single rule to the group. For small-space furniture planning around the pots, use our budget patio makeover guide. The herb collection should fit comfortably alongside the way you use the outdoor space.
6. Water by observation rather than a fixed calendar
Check the growing mix before deciding to water, and learn what is appropriate for each herb. Basil generally needs more consistent moisture than herbs such as thyme that prefer to dry more between waterings. The size and material of the pot, weather, exposure, and plant growth also affect how quickly a container dries.
Avoid judging solely from the surface color or watering because you passed the pots with a full can. Check the container and the plant together. If leaves change or growth slows, investigate the growing conditions rather than assuming more water is always the answer. Persistently wet mix and a blocked drainage arrangement need a different response from a dry pot.
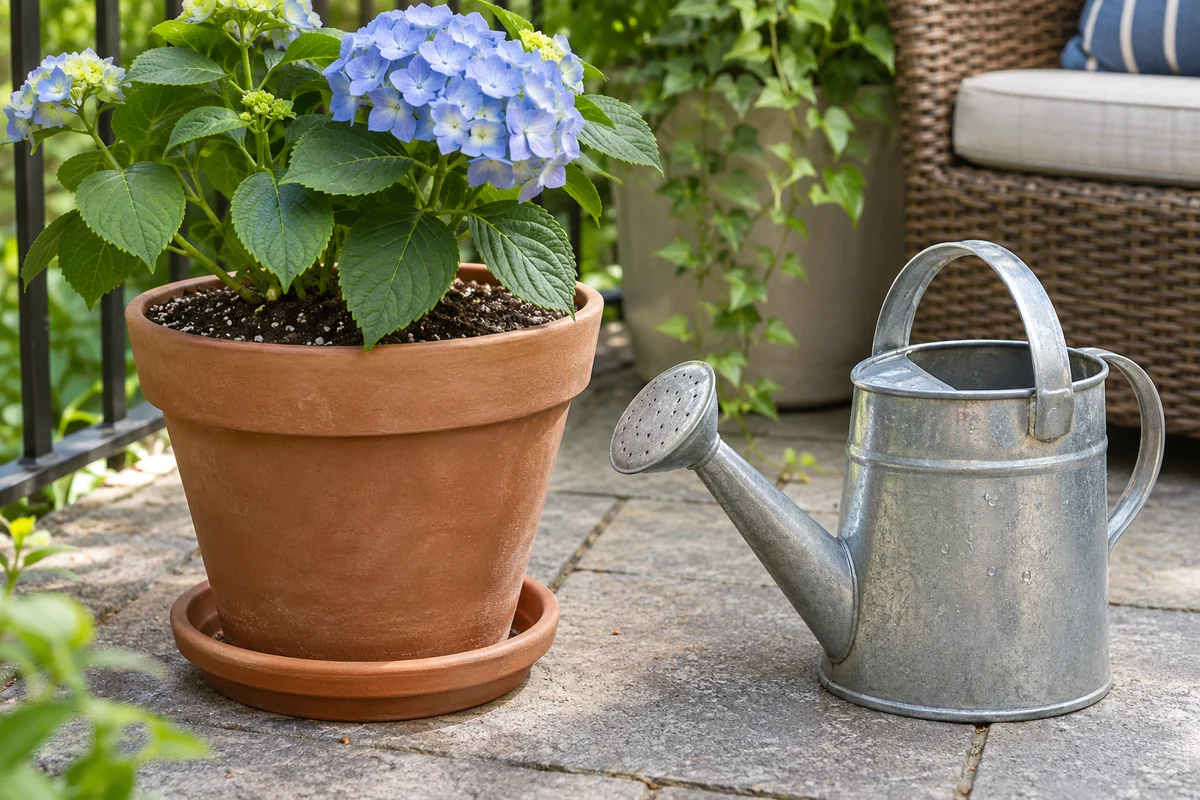
Allow excess water to leave safely and do not leave pots standing in stagnant collected water. Protect nearby surfaces and neighbors below. Keep a small, manageable watering can near the routine you already follow. During unfamiliar weather, observe more closely and adjust to the plants’ actual needs instead of extending a schedule that no longer fits.
7. Feed and harvest with a light, informed approach
Check whether the growing mix already contains fertilizer before adding more. Follow the product label for edible plants and the needs of the herb. A small garden does not need a complicated feeding system; it needs clear instructions and a record of what you have used. More fertilizer is not automatically better.
Learn the appropriate harvesting method for each species and take modest amounts while young plants establish. Use clean tools when needed and avoid removing so much growth that the plant cannot recover. Harvest from healthy, correctly identified culinary plants and wash what you bring into the kitchen.
Do not assume a spray or treatment is suitable for edible herbs because it is marketed for gardens. Read the label, including any harvest restrictions, and ask a local extension service when diagnosis is uncertain. Regular observation can help you notice a problem early, before you feel pressured to try several products at once. Keep records so you can connect changes in the plant with care decisions.
8. Build a routine before expanding the collection
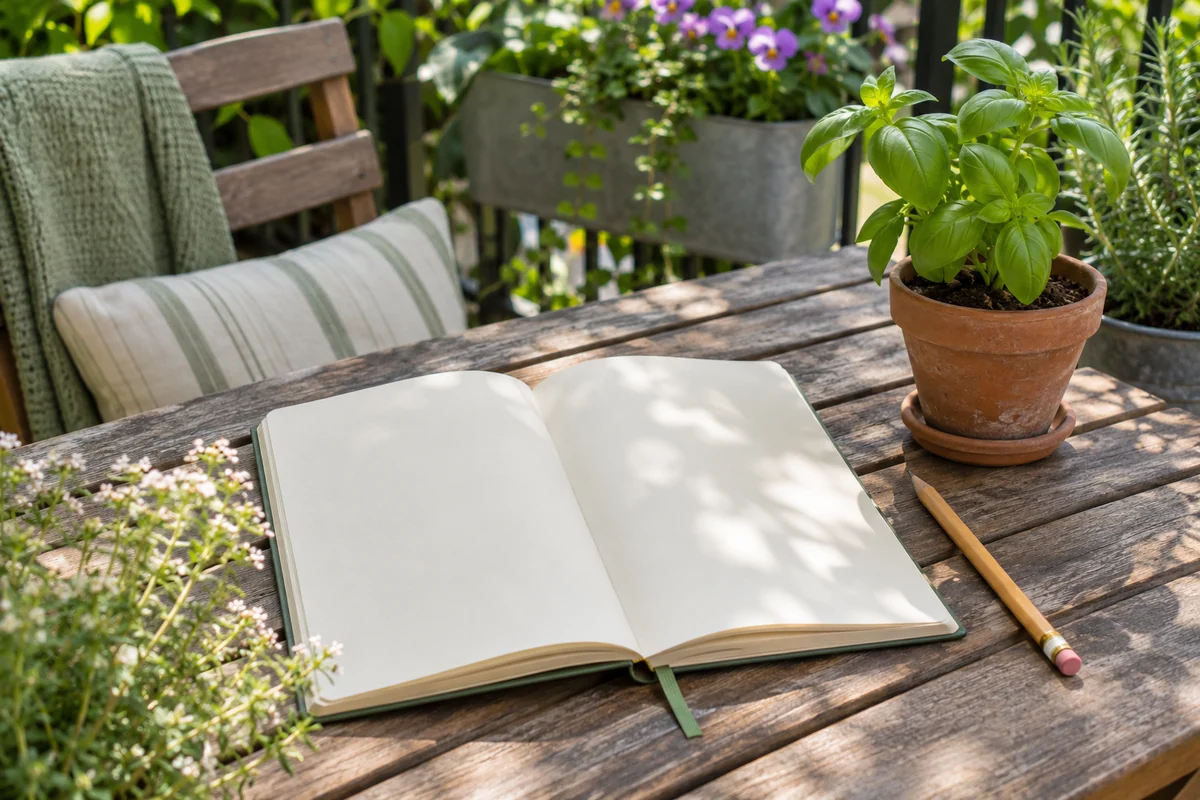
For the first few weeks, note what you observe after watering, where new growth appears, and which herb you actually use. A brief notebook entry is enough. Record the plant name, approximate planting date, location, and any care changes. This helps distinguish a recurring issue from a temporary response to weather or a move.
Plan for the season ahead using local guidance. Herbs differ in cold tolerance, and a container does not provide the same conditions as open ground. Moving a plant indoors introduces new light and care challenges; it is not a guarantee of year-round success. Check plants before bringing them into the home and prepare a suitable location first.
Expand only when the first pots fit your routine. You might add another basil plant because you harvest it often, or try a new herb with a clear culinary purpose. Keep enough space to inspect and water the original plants. A small collection that produces useful leaves is a better foundation than a crowded display you struggle to maintain.
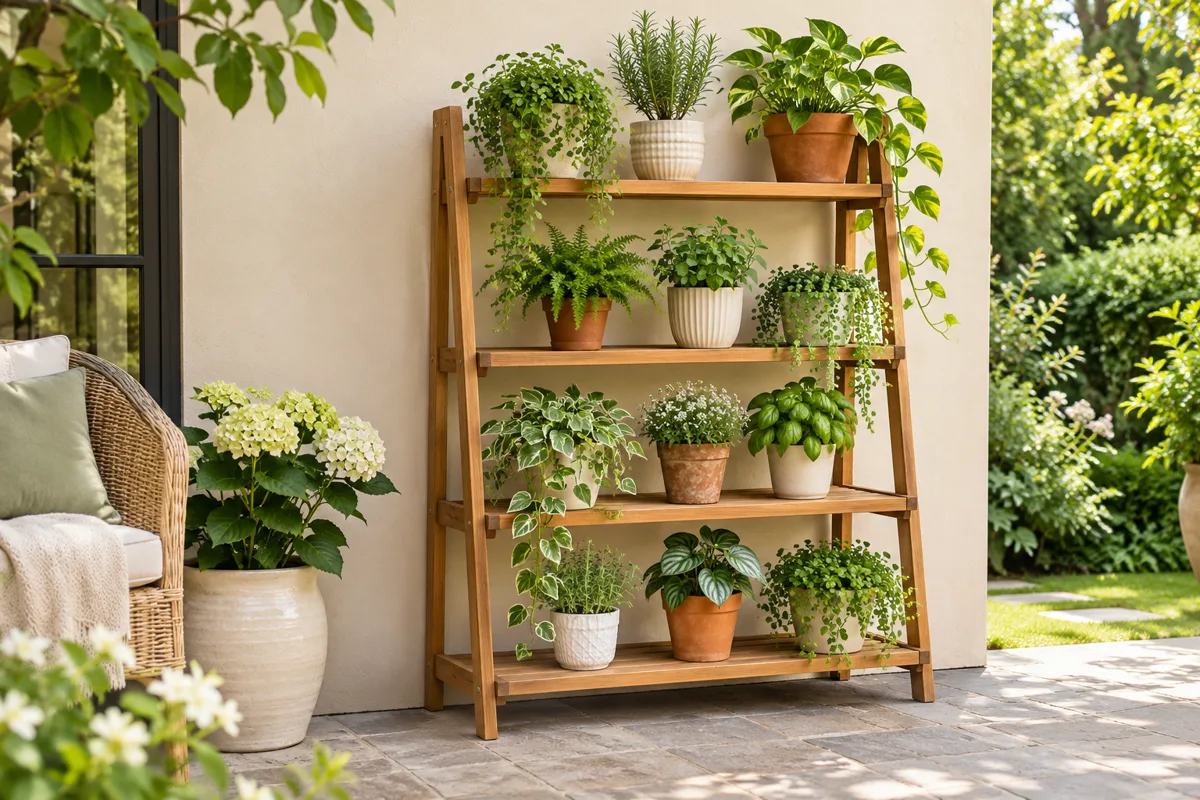
Choose three herbs from the meals you actually cook
Begin with your kitchen habits rather than a mixed herb pack. If you regularly use basil, parsley and thyme, grow those in separate pots and learn their different rhythms. If mint is more useful, give it its own container and compare its growing needs with the available position. Three herbs you harvest are a better starter collection than six varieties chosen only for their leaf shapes.
| Herb | Why you might choose it | Important distinction |
|---|---|---|
| Basil | Fresh leaves for summer meals | Tender growth; wait for suitable warm conditions |
| Parsley | Frequent small additions to everyday cooking | A leafy crop with a different seasonal cycle |
| Thyme | Small harvests for savory dishes | Let its mix dry more between waterings than basil’s |
| Chives | Mild onion flavor and upright foliage | Cut useful leaf portions while preserving regrowth |
| Mint | Drinks and fresh leaves | Keep a vigorous plant in its own manageable pot |
Use this table to choose a trial, not to assign an identical watering schedule. Check the variety label and local seasonal guidance before planting. University of Minnesota Extension’s herb guide is a useful reference for understanding establishment, growth and harvesting. Adjust its regional timing to your own climate.
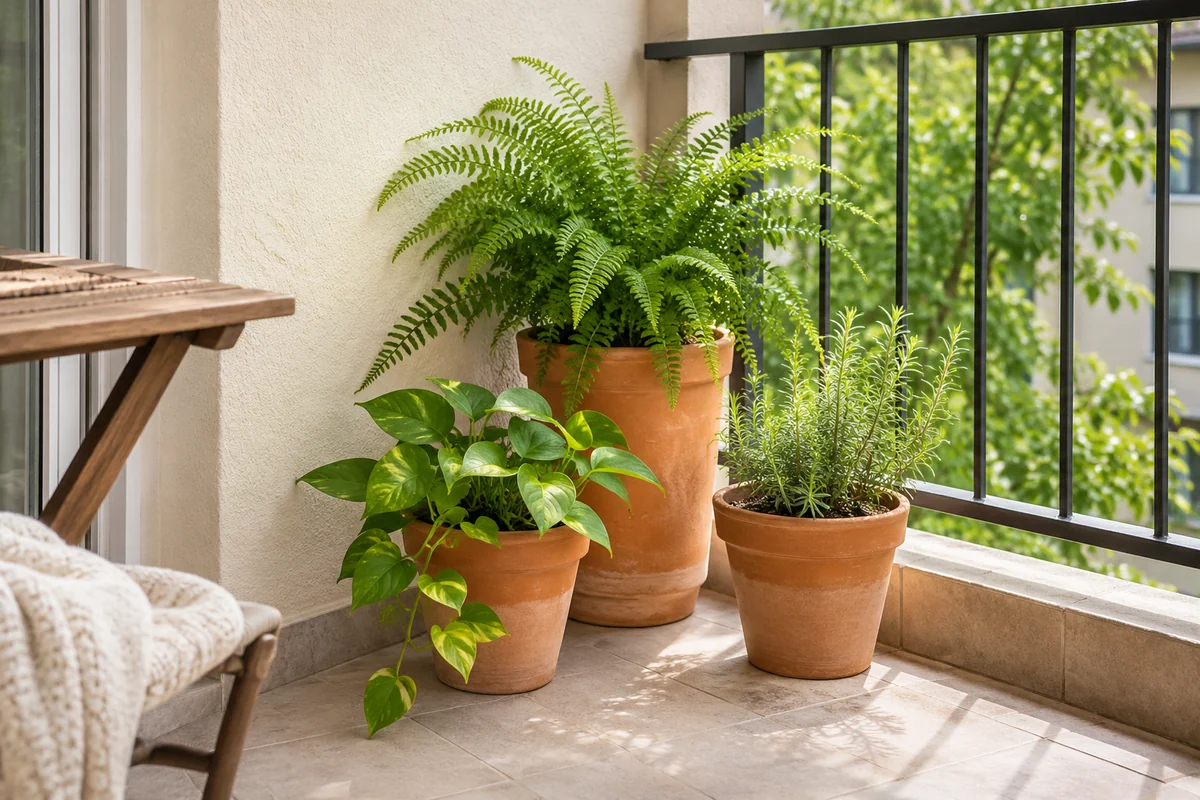
Make the watering differences visible in your arrangement
Put the basil and parsley where their more regular moisture checks are convenient, while keeping thyme independently reachable. Related pots can still form one visual group. The benefit of separate containers is that you can respond to each root zone instead of trying to make one shared planter serve different preferences.
Learn how the mix feels below the surface and how the pot’s weight changes. Thyme needing a drier interval does not mean leaving it unobserved until it collapses, and basil enjoying more consistent moisture does not mean keeping its roots waterlogged. Container size, material and weather can alter the interval substantially.
If a pot has a saucer or sits inside an outer container, inspect the collected water. Keep drainage accessible and water in a permitted place that will not affect neighbors or the property. Our watering container plants guide explains the checks behind the routine. For arranging several levels, the vertical herb garden guide helps you compare light and access before buying a stand.
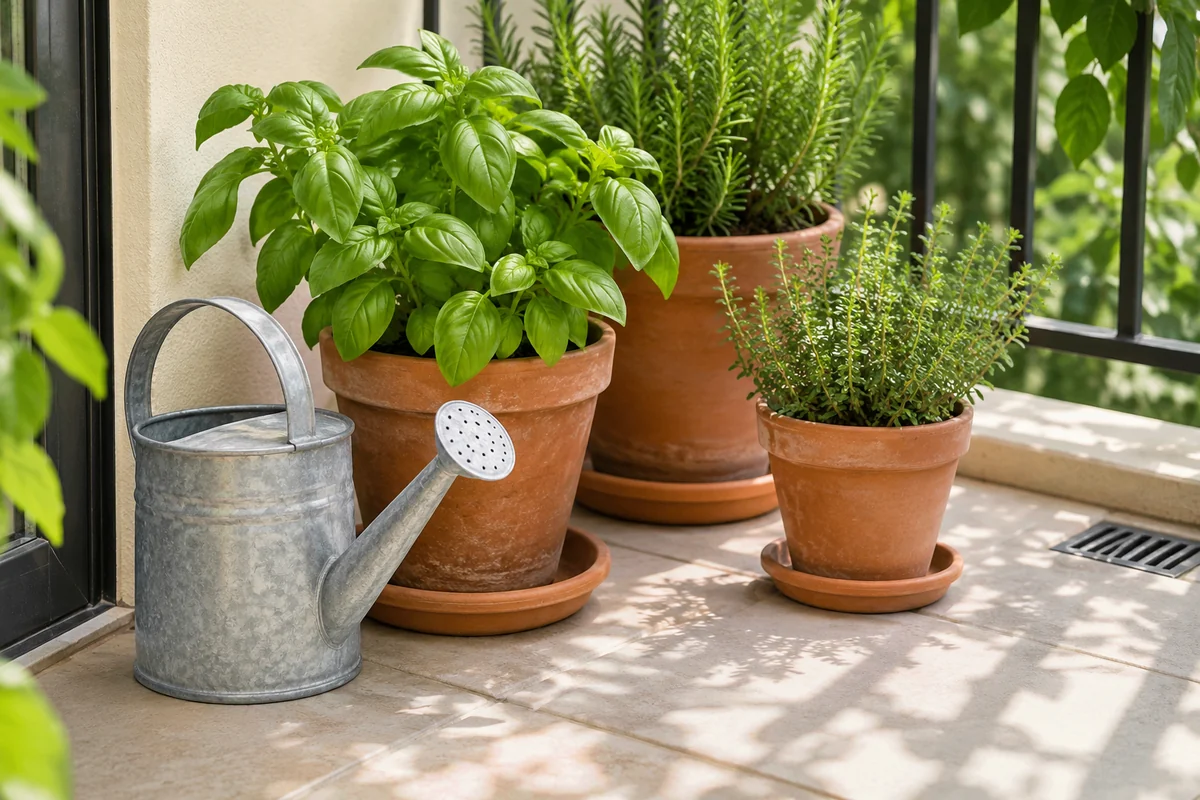
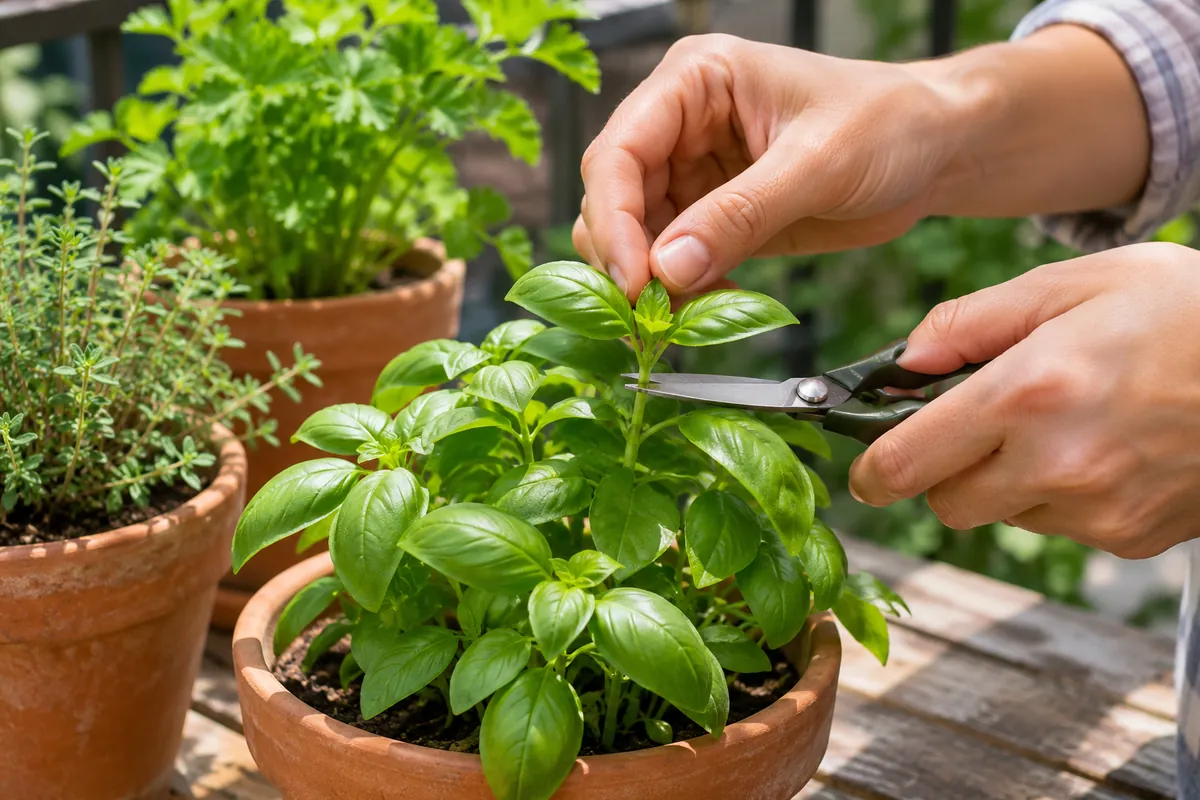
Harvest basil with a small, deliberate cut
Wait until a young basil plant is established and actively growing before taking repeated harvests. Identify a healthy stem and a leaf pair below the planned cut. A small cut just above a suitable leaf pair can encourage branching, whereas repeatedly removing isolated large leaves from a weak stem does not create the same structure.
Use clean tools and take only a modest amount from a small starter plant, leaving plenty of healthy foliage. Inspect what remains rather than following a rigid harvest percentage for every plant and season. If the basil is struggling from cold, inadequate light or unsuitable watering, correct the growing problem instead of expecting pruning to restore vigor by itself.
The illustration demonstrates the position of a small harvest, not a tested yield. Harvest parsley, thyme and chives according to their own growth habits; they are not all pruned exactly like basil. Keep herbs correctly identified and wash harvested leaves appropriately before use. For further plant-care background, see University of Maryland Extension’s herb container guidance.
Plan the next season before the current pots decline
Review the collection as temperatures and day length change. Tender basil may finish when cold arrives, while perennial herbs require a different plan. Do not assume every herb can remain outdoors through your winter or that moving a pot into a dim room will preserve the same level of growth.
Check local conditions, the variety and suitable overwintering guidance. Indoor light, temperature and watering need a fresh assessment. A plant that used water quickly outside may dry more slowly in a cool indoor position. Inspect for pests before bringing a container inside and choose a location appropriate for both the plant and the household.
It is also reasonable to treat some herbs as seasonal crops and begin again at the right time. Record which herbs you harvested, which demanded more care than you enjoyed and which you want to grow again. Use our beginner container gardening guide when refreshing the pots. The best second season is based on those observations, with a collection matched to your meals and conditions rather than an obligation to keep every original plant indefinitely.
Common beginner questions
Can all three herbs share one large pot?
Some combinations can, but separate containers are easier for learning different moisture and space requirements. If you combine herbs later, choose plants with compatible needs and allow for mature growth.
Will the pots provide all the herbs my kitchen needs?
Treat the first collection as a learning garden and a source of occasional harvests. Production varies with the plants, season, conditions, and how heavily you harvest. Avoid planning household quantities around an untested first setup.
Where can I check plant-specific care?
Use the label and a local extension service. The University of Maryland container herb guide, University of Minnesota herb guide, and Penn State guidance on growing herbs provide useful starting points. Adapt advice to your climate and the individual herb.
Plan the next part of your space
Continue with our vertical balcony garden ideas guide for a related part of your setup. For another practical starting point, explore renter-friendly balcony makeover and adapt the ideas to your space.
Save this guide for later
Save one of these Pinterest-style designs for your next outdoor-space planning session. All article images are design illustrations.