Renter-Friendly Balcony Makeover: A No-Drill Weekend Plan
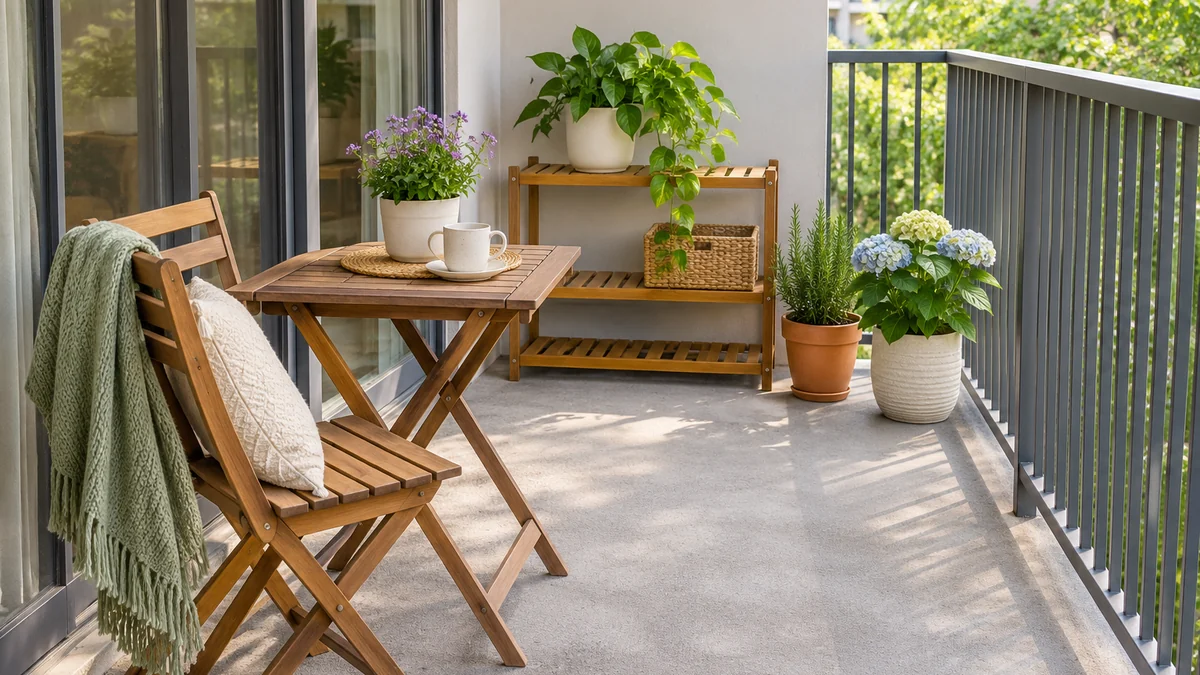
A renter-friendly balcony makeover begins with a simple question: what can you improve using movable pieces and the surfaces already there? A comfortable chair, a small table, and a few well-positioned plants can change how the balcony feels without adding holes or permanent fixtures. Start with the activities you want to enjoy, then work within your lease and building rules.
No-drill does not automatically mean every product or attachment is allowed. Adhesives, railing hooks, temporary flooring, screens, and even freestanding furniture may have restrictions or installation requirements. This plan focuses on checking the space, cleaning appropriately, arranging useful furniture, and building a manageable plant collection. For a broader starting point, read our small apartment balcony garden guide.
In this guide
- 1. Check the rules before making a shopping list
- 2. Measure the balcony as a working space
- 3. Clean first and inspect what is already there
- 4. Place one good seat before adding accessories
- 5. Add a small number of movable plant containers
- 6. Use freestanding storage only when the instructions fit
- 7. Finish with one color accent and a storage habit
- 8. Test the arrangement through an ordinary week
- Turn the weekend plan into a short job sheet
- Build three movable layers instead of a fitted installation
- Measure the storage route as well as the balcony
- Test the drainage routine before calling the makeover finished
- A practical weekend sequence
- Plan the next part of your space
1. Check the rules before making a shopping list
Read the lease and any building guidance for balconies. Look for information about furniture, planters, attachments, floor coverings, storage, and visible items. If a proposed change is unclear, ask management about the specific product or arrangement. Keep the response with your planning notes so you are not relying on a vague memory later.
Treat weight and exposure as practical constraints. Wet growing mix, containers, furniture, water, and people all contribute to the load. Do not estimate a balcony’s structural capacity from its appearance or from another apartment’s arrangement. Ask the appropriate building contact when limits are uncertain.
Identify anything that must remain accessible, including drains, service points, and required routes. Avoid planning an attractive display over a feature you will need to reach regularly. This first step may reduce the list of possible purchases, which is useful: it lets you spend on pieces you can actually use instead of working backward from a product that does not suit the property.
2. Measure the balcony as a working space
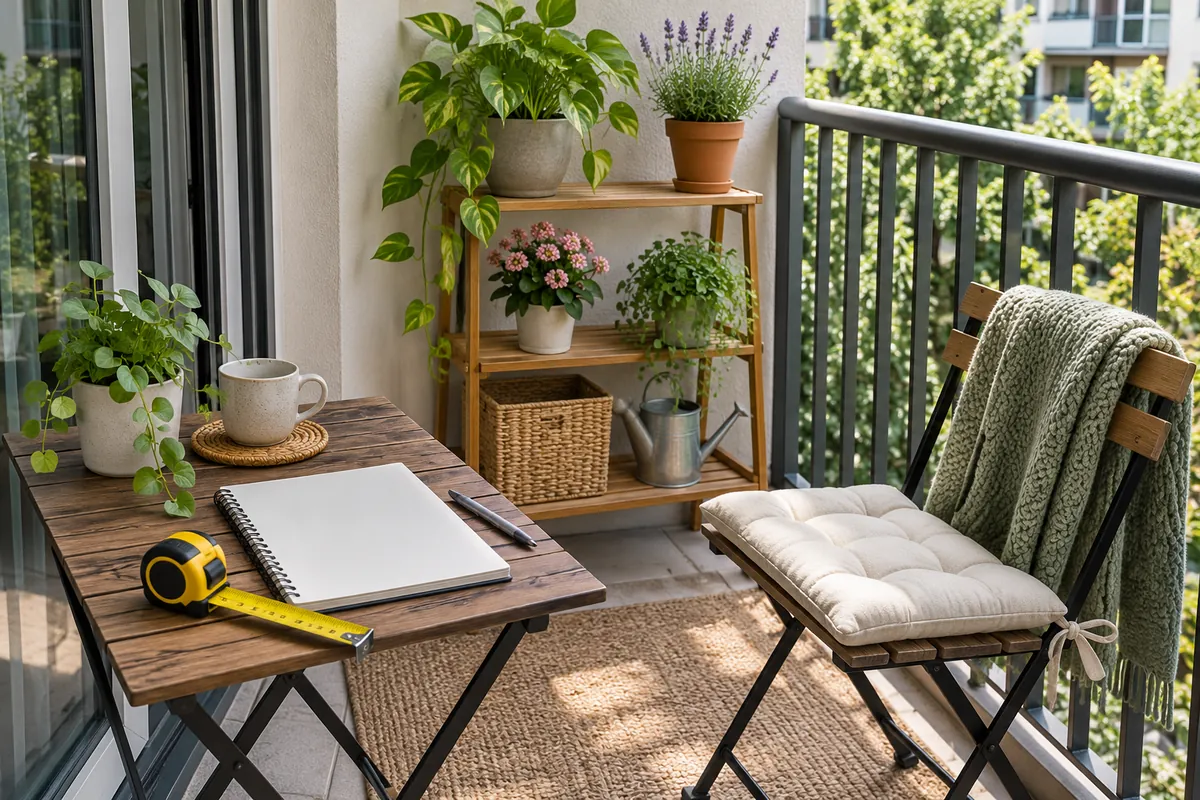
Measure the usable floor, doorway, and the route you take when stepping outside. Include the door’s full movement rather than measuring only when it is closed. Note projecting features and areas where the floor must stay clear. Sketch a simple plan with the measurements written beside each edge.
Choose one main activity for the makeover. Reading alone, coffee for two, and growing herbs call for different furniture arrangements. You can support a second activity later, but giving everything equal priority often leads to too many pieces in a narrow space.
Mark proposed footprints with removable paper templates or a method that will not damage the surface. Test the chair with someone sitting in it and check whether another person can pass. Measure containers at their widest point and allow for mature foliage. If the trial feels crowded, remove a piece now. A small, comfortable arrangement is easier to enjoy than a complete-looking set that obstructs ordinary movement.
3. Clean first and inspect what is already there
Before changing the layout, remove loose debris using methods suitable for the surface and building. Follow care instructions for the flooring and existing furniture. Avoid experimenting with harsh products or pressure washing when you do not know whether the surface or property rules allow it. Keep debris and cleaning runoff out of places where it could affect neighbors or block drainage.
Inspect the items you intend to keep. A functional chair may need only appropriate cleaning, while a damaged or unstable piece should not become the foundation of the makeover. Check feet, joints, and folding mechanisms according to the product instructions. Do not hide a structural problem beneath a cushion or decorative cover.
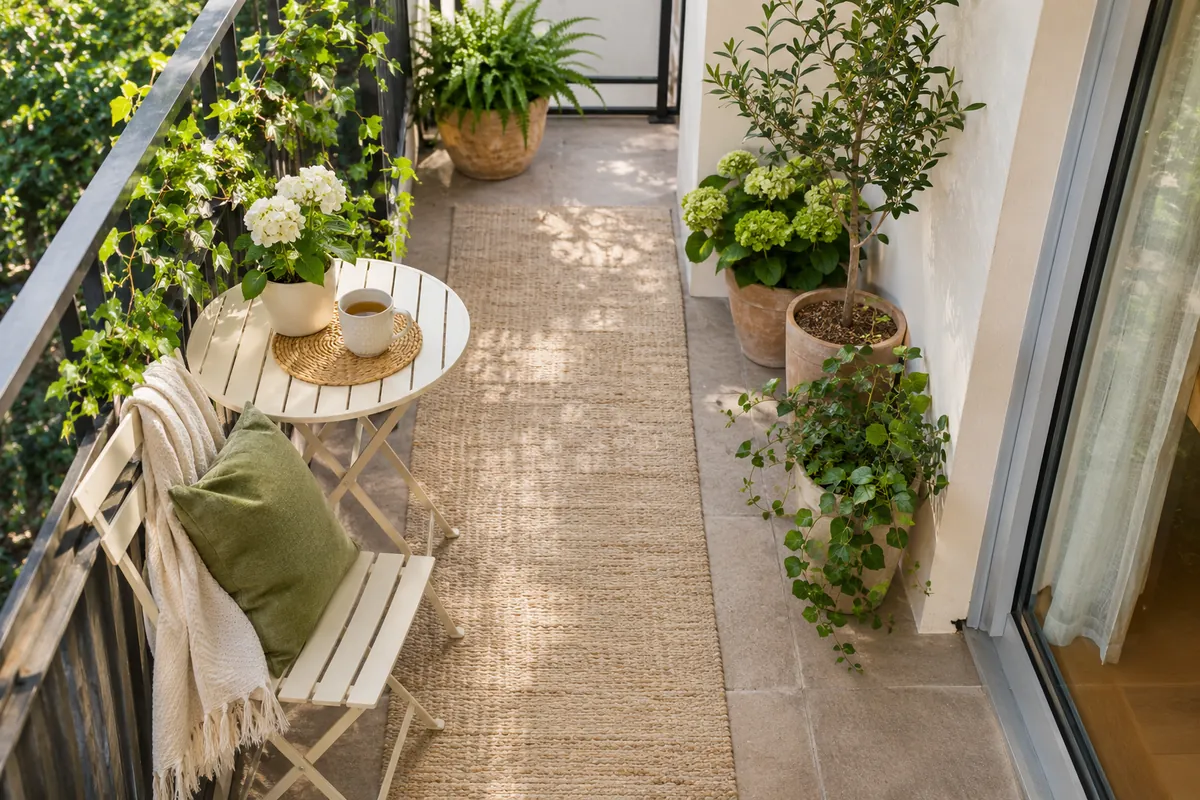
Look at the clean space before buying a floor covering. The original surface may already provide a useful neutral background. Temporary tiles and rugs add their own care, drainage, clearance, and permission questions. Keeping the floor uncovered is a valid design choice when it is the simplest workable solution.
4. Place one good seat before adding accessories
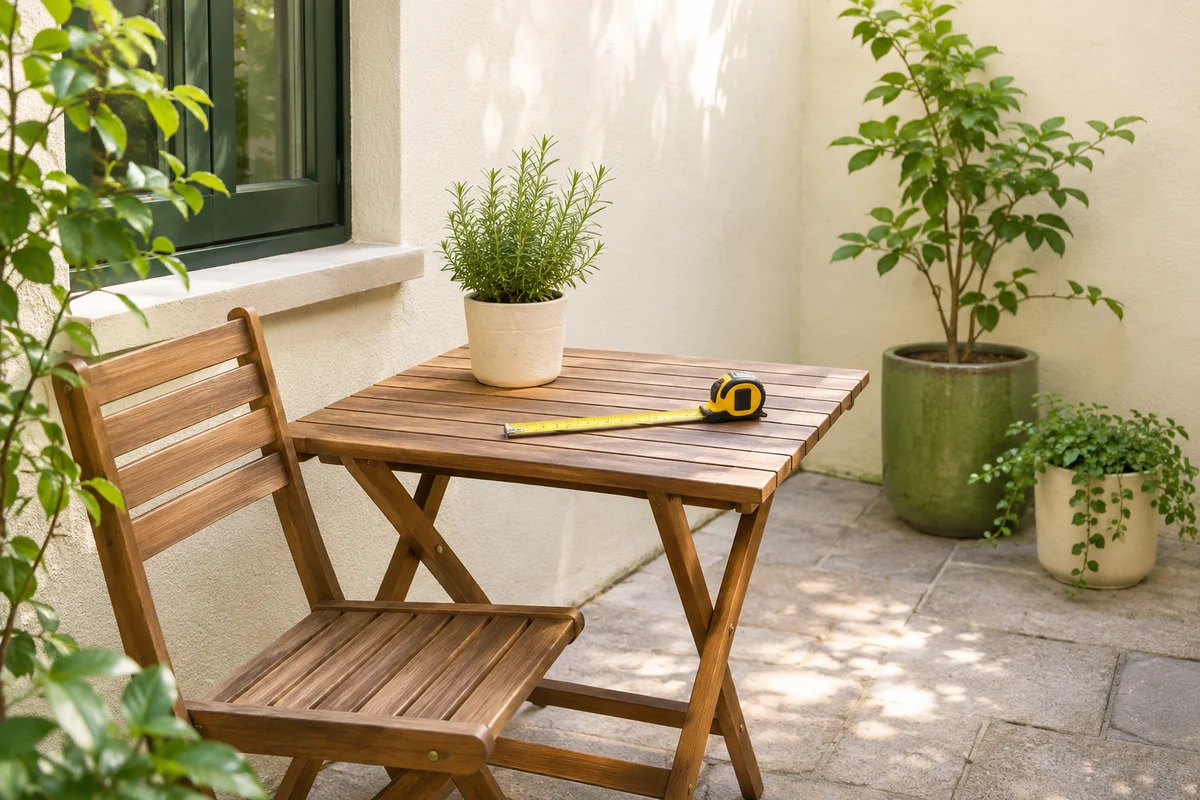
Bring out the main chair and use it. Check whether the back, arms, and seat suit the way you plan to relax. Look at the light and exposure during your usual sitting time. A chair placed for a beautiful indoor view may not be comfortable when afternoon heat or reflected light reaches the balcony.
Add a compact side table only if it improves use and leaves the route comfortable. A place for a cup or book is usually more helpful than several decorative objects. If you use folding furniture, decide where it will be stored when folded. A doorway or precarious lean against the railing is not a suitable permanent answer.
Start with pieces you already own when they are appropriate for outdoor conditions. For deciding what is worth buying next, use our small patio decorating guide on a budget. The same principle applies to a rental balcony: spend first on practical comfort, then consider finishing details after the arrangement proves useful.
5. Add a small number of movable plant containers
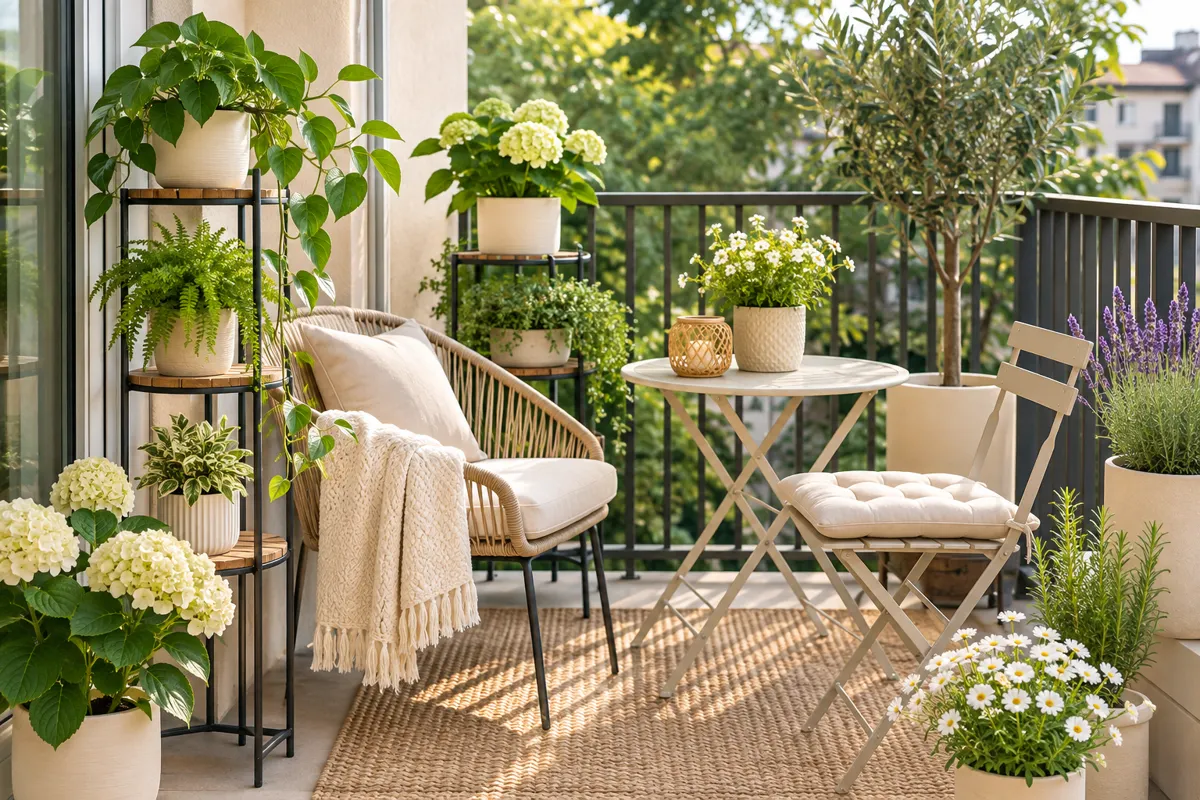
Choose plants after observing the light, wind, and heat in their intended positions. Start with a few containers you can inspect and water easily. Keep the growing arrangement separate from the desire to fill every corner. Open floor space supports access, cleaning, and a calmer view from indoors.
Choose containers with a workable drainage arrangement and manageable filled weight. Protect the surface appropriately and avoid leaving pots standing in stagnant collected water. Plan where excess water will go, particularly above another resident’s balcony. Keep the building’s drainage features reachable.
Group the pots where they receive suitable conditions without obstructing the chair or door. Similar materials can connect the collection visually while separate containers let you adjust care for different plants. Our container gardening guide for beginners explains potting mix, plant selection, and the first maintenance routine. Begin with a collection that fits your ordinary week, then expand after you know what the balcony can support comfortably.
6. Use freestanding storage only when the instructions fit
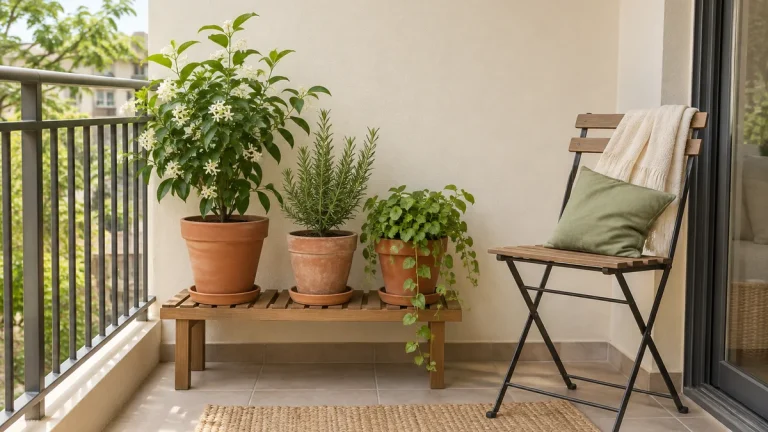
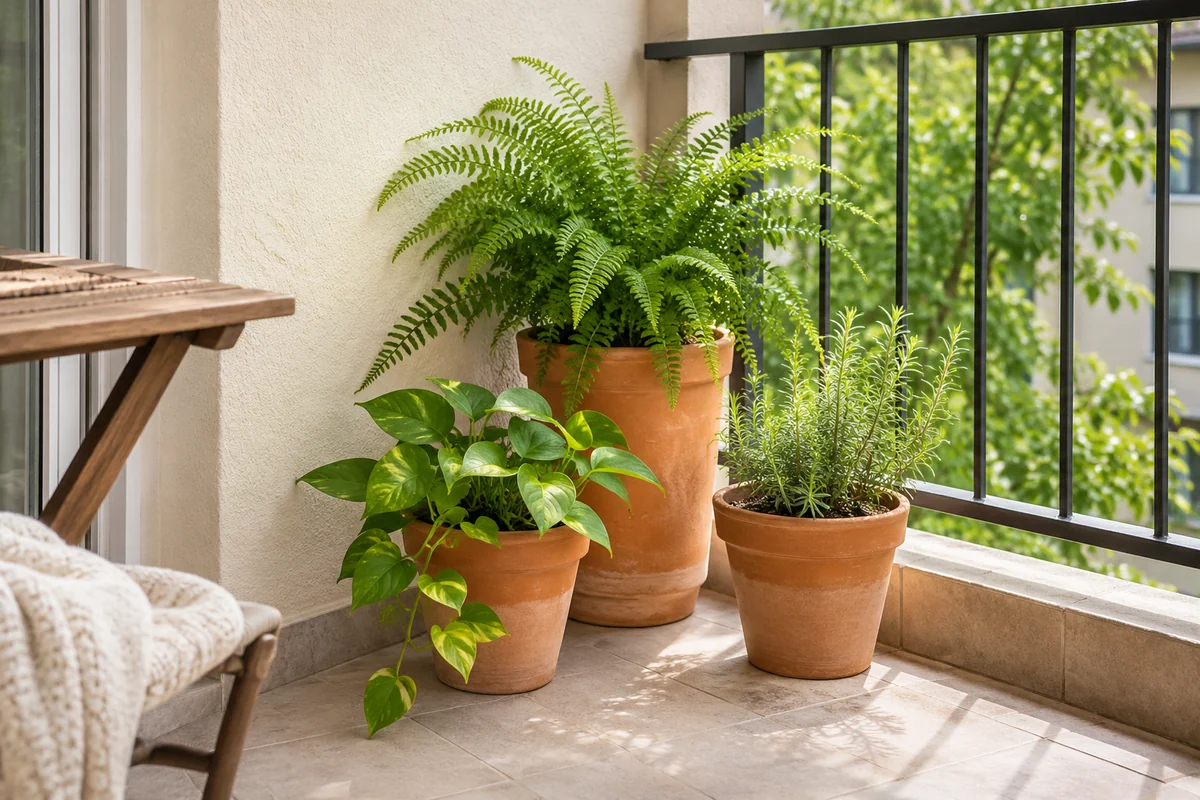
A low plant stand can organize small pots without a wall-mounted shelf, but freestanding does not mean suitable in every situation. Check outdoor suitability, the permitted load, the footprint, and whether the manufacturer requires anchoring. If required anchoring conflicts with the rental rules, choose another product or keep the pots at floor level.
Place heavier containers low and keep access to every level practical. Avoid a tall, top-heavy display on an exposed balcony. Do not use the railing as an improvised support or assume a stand can lean safely against the wall. Check stability on the actual surface before adding plants.
Compare the stand’s footprint with the floor area used by the containers alone. Sometimes the stand improves organization; sometimes it simply adds furniture. Choose it because it makes your routine easier. If the balcony is very narrow, a few pots near the seat may provide a better result than trying to create a full vertical garden immediately.
7. Finish with one color accent and a storage habit
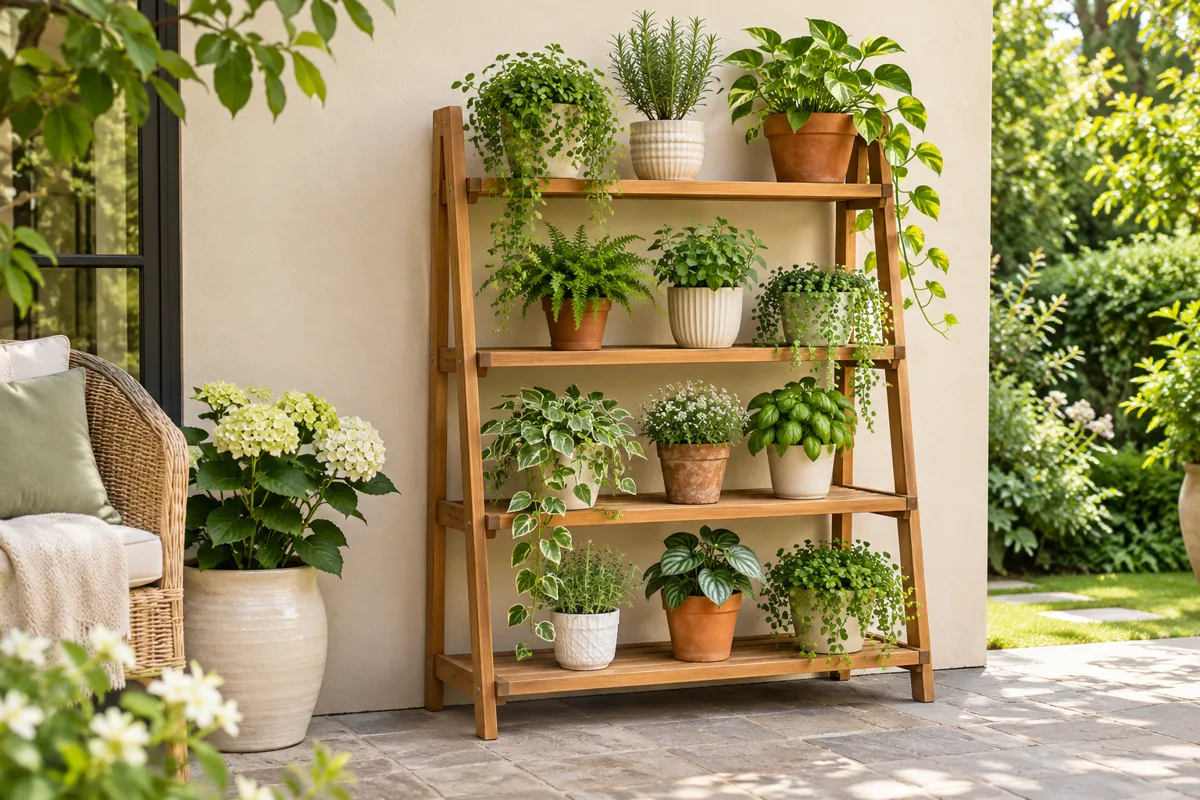
A small cushion or a repeated pot material can make the arrangement feel connected. Begin with the wall, floor, and furniture colors you already have, then add one accent you enjoy. A sage cushion beside wood and terracotta is one possibility, but the best palette is the one that accommodates useful existing pieces.
Check textile care instructions and decide where removable items will go during unsuitable weather. Outdoor fabric still needs care. Do not assume a cushion can remain wet indefinitely or that a storage box will solve every moisture problem. Choose products for the conditions and storage routine you can provide.
Keep the tabletop available for daily use and leave some surfaces undecorated. Temporary string lights, adhesive hooks, or privacy screens introduce separate permission and installation questions; you do not need them to finish this plan. A comfortable seat, tidy pots, and a clear route can be a complete makeover. Add another layer only when it answers a specific need.
8. Test the arrangement through an ordinary week
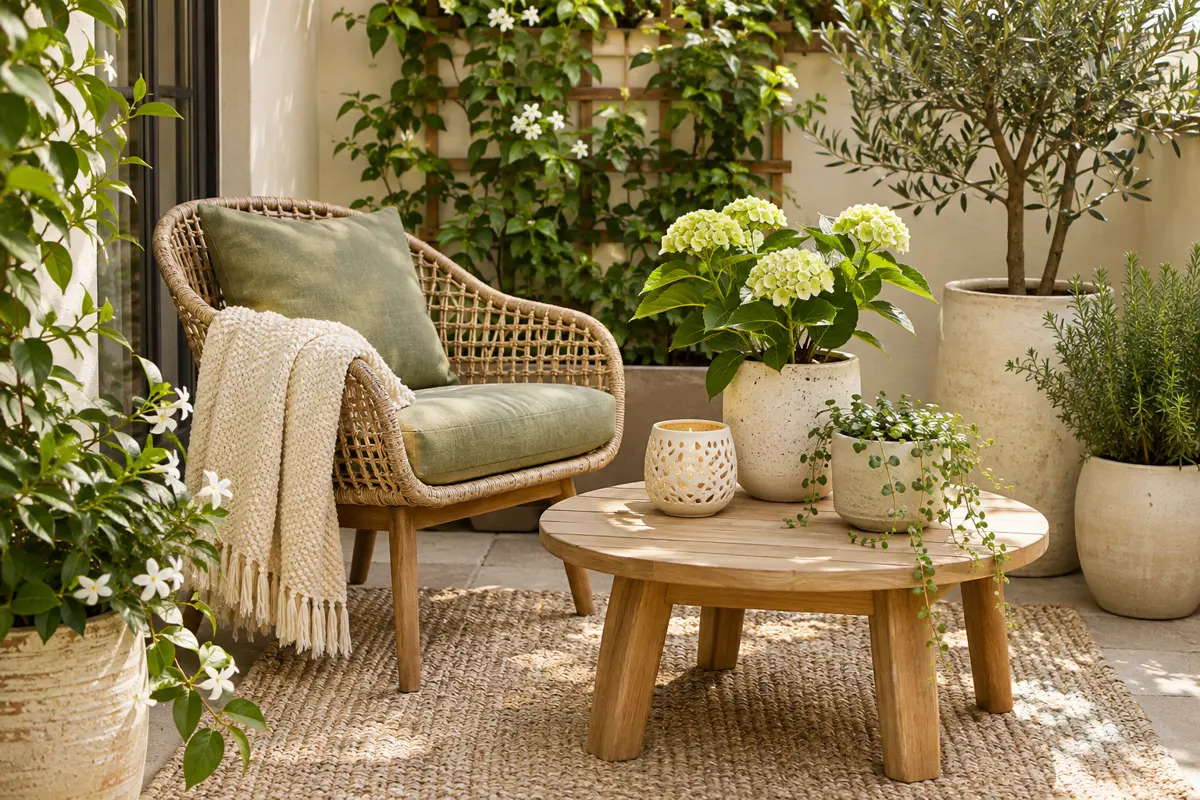
The weekend setup is a starting point. Use the balcony for several days and note what feels awkward. Do you move the table every time you water? Is one pot difficult to reach? Do cushions stay indoors because bringing them out feels inconvenient? These observations tell you more than the first styled photograph.
Change one item at a time so you can judge the result. Move a small table, reduce the plant group, or switch the chair position within the permitted space. Keep drainage and required access clear throughout the experiment. If an item is heavy, follow safe handling guidance and get appropriate help rather than forcing a move.
Keep a simple photo and inventory of the arrangement for your own records. Save product care instructions and any relevant permission messages. When you move out or change seasons, this information makes storage and packing easier. A successful rental makeover is one that remains comfortable, manageable, and compatible with the property after the excitement of the first weekend has passed.
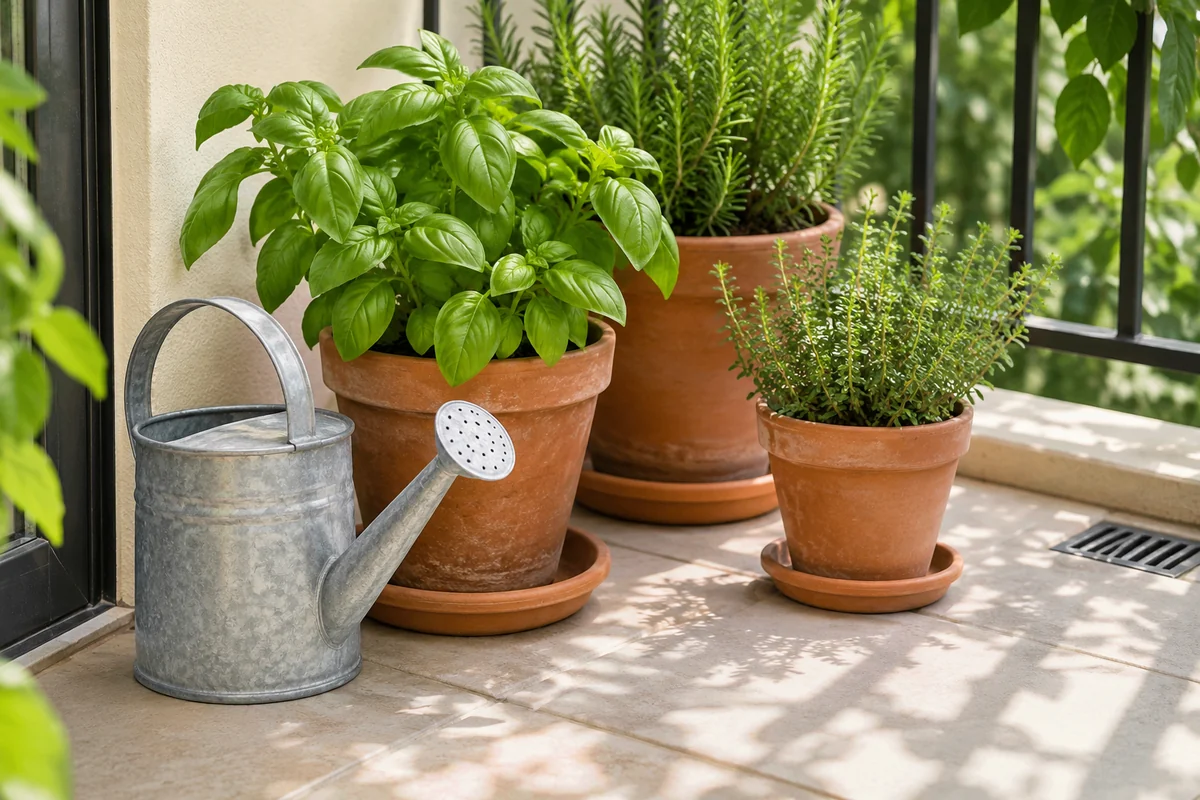
Turn the weekend plan into a short job sheet
Write down the finished result before buying anything: one comfortable seat, a reachable cup surface and a small plant group that can be watered responsibly. Then divide the work into observation, cleaning, arranging and planting. This keeps the project manageable even if a delivery, weather change or unanswered property question delays one part.
| Session | Practical task | Ready to move on when |
|---|---|---|
| Before the weekend | Confirm restrictions, measure and record the light | You know which changes are permitted |
| First session | Clean appropriately and inspect existing pieces | Problems needing attention are identified |
| Second session | Test occupied seating and the route | Everyday movement works with the furniture in use |
| Final session | Plant a small suitable collection and arrange storage | Care and a quick reset are straightforward |
Treat this as a sequence rather than a promise that every balcony can be finished in two days. Keep product instructions, measurements and the plant list in one note. Use our budget patio decorating plan to price the complete project, including mix and practical supplies, before committing to the optional decorative layer.
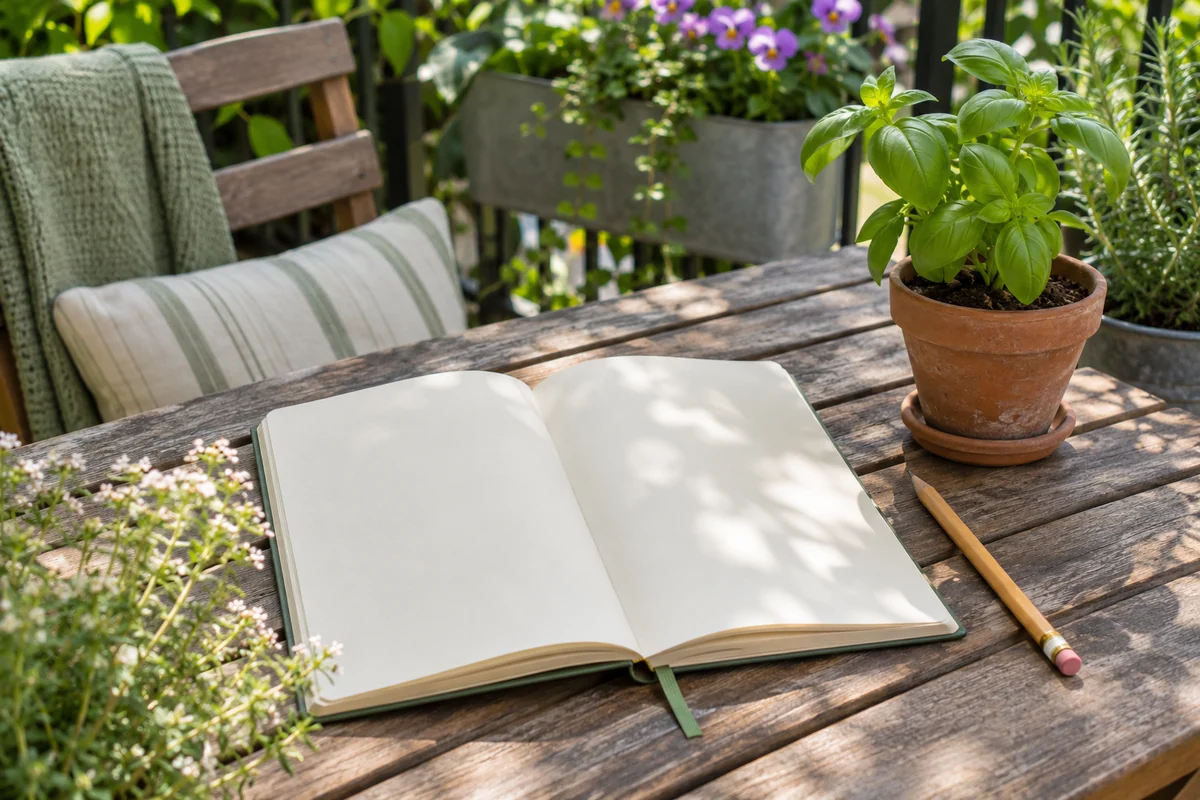
Build three movable layers instead of a fitted installation
Think in three layers: a seat and small table for use, separate pots for growing, and one removable textile for comfort. Each layer should work independently. You can take a cushion indoors without disturbing a plant, lift a pot for inspection without moving the chair and reach the table without leaning across foliage.
This approach is useful when you want to take the arrangement to another home later. Choose the actual furniture and containers for their intended outdoor use and manageable handling. Movable does not automatically mean light enough to shift when filled or suitable for an exposed balcony. Compare the complete object in its working condition.
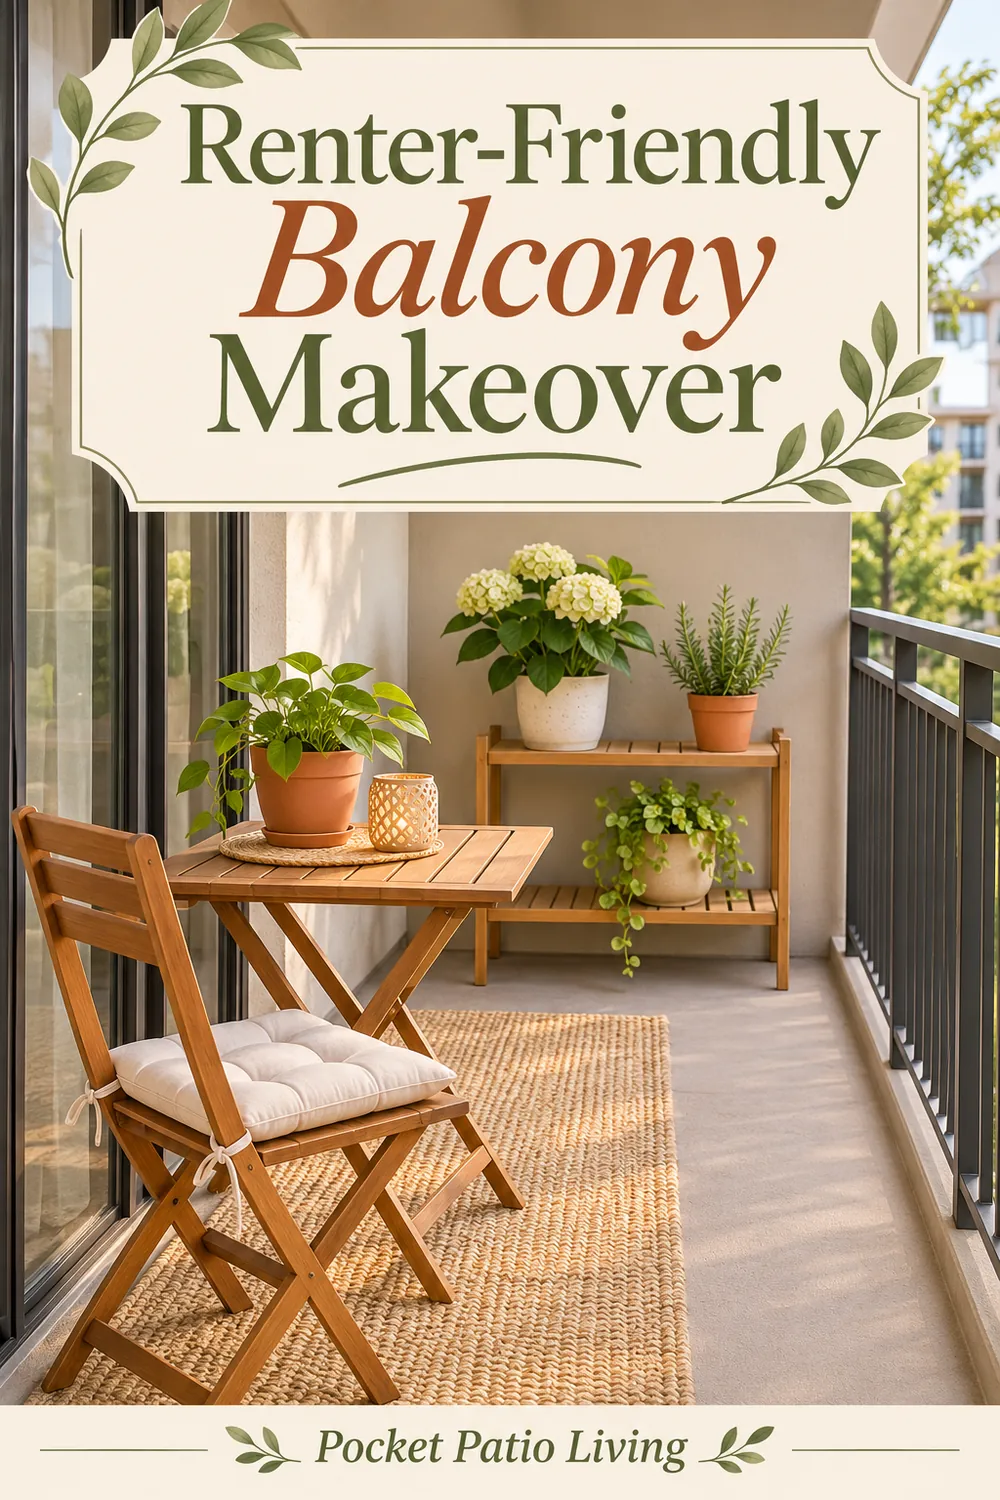
Keep freestanding items within the property’s requirements and the product instructions. If a shelf requires anchoring that is not permitted, use a different solution instead of omitting the required attachment. The illustration demonstrates a modest movable arrangement, not a guarantee about another property’s rules. Our DIY balcony plant corner develops the same approach into a small planting project.
Measure the storage route as well as the balcony
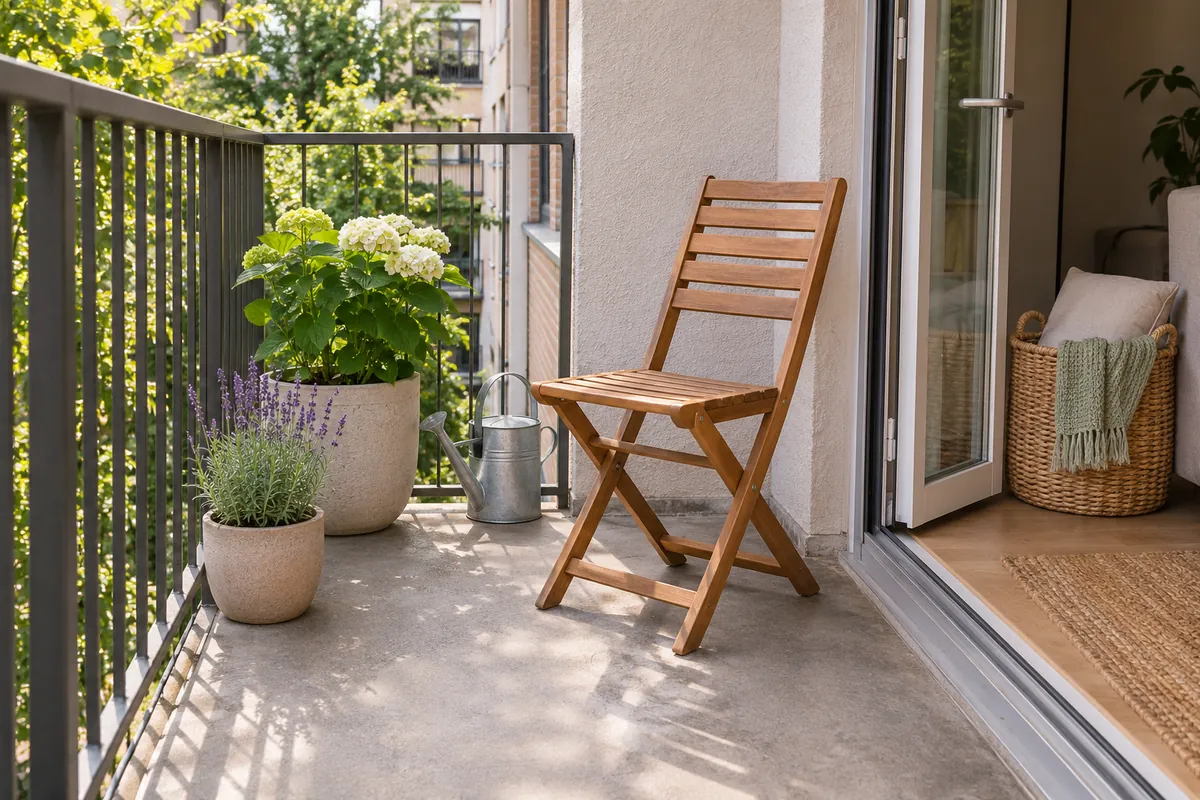
A folding chair needs an appropriate home when it is not being used. Measure the folded dimensions, the indoor storage position and the route between them. Do not assume a piece will be convenient to carry because it folds flat. Doorways, steps and the way you grip the frame can change the everyday task.
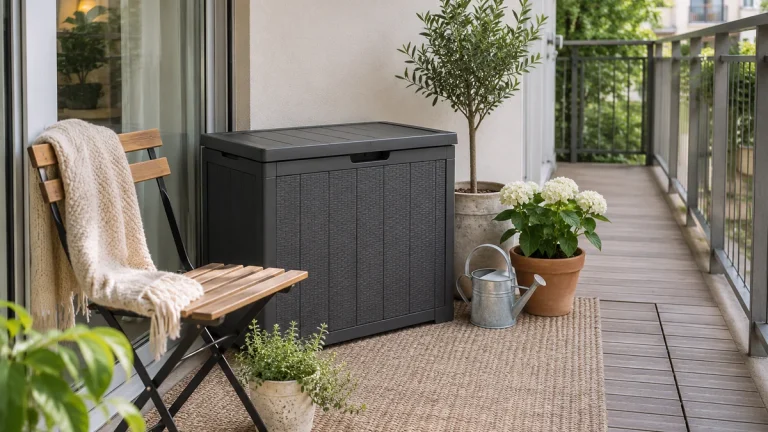
Cushions need their own care and storage plan. A basket inside the door can support a simple routine without adding another outdoor box. If a box is useful, check the usable interior and the lid open, along with the manufacturer’s claims about its intended contents and conditions. Its closed footprint is only part of the space required.
Try a full reset with the objects you own: put the textile away, fold the occasional chair if appropriate and return the watering can. If the routine blocks the doorway or requires moving several pots, revise the storage position. Our small balcony storage ideas provide a comparison of outdoor and indoor options before you dedicate useful floor space to another unit.
Test the drainage routine before calling the makeover finished
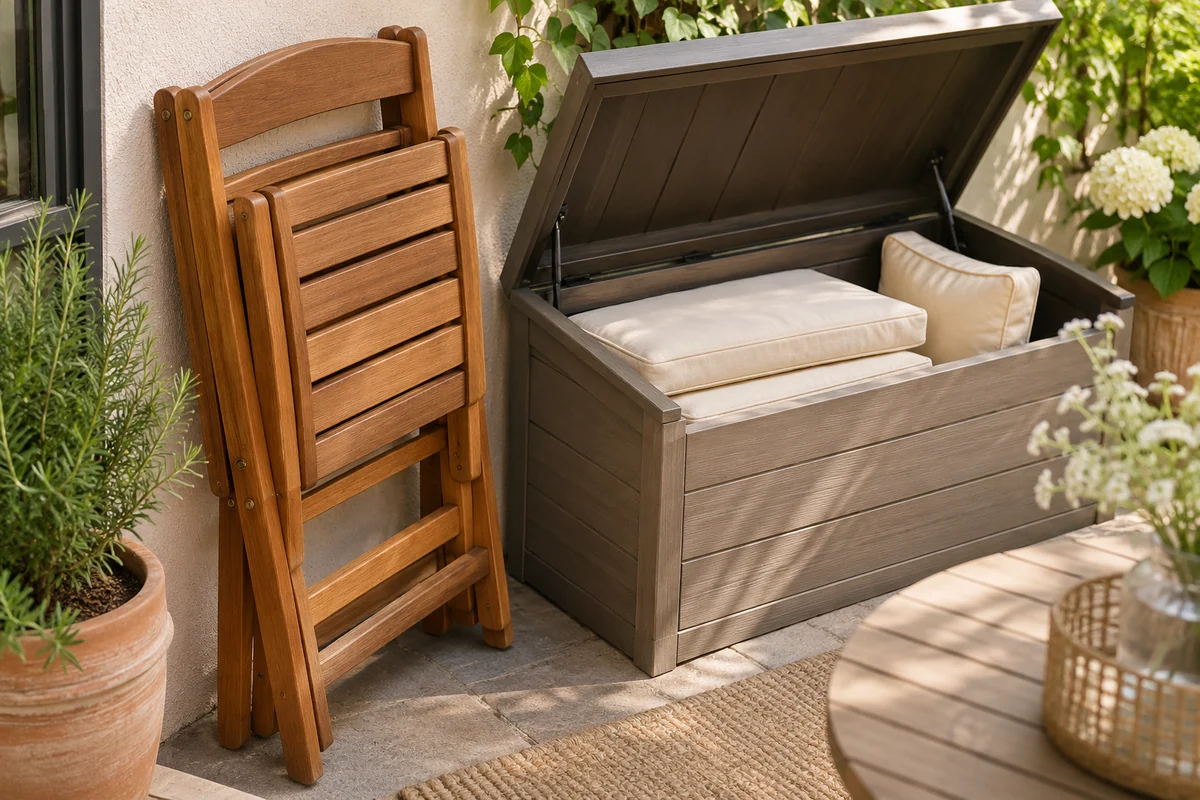
Check how water leaves each planting container and where temporary runoff will collect. The route should remain visible and accessible. A decorative outer pot can conceal standing water, while a saucer beneath a heavy container may be difficult to empty in the proposed position. Resolve that handling problem before planting a larger collection.
Water one pot in a permitted place and follow the sequence through to the reset. Can you inspect the mix, apply water gently, allow drainage and remove collected water appropriately? Keep neighboring balconies, the property surface and drain access in mind. Do not assume every free-draining pot is suitable for every balcony position.
Our container gardening guide explains the relationship between mix and drainage, while the container watering guide covers later care. Keep the collection small enough that the responsible routine feels easy. A renter-friendly makeover is complete when ordinary sitting, plant care and storage all work together, with the property requirements respected throughout.
A practical weekend sequence
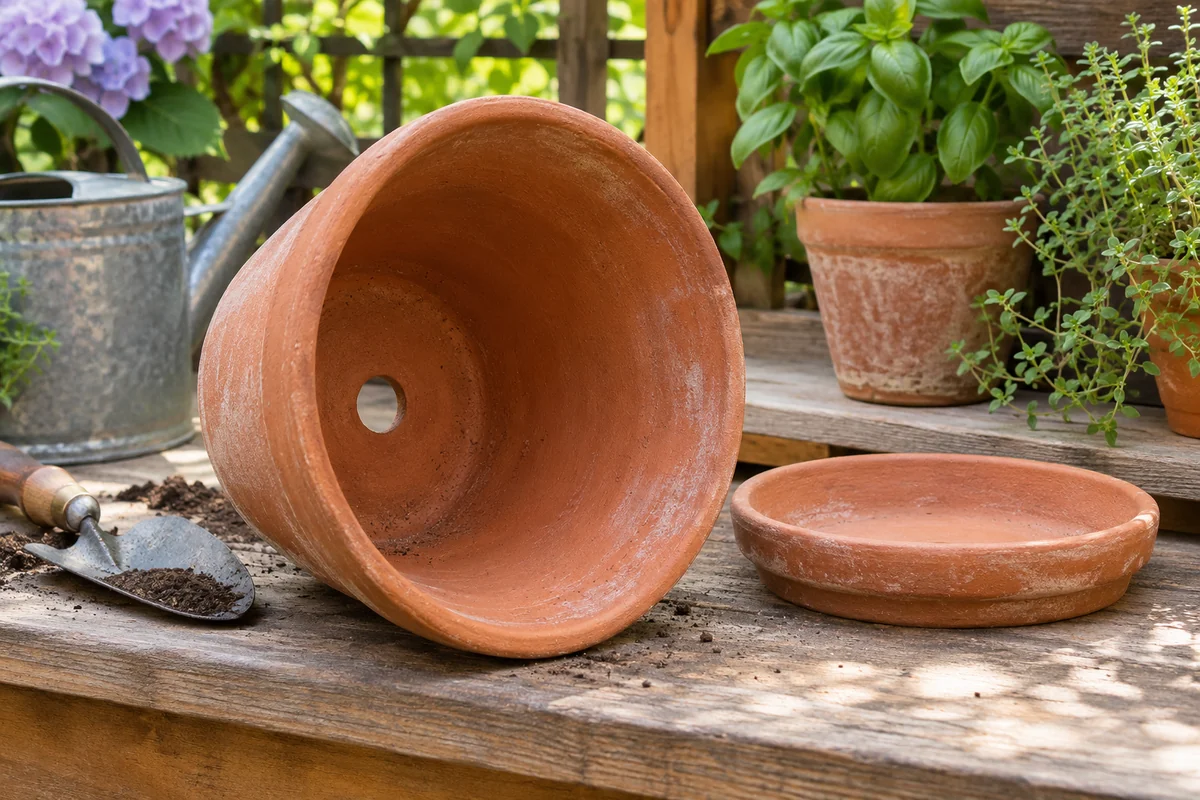
Use the first session for rules, measurements, and the activity list. Use the next for suitable cleaning and testing the main seat. Add containers and the small table after the route works, then finish with one removable accent. Do not force every stage into one weekend if a permission question or product instruction needs more time.
Are removable adhesive hooks always rental-safe?
No. Permission, surface compatibility, weather exposure, product limits, and removal instructions all matter. No-drill is not a guarantee that an attachment is allowed or that it will leave no mark.
Does every balcony need a rug?
No. The existing floor may be the easiest surface to inspect, clean, and keep draining properly. Add a covering only after checking compatibility and property rules.
What is the smallest useful makeover?
A suitable chair, one practical surface if it fits, and a few manageable pots can be enough. Start there and let everyday use guide what comes next.
Plan the next part of your space
Continue with our narrow balcony layout ideas guide for a related part of your setup. For another practical starting point, explore small patio color ideas and adapt the ideas to your space.
Save this guide for later
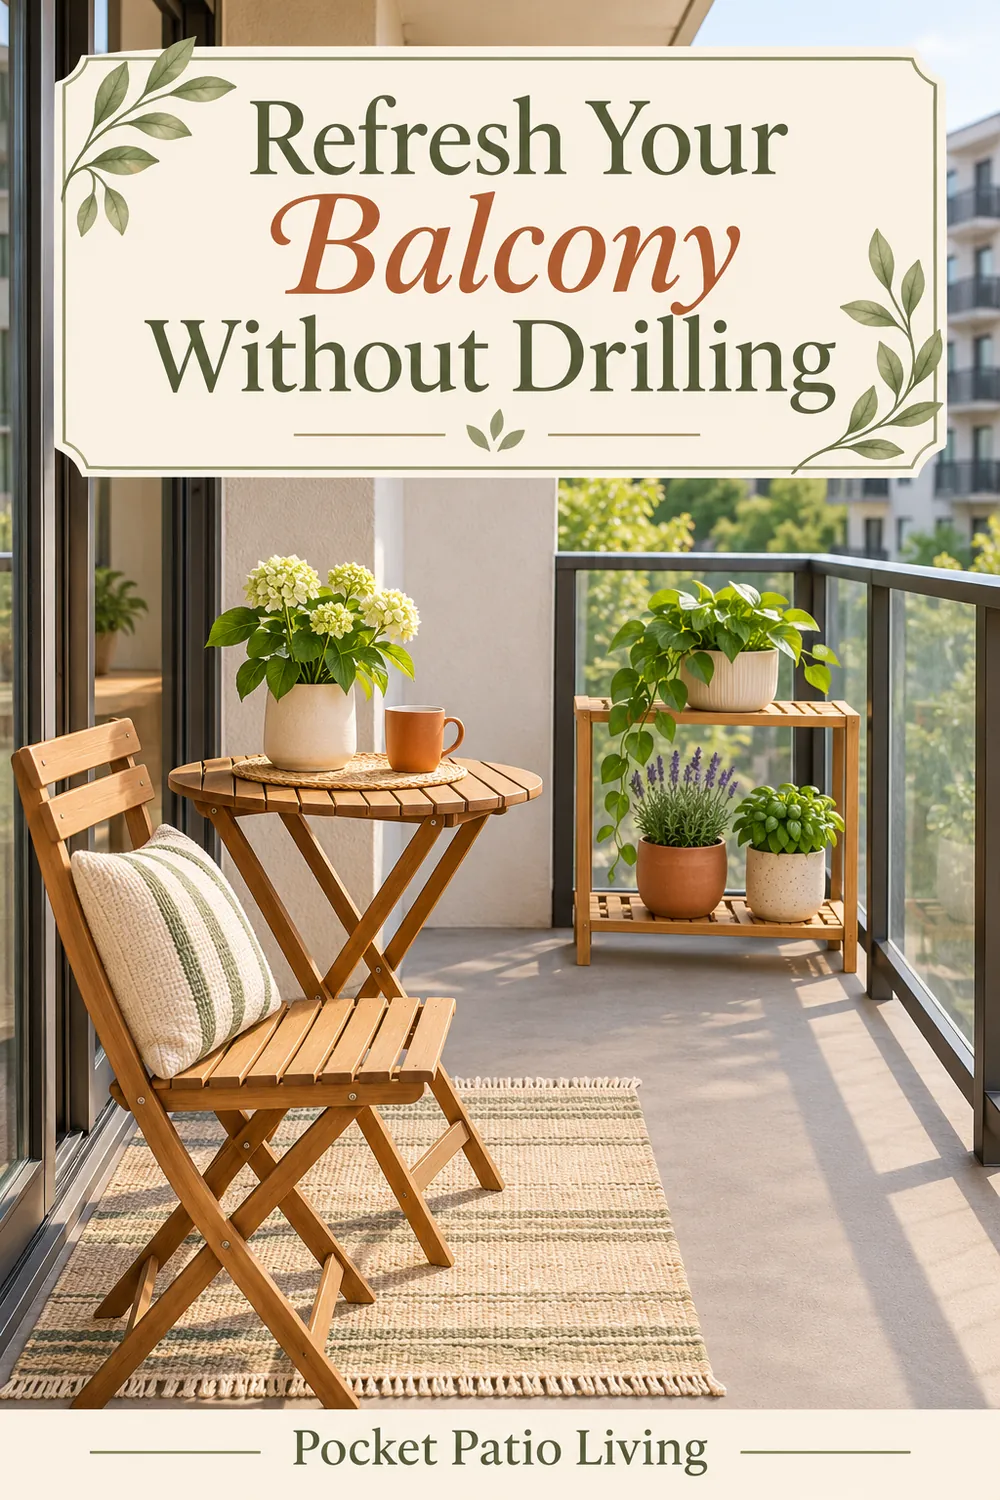
Save one of these Pinterest-style designs for your next outdoor-space planning session. All article images are design illustrations.