Container Gardening for Beginners: Plan Your First Three Pots
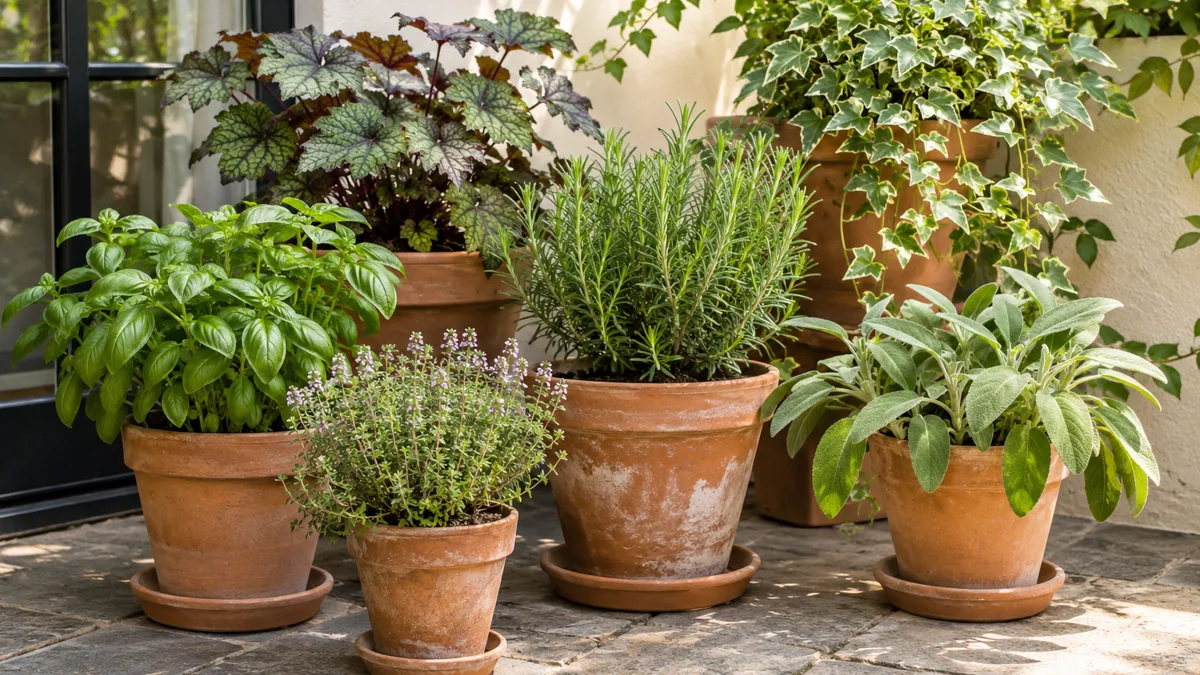
Container gardening for beginners becomes easier when you treat the first three pots as a small growing system. Each needs suitable light, enough room for roots, a container that drains and a care routine you can repeat. Attractive pots help the display, but those growing conditions determine whether the plants establish and remain manageable.
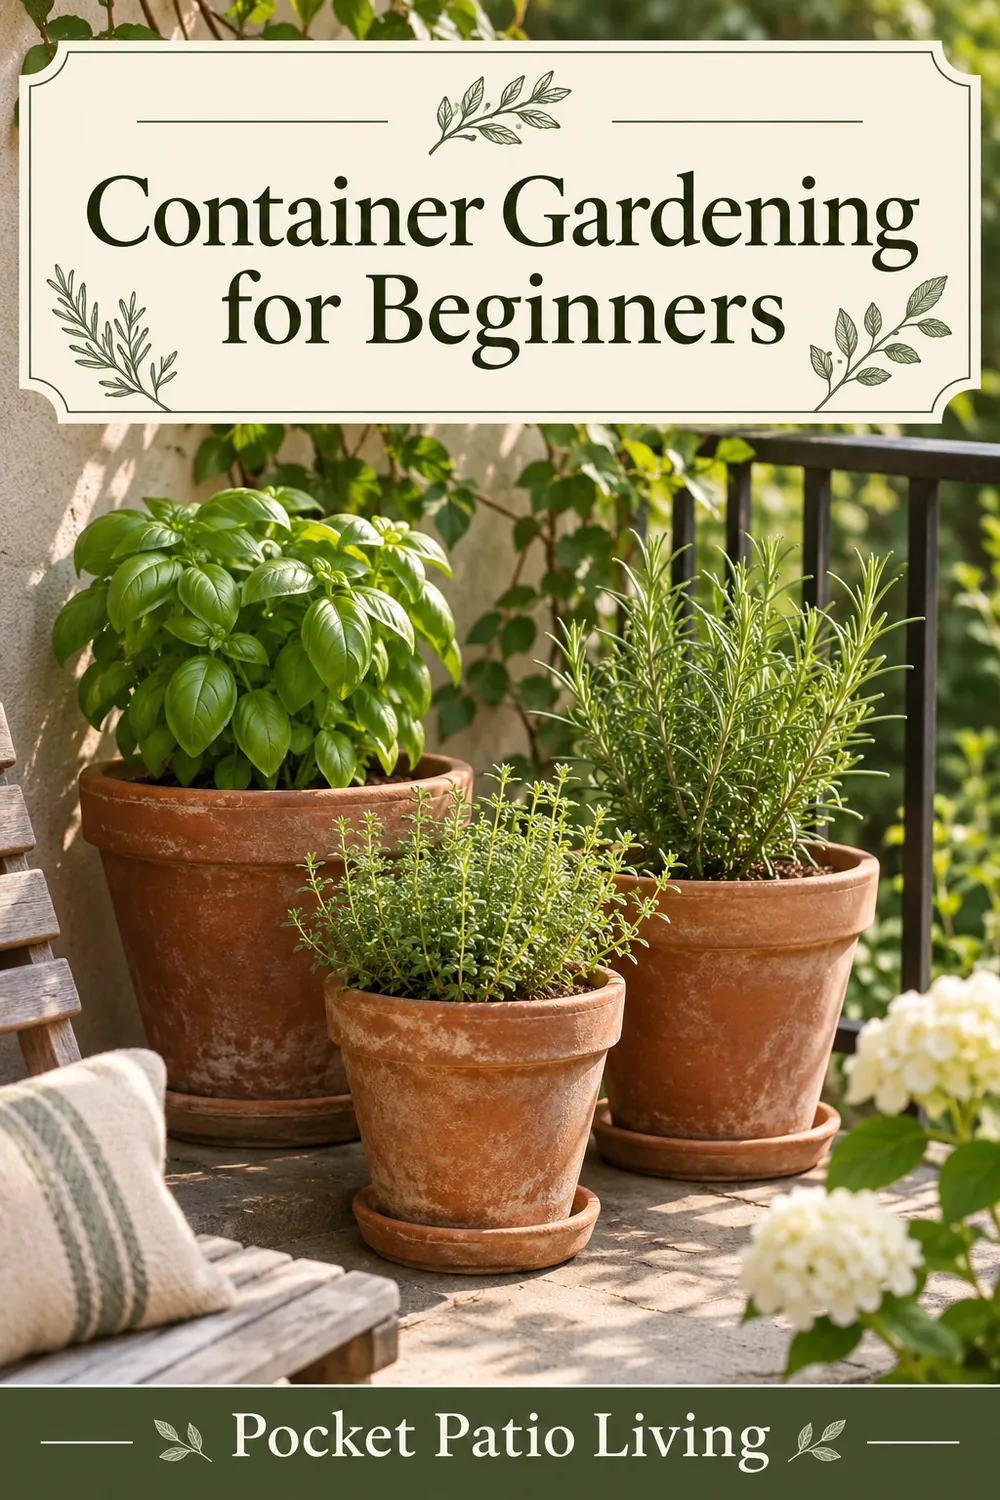
This guide takes you from choosing a position to planting and reviewing the first month. It includes a practical three-pot example, a materials checklist and a troubleshooting table. Adapt the choices to your climate and the plant label. For choosing culinary varieties in more detail, use our small container herb garden guide. The photographs are design illustrations, not evidence of a tested growing trial.
In this guide
- 1. Observe the growing position before buying plants
- 2. Pick a clear goal for the first three pots
- 3. Compare plants before comparing decorative pots
- 4. Select enough usable root space
- 5. Check drainage before adding mix
- 6. Choose a suitable growing mix
- 7. Prepare a small planting kit
- 8. Transplant one pot at a time
- 9. Arrange the group for care and growth
- 10. Learn watering from observations
- 11. Feed and harvest according to the plants
- 12. Troubleshoot with a short record
- First-container questions
1. Observe the growing position before buying plants
Watch the proposed position through the day and record direct sunlight separately from general brightness. A patio beneath an overhang may be bright but receive little direct sun. A west-facing wall may become hot later in the day. Repeat the observations on more than one day so a single cloudy afternoon does not define the whole plan.
Note wind, access to water and how rainfall reaches the containers. A pot beneath a roof may remain dry during a storm that waters nearby beds. Wind can increase drying, while a cool sheltered corner can stay wet longer. These differences explain why a single watering schedule rarely suits every container on the same property.
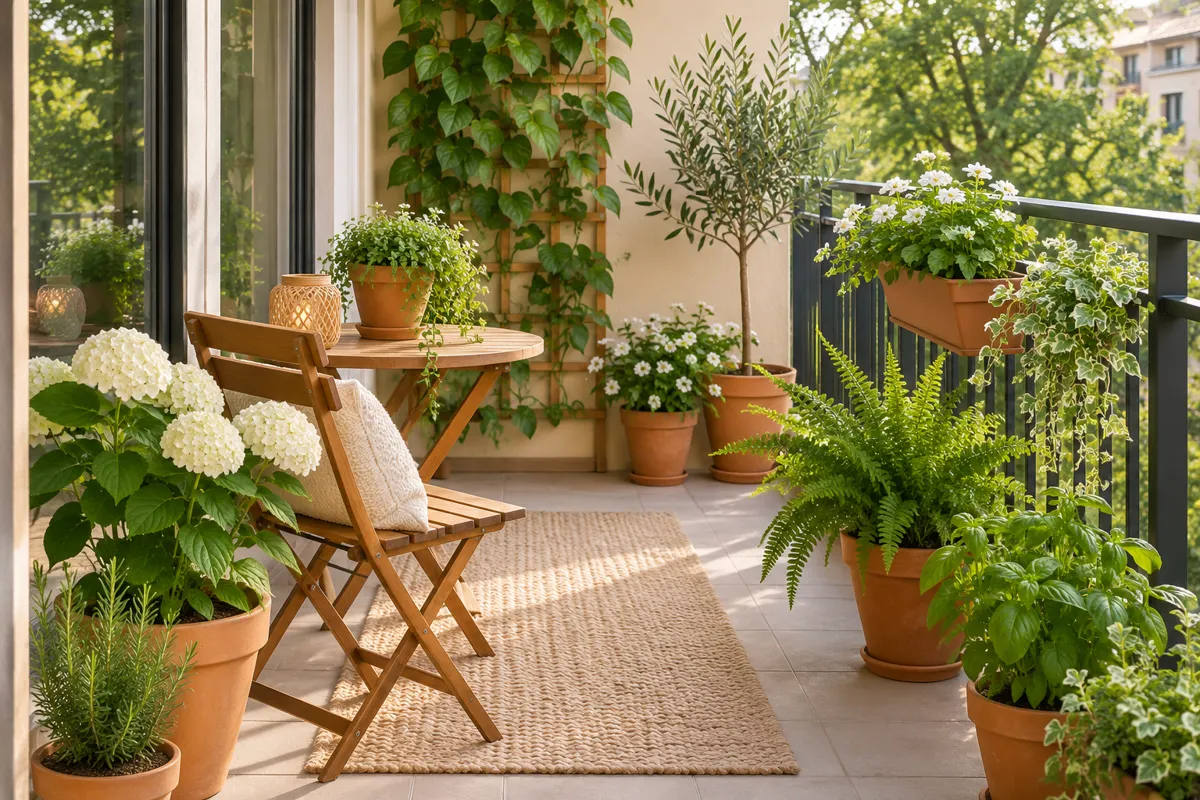
Choose the position with care access in mind. You need to reach the mix, inspect foliage and remove collected water where necessary. If the containers are on a balcony, check the property’s loading, attachment and runoff requirements. Our apartment balcony garden guide connects those constraints with the seating and layout decisions.
2. Pick a clear goal for the first three pots
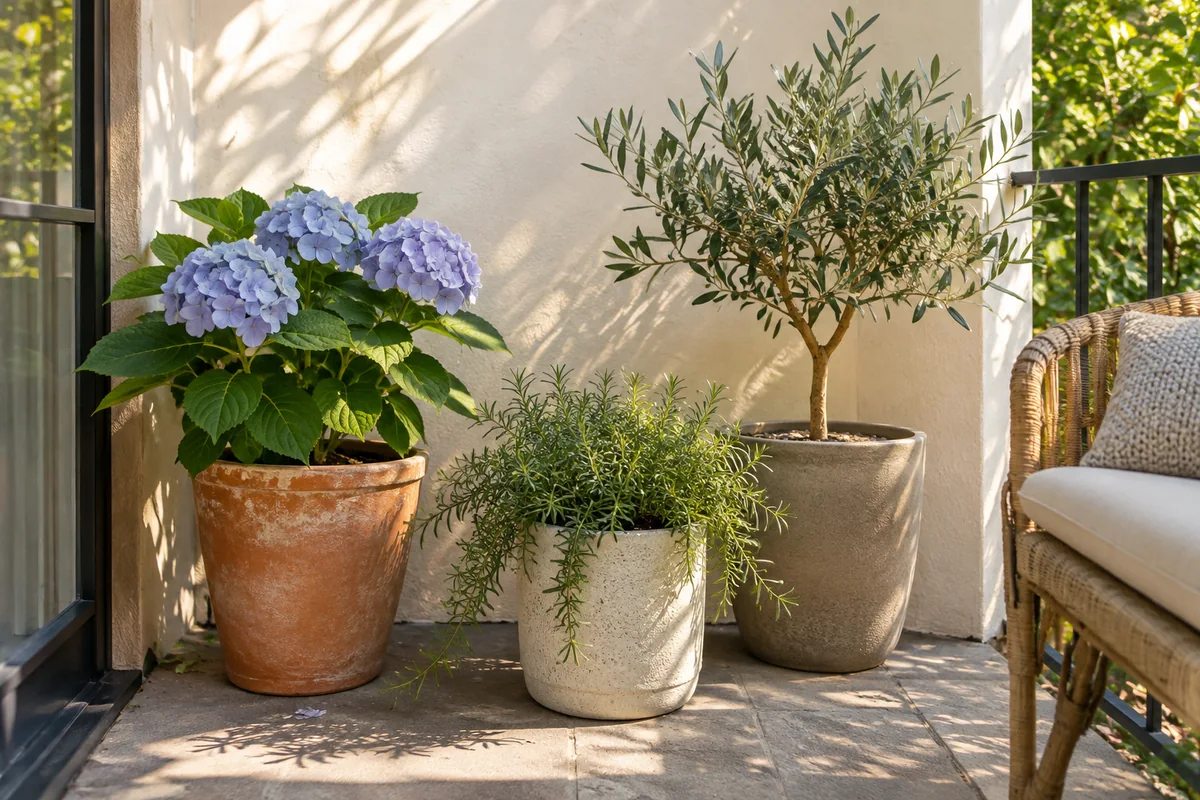
Choose a modest result you will appreciate: herbs for regular meals, a small seasonal flower display or leafy plants beside a chair. The goal helps you avoid combining whatever looks appealing at the nursery. Plants with different requirements can share a visual group, but separate containers make those differences easier to manage.
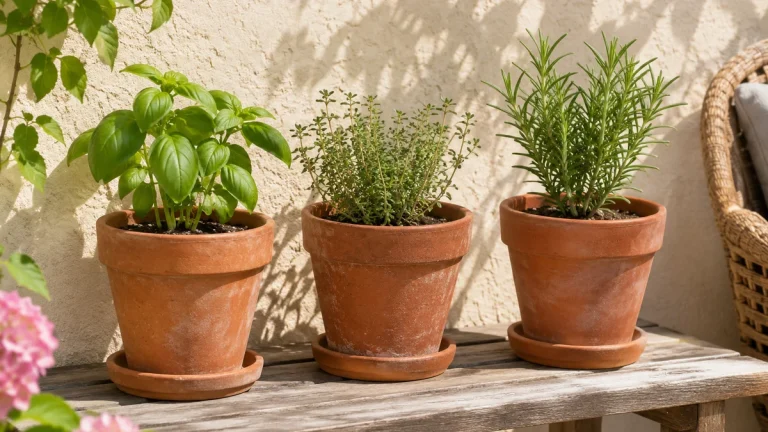
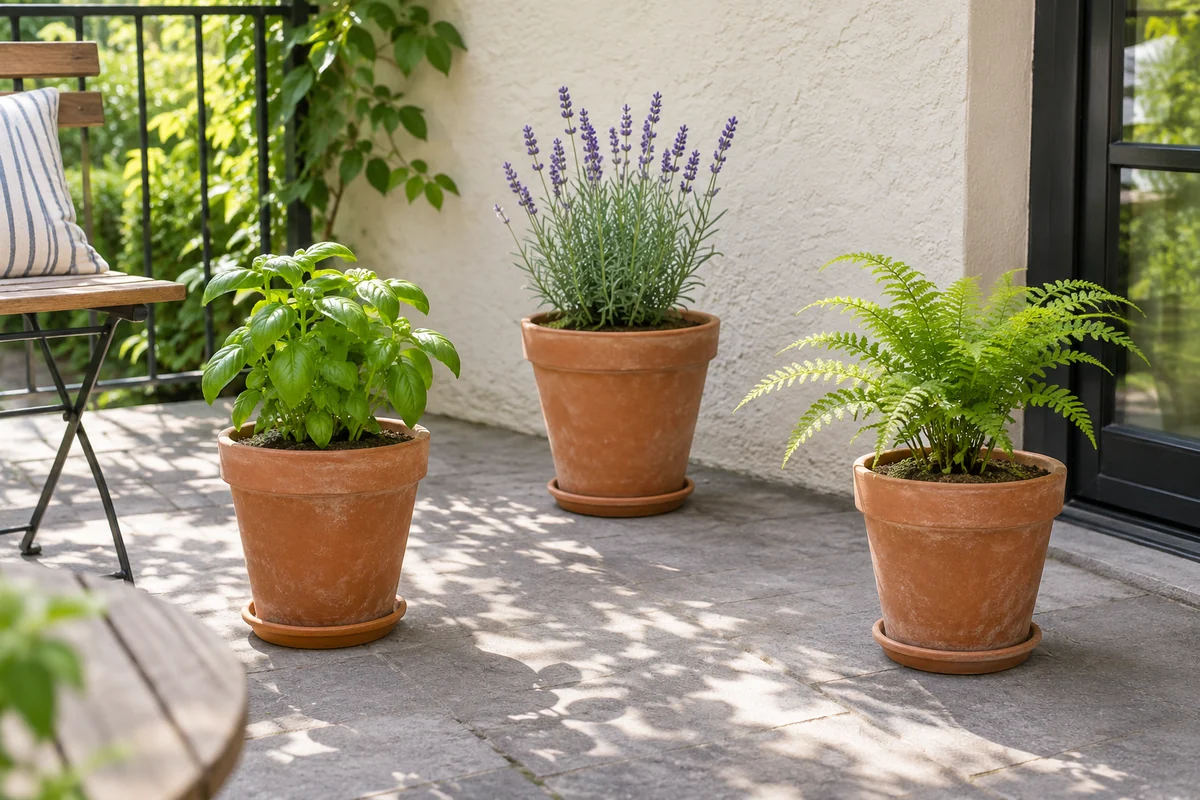
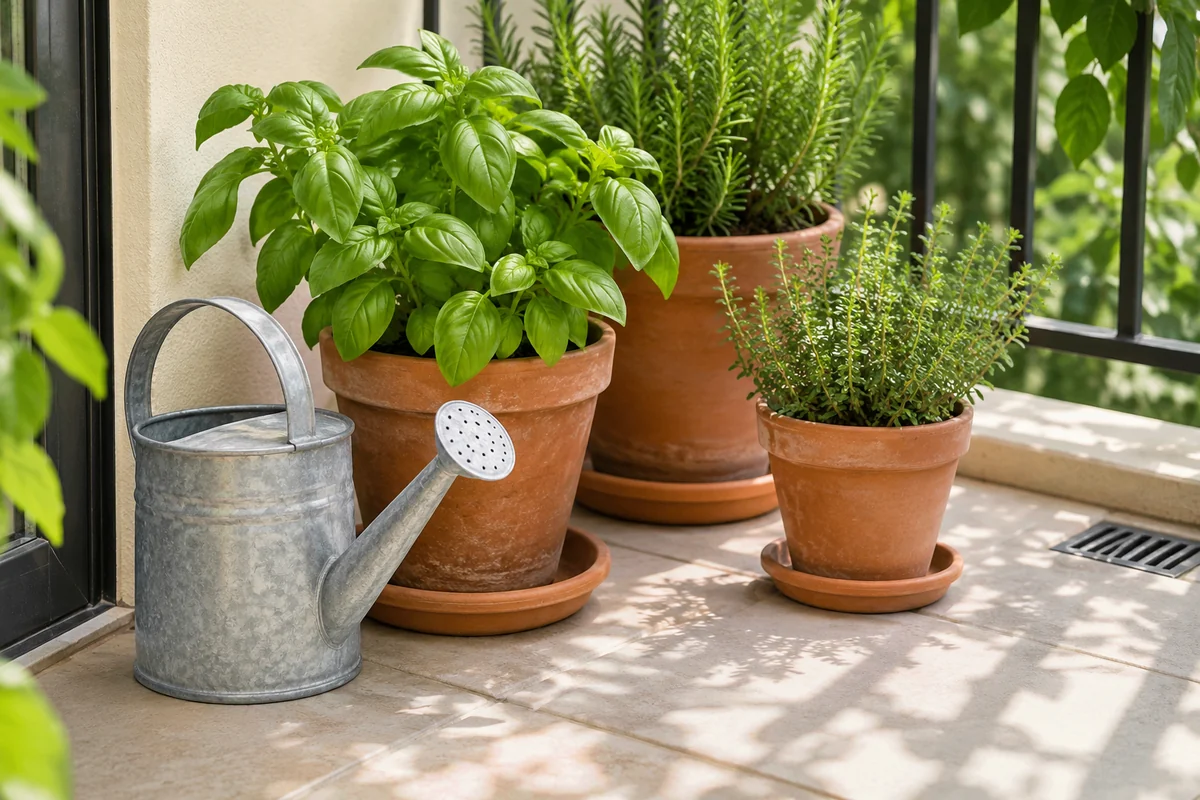
For a first edible collection in a suitable sunny season, consider basil, parsley and thyme in separate pots. These herbs offer different leaf forms and kitchen uses. The example also teaches an important distinction: parsley and basil generally appreciate more consistent moisture than thyme, so they should not automatically receive water together.
You can replace any of the three with a locally suitable choice. If you rarely use thyme, choose an herb you cook with and investigate its requirements. If the light is limited, revise the goal rather than expecting a sun-loving plant to perform well anyway. A successful first season with one or two appropriate plants is more useful than a complete-looking collection that struggles.
3. Compare plants before comparing decorative pots
Read the label for mature size, light, season and watering guidance. Look for a compact variety when the species includes much larger forms, but still allow for its stated growth. A small transplant is not a reliable picture of the space it will occupy in several weeks.
| Example plant | What it contributes | Main care distinction |
|---|---|---|
| Basil | Soft foliage and frequent small culinary harvests | Warm-season growth and relatively consistent moisture |
| Parsley | A leafy harvest and a fuller upright form | A different seasonal rhythm from tender basil |
| Thyme | Small leaves and a lower, spreading texture | Well-drained conditions and less frequent watering in many setups |
Inspect potential purchases for healthy growth and obvious pests. Avoid selecting a weak plant just because the pot fits your color scheme. Ask the nursery about the variety’s local seasonal behavior. University of Maryland Extension’s herb container guidance provides useful background on drainage and managing herbs individually.
4. Select enough usable root space
Consider volume and depth as well as width. A broad rim can conceal a narrow or shallow interior. Check the needs of the actual plant and whether you expect it to remain in the container through the season. A perennial herb may eventually need more space or division even when its first nursery pot looks adequate.
For a practical first comparison, examine ordinary pots around one to three gallons for smaller culinary herbs, then adjust for the chosen variety and duration. This is a shopping starting point, not a universal minimum. Large herbs, vigorous plants and fruiting vegetables can need substantially different containers. Follow crop-specific guidance rather than scaling the three-herb example to every plant.
Compare the filled weight with your handling ability and the support surface. Add the weight of wet mix, the plant and any collected water when planning a stand. Larger containers can buffer drying better than tiny pots, but they also need a realistic permanent position. Choose manageable root space without creating a container you cannot inspect or reposition appropriately.
5. Check drainage before adding mix
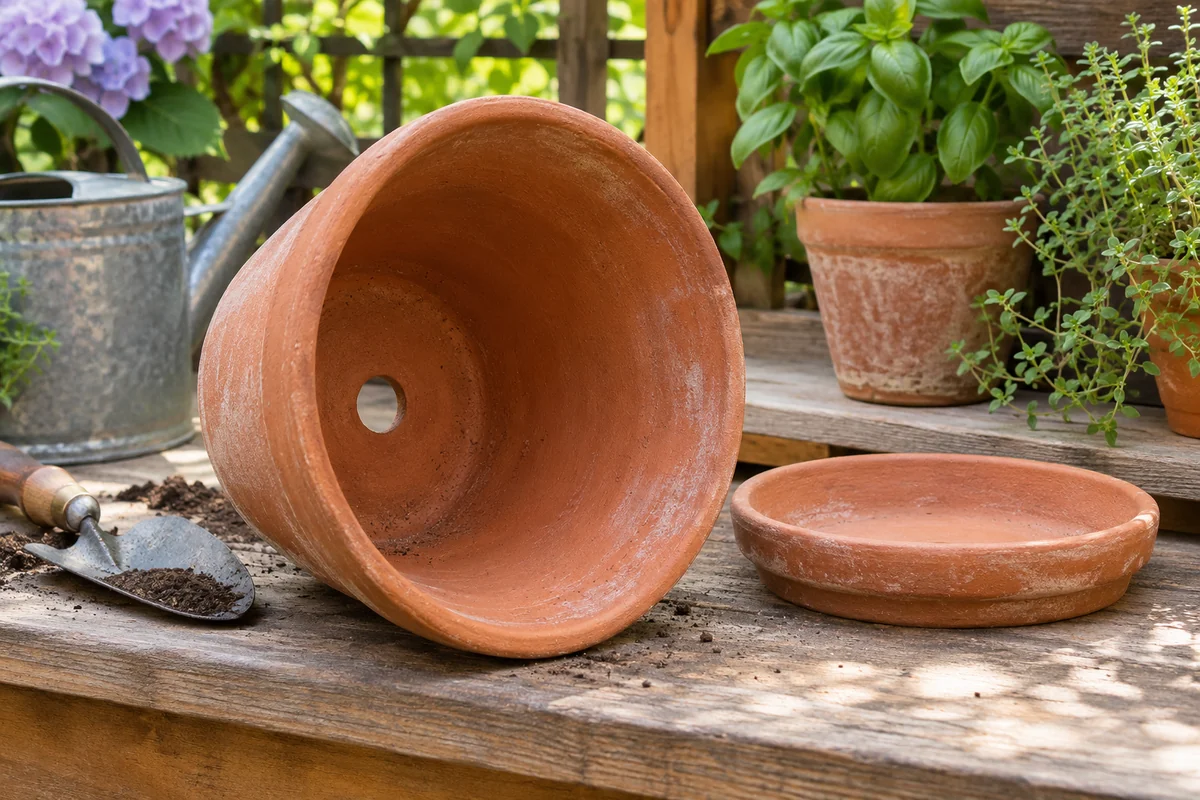
Ordinary planting containers need an effective route for excess water to leave. Check the base before filling and make sure the drainage opening will not sit directly against an unsuitable sealed surface. Use supports only when they are stable, permitted and appropriate for the container and location.
A saucer can help manage temporary runoff, but it also needs inspection. Do not leave a nursery pot standing indefinitely in collected water. With a decorative outer pot, make the inner planting container easy to remove so you can water and drain it properly. A hidden wet base is difficult to diagnose from the top of the foliage.
Do not add a gravel layer to improve drainage. It does not replace holes or suitable growing mix. For the underlying explanation, see University of Maryland Extension’s container growing guide. Specially designed self-watering products work differently; follow their reservoir and overflow instructions instead of applying the same setup to a plain decorative pot.
6. Choose a suitable growing mix
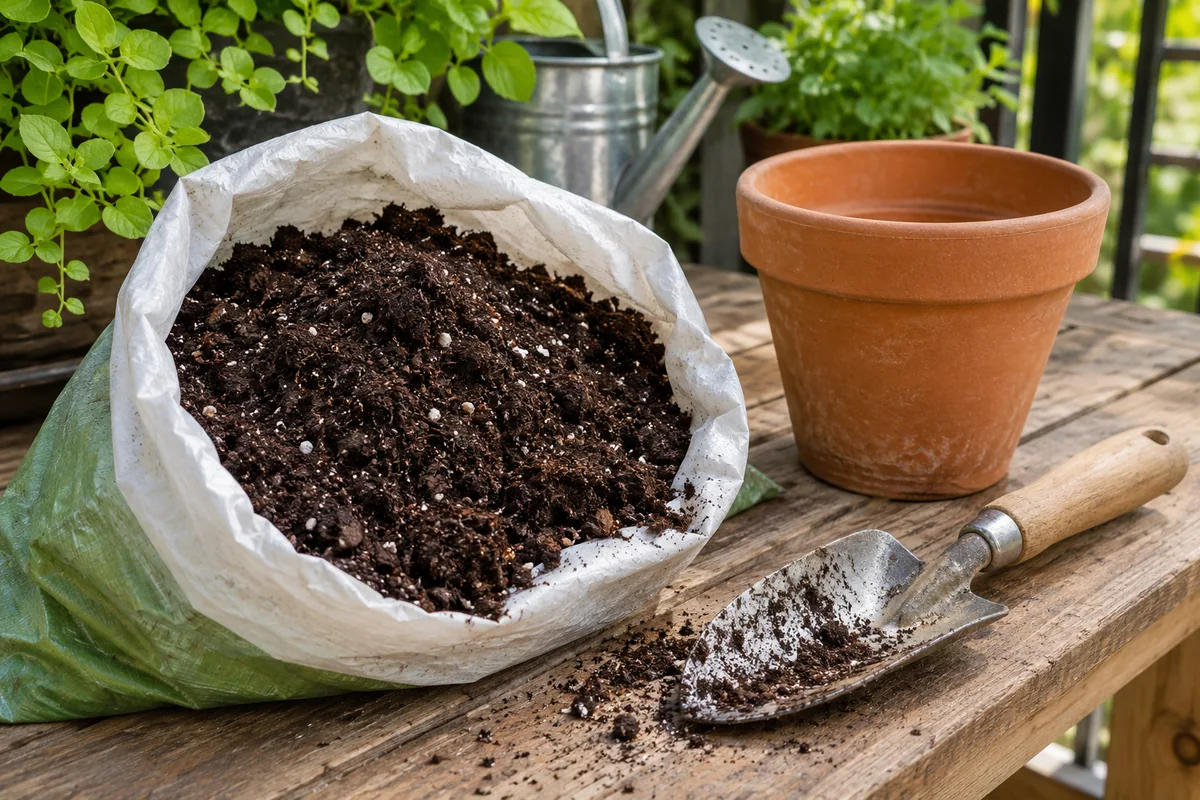
Use a mix intended for container growing and appropriate for your plants. Dense garden soil behaves differently in a pot and can restrict air and drainage. Read the bag for its ingredients, intended use and any fertilizer already included. Similar-looking bags may contain different products, such as compost, seed-starting mix or an all-purpose container medium.
You do not need to begin with a complicated homemade recipe. A suitable ready-made mix makes the first trial easier to understand. Learn how it absorbs water and how quickly it dries in your position. If a plant requires a particular medium, follow reliable plant-specific guidance rather than adding random sand or gravel to a general mix.
Store remaining material according to the label and keep identification available. A closed unlabelled bag makes the next planting project harder because you cannot check what is already in it. Our balcony storage ideas connect planting supplies with a manageable small-space care station. Keep the active tools separate from occasional reserves so ordinary watering remains straightforward.
7. Prepare a small planting kit
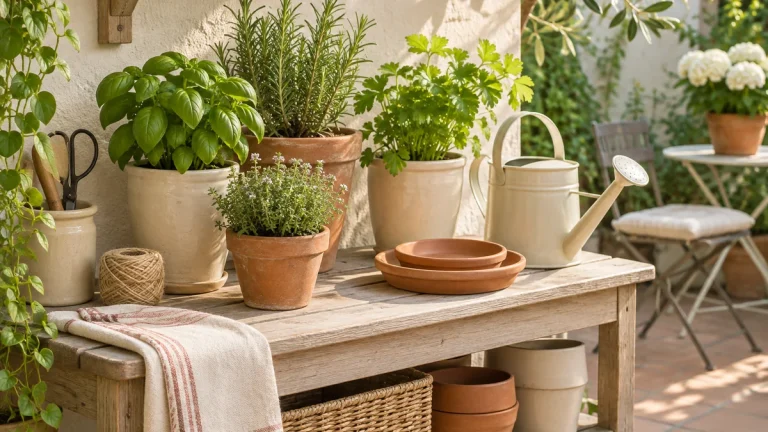
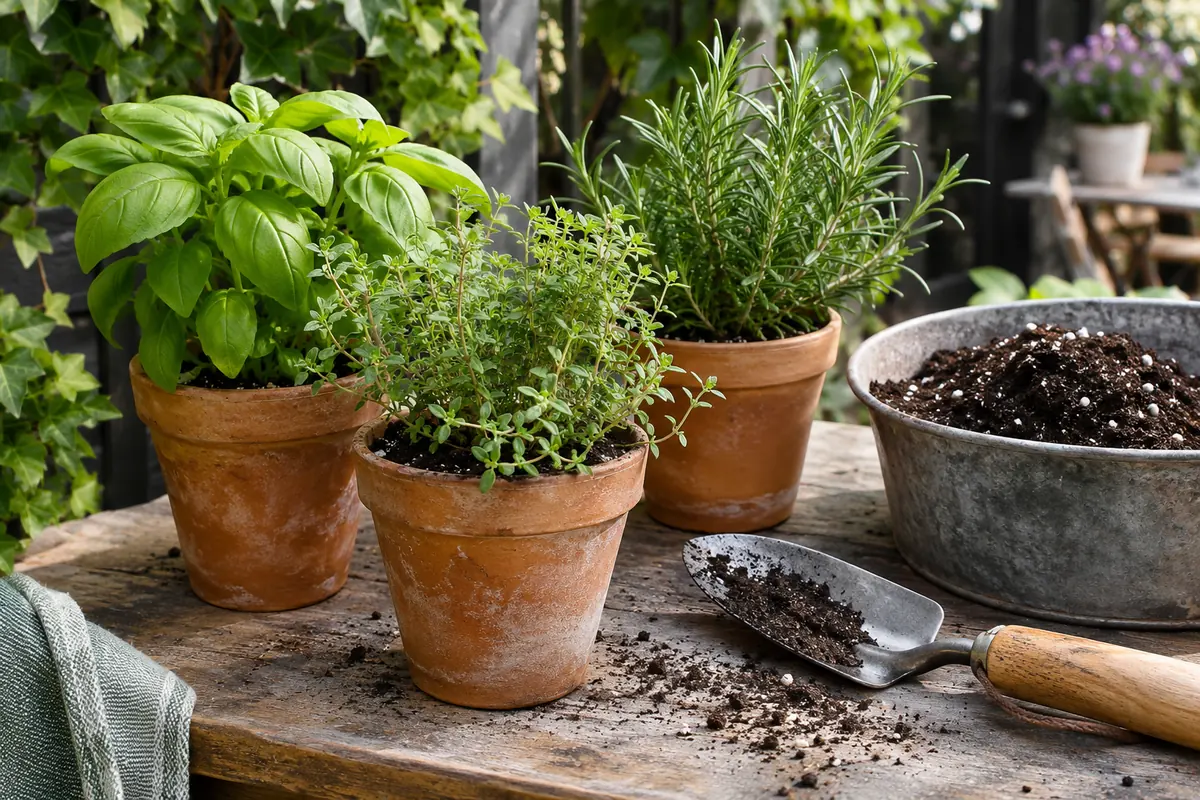
Gather the chosen plants, containers, growing mix, a watering can and a small hand tool. Add gloves, labels and a suitable place for collecting loose mix. Check the potting area before opening bags, especially when working on a balcony where debris or water must not fall to neighbors.
| Item | Why it is useful | What to avoid buying automatically |
|---|---|---|
| Suitable containers | Provide root space and drainage | A matching set with unsuitable dimensions |
| Container mix | Supports roots, air and water movement | Several amendments without a clear need |
| Watering can | Makes controlled watering easier | An oversized can you cannot carry comfortably |
| Plant labels or notes | Keep varieties and care information identifiable | An elaborate tracking system you will not use |
Set everything within reach before removing plants from nursery pots. Prepare one container at a time if the work surface is small. Keep packaging until you have recorded the names and instructions. The kit is complete when it supports the actual planting task; decorative tools and extra containers can wait until you know what is missing.
8. Transplant one pot at a time
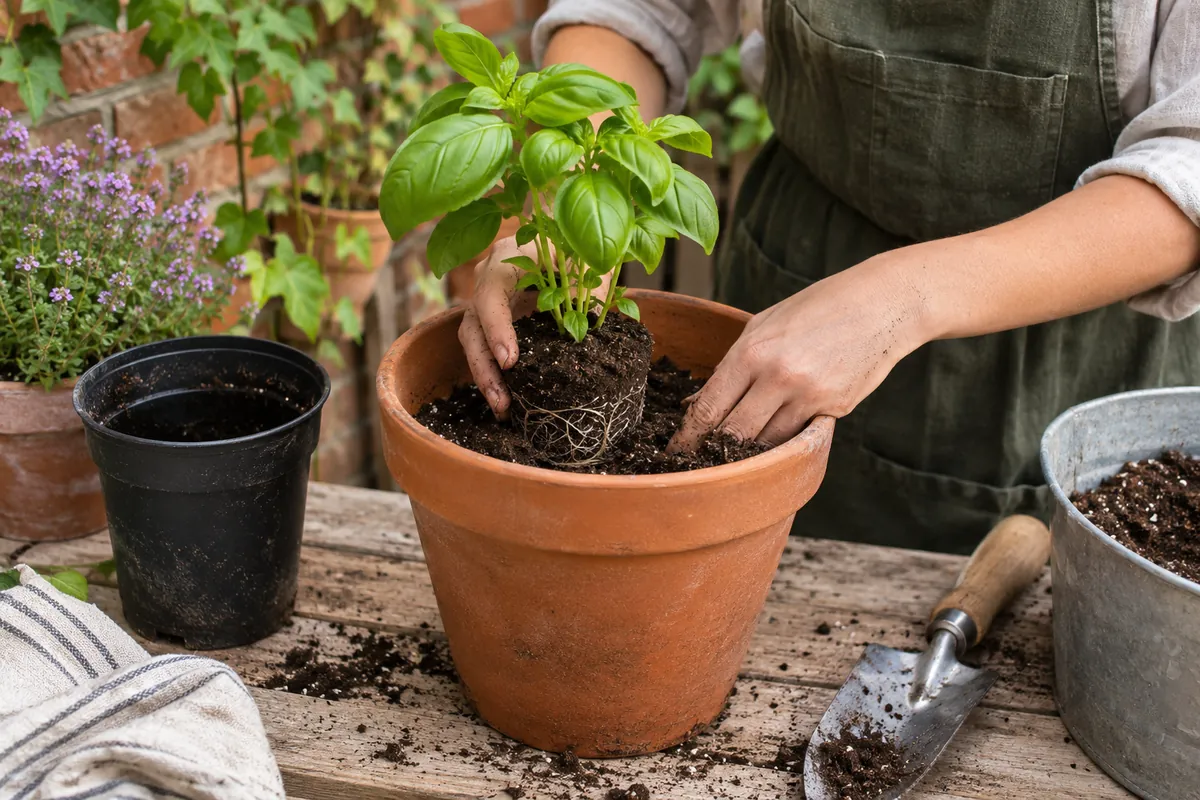
Moisten dry growing mix as directed so it is evenly receptive to water. Put enough in the container to support the root ball near the appropriate planting level. Remove the plant gently, supporting the root ball rather than pulling on tender stems. Inspect the roots and follow suitable guidance if a transplant is tightly root-bound.
For common culinary herb transplants, keep roughly the nursery growing depth unless plant-specific instructions say otherwise. Fill around the root ball gently and leave space below the rim for watering. Avoid compacting the entire pot firmly; the medium needs pore space for air and water as well as enough support to hold the plant upright.
Water the planted container and observe what happens. If water runs rapidly around a dry root ball, slow down and check whether the mix has wetted evenly. Move the pot to its planned position once excess water has drained appropriately. Clean up before starting the next container if loose mix is beginning to spread into the route.
9. Arrange the group for care and growth
Set the three containers where each receives appropriate light and can be inspected independently. Leave room to reach the rim and see the base. A close visual group does not require leaves and stems to be pressed together. Mature spread matters as much as the spacing on planting day.
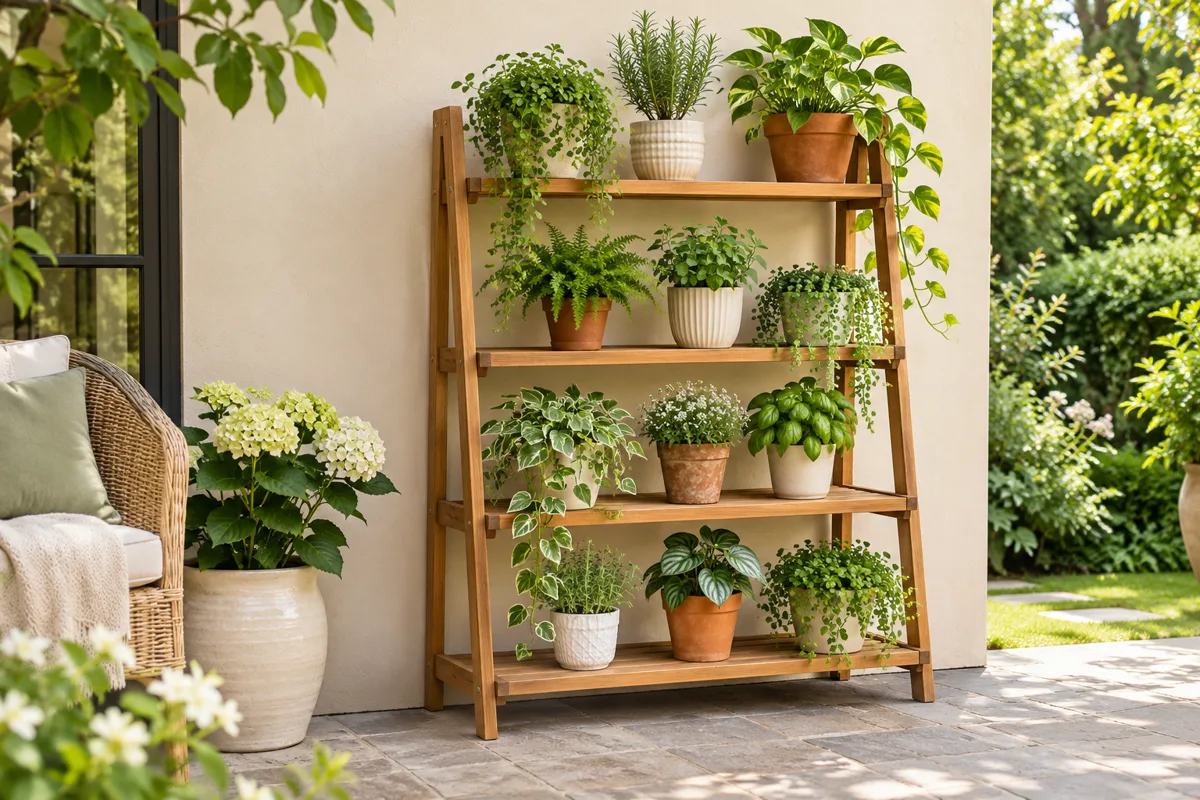
Use different heights only when they improve the arrangement. A low shelf may help you see a small thyme plant, but an upper basil pot could shade it. Check the stand’s intended use, load limits and any anchoring requirements. If those requirements do not fit the location, keep the containers on suitable individual surfaces instead.
Our tiered plant stand guide covers this decision in more detail. Do not fill a shelf simply because there is another available level. The first collection should remain easy to lift, inspect and clean around. A three-pot garden can look complete with varied foliage and related containers while still leaving useful open space beside it.
10. Learn watering from observations
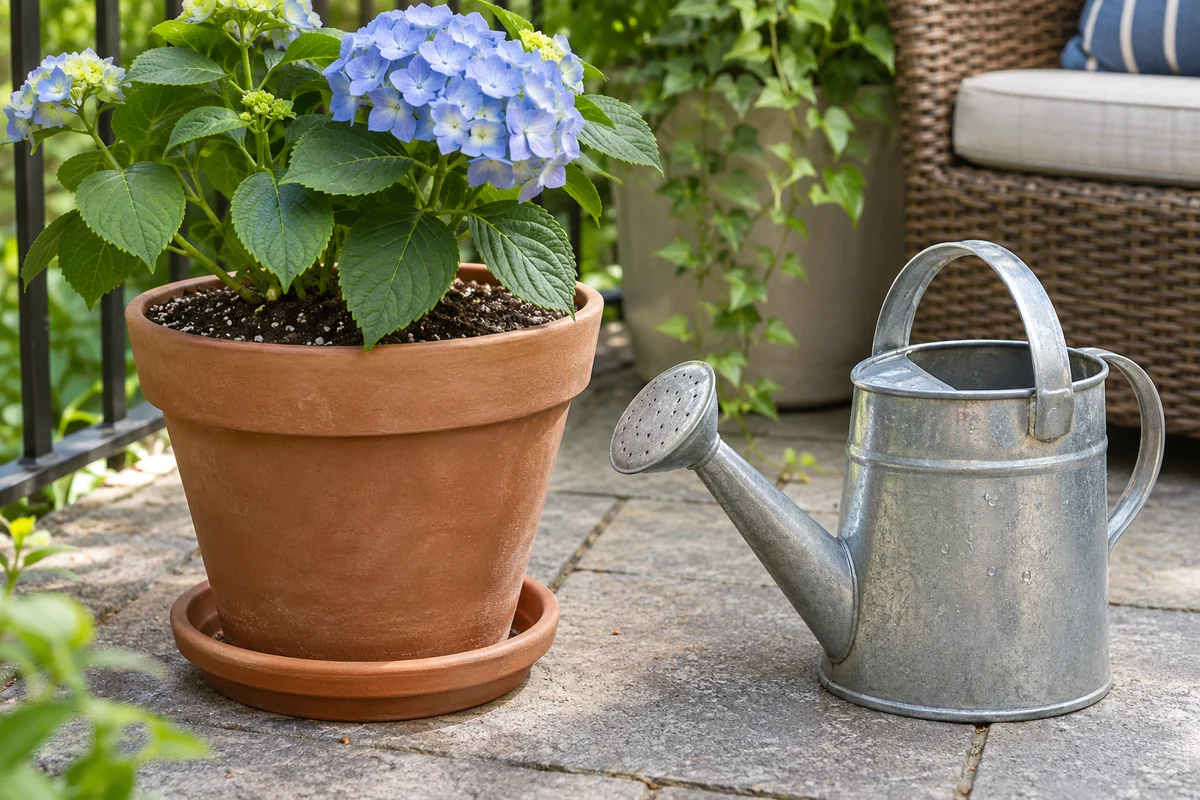
Check the mix before watering and compare the condition below the surface with the plant’s requirements. Learn the weight of the pot after thorough watering and as it dries. Container material, root growth, wind and weather influence demand, so a reminder should prompt an inspection rather than an automatic measured drink for every plant.
Water at the growing medium rather than treating a brief mist over leaves as root watering. Apply water slowly enough to wet the root zone and observe drainage where appropriate. Remove collected water as needed and keep the surrounding area clean. A dry-looking surface alone does not tell you whether the deeper root ball is dry.
Use our watering container plants guide when adjusting the routine. If one pot dries much faster than the others, investigate its size, material, position and root growth. Do not assume the plant needs repotting or feeding immediately. A specific observation gives you a better next step than changing several care variables at once.
11. Feed and harvest according to the plants
Check whether the potting mix already contains a nutrient supply and how long the manufacturer expects it to last. Use a fertilizer intended for the crop and follow its directions. More fertilizer is not a general cure for slow growth, particularly when the actual problem is insufficient light, unsuitable moisture or a damaged root system.
Begin with small harvests once plants are established and growing. Identify the correct cutting method for each herb rather than removing the same proportion from every plant. Keep enough healthy growth for continued development. If you want a lot of herbs for preserving, plan the extra growing space instead of repeatedly stripping a small starter collection.
Watch the crop’s seasonal behavior. Basil is tender, while parsley and thyme have different growth and temperature responses. A pot may need a different seasonal plan rather than more of the same care. Record what you harvest and whether the plant recovers well. That turns the first collection into a useful guide for next season’s choices.
12. Troubleshoot with a short record
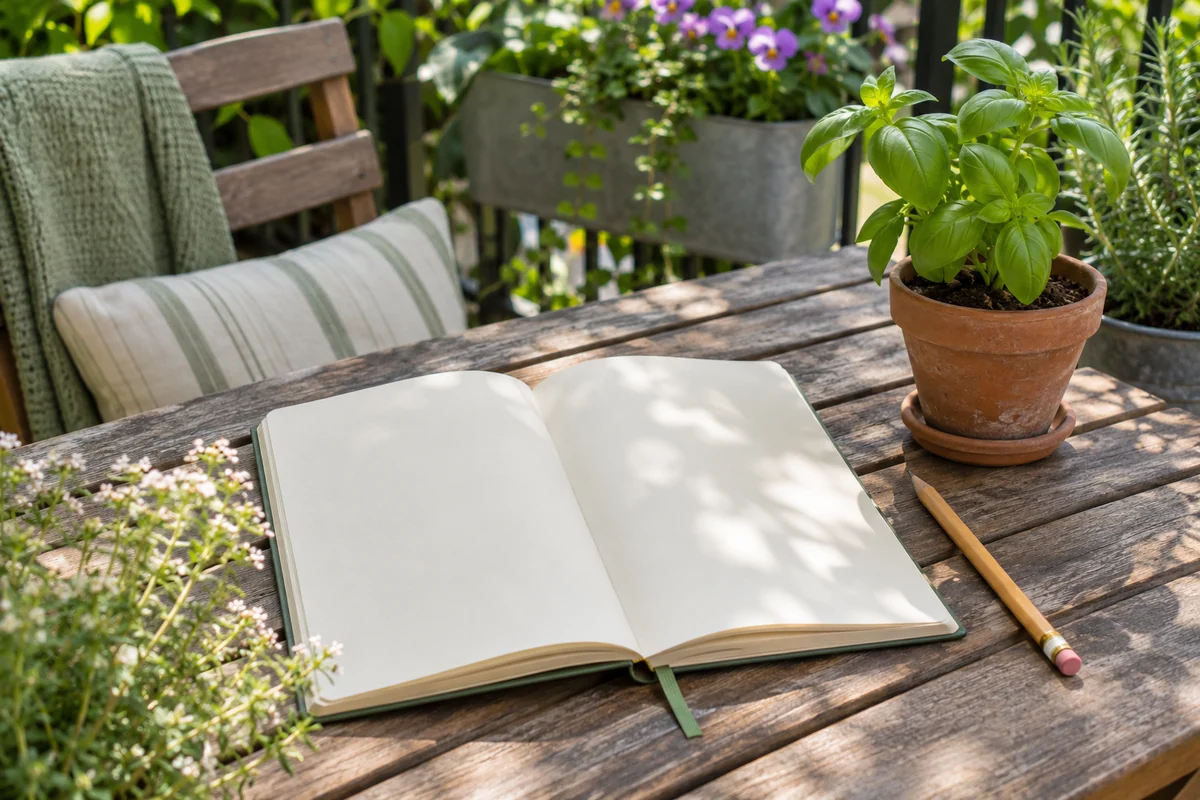
Write down the plant name, position, planting date and a few moisture observations. Add changes such as a move, a feeding or a spell of unusually hot weather. This makes it easier to connect a symptom with a possible cause without relying on memory. A notebook or a simple phone note is enough.
| What you notice | Check first | Sensible next step |
|---|---|---|
| Wilting | Moisture within the root ball and current heat | Diagnose wet versus dry before watering again |
| Slow, stretched growth | Available light and crowding | Improve a suitable position rather than adding fertilizer automatically |
| Mix staying wet | Drainage, container size and sheltered conditions | Correct the cause and adjust watering |
| Roots filling the container | Root density and plant requirements | Plan an appropriate next container when needed |
Review the collection after a month. Keep the plants you enjoy using, improve the care problem you can identify and avoid buying more until the routine feels manageable. Container gardening becomes easier through those small, specific decisions. Your first three pots are successful when they help you learn your own growing conditions and remain a pleasure to look after.
First-container questions
Can I put all three herbs in one planter?
Only when their mature size, light and watering needs fit the planter and one another. Separate pots are a useful beginner choice because you can adjust care independently. They also make it easier to replace a seasonal plant without disturbing the rest.
Should every pot be watered daily?
No. Inspect regularly and water according to the plant and root-zone condition. Some pots need frequent watering in hot weather, while others remain moist longer. A fixed schedule can miss both situations.
Can I reuse an old container?
Yes, when it is sound, suitable for the intended crop, appropriately cleaned and able to drain. Check its material, previous use and condition before planting. A free container still needs to meet the plant’s practical requirements.
Save this guide for later
Save these Pinterest graphics for your next planning session. Adapt the ideas to your own space, climate and care routine. Article images are design illustrations.