Vertical Herb Garden: A Small Balcony Plan for Separate Pots
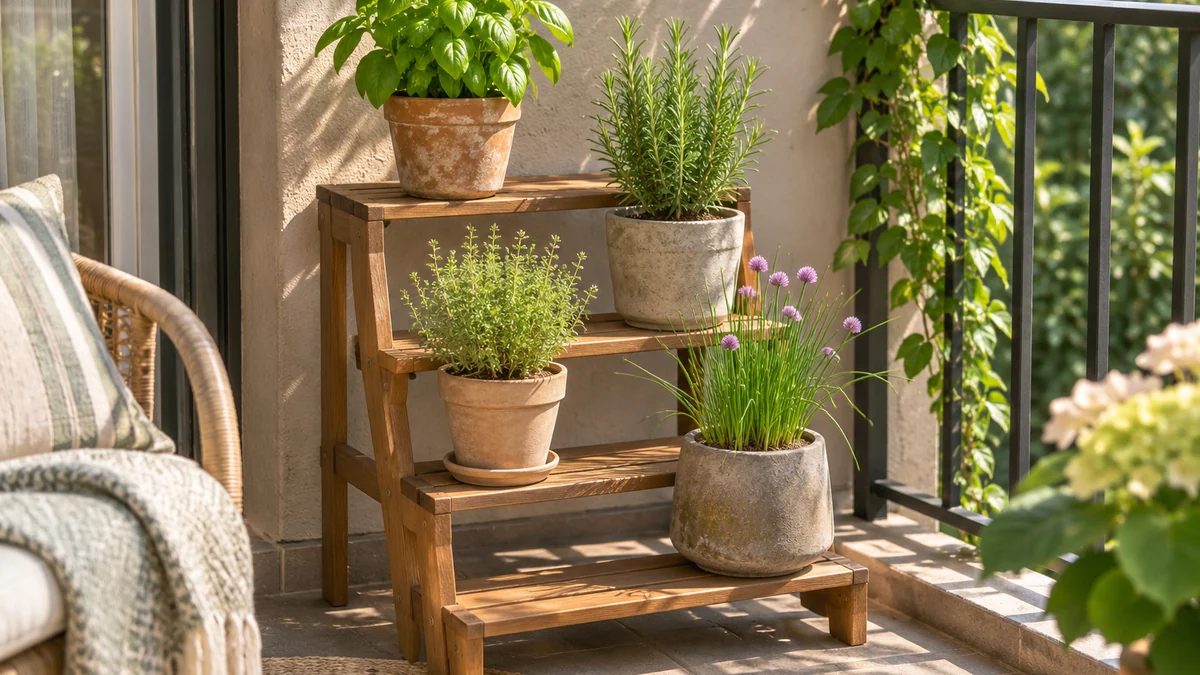
A vertical herb garden can keep a modest culinary collection organized when balcony floor space is limited. The practical starting point is a suitable low freestanding stand with separate containers, not a wall covered in plants. Each herb should remain reachable, identifiable and positioned for its needs. Growing upward helps only when it improves the routine around those individual pots.
This guide connects herb selection with shelf placement, watering access and ordinary kitchen use. For choosing the structure, first read our freestanding vertical balcony garden guide. For the basic planting decisions, use our small container herb garden guide. Check building rules and the stand’s instructions before adding filled containers, and begin with a smaller collection than the available shelves could hold.
In this guide
- 1. Choose a three-herb collection from your cooking and conditions
- 2. Observe the shelf location before buying plants
- 3. Choose a stand that supports independent care
- 4. Keep herbs in separate planting containers
- 5. Use an appropriate container mix and keep the label
- 6. Allocate shelves by load and reach
- 7. Leave room for each herb’s mature outline
- 8. Make three separate watering decisions at each check
- 9. Control water between the different levels
- 10. Keep harvest access separate from display styling
- 11. Use a shelf map that records observations, not assumptions
- 12. Review the display before expanding or changing seasons
- A practical three-pot starting plan
1. Choose a three-herb collection from your cooking and conditions
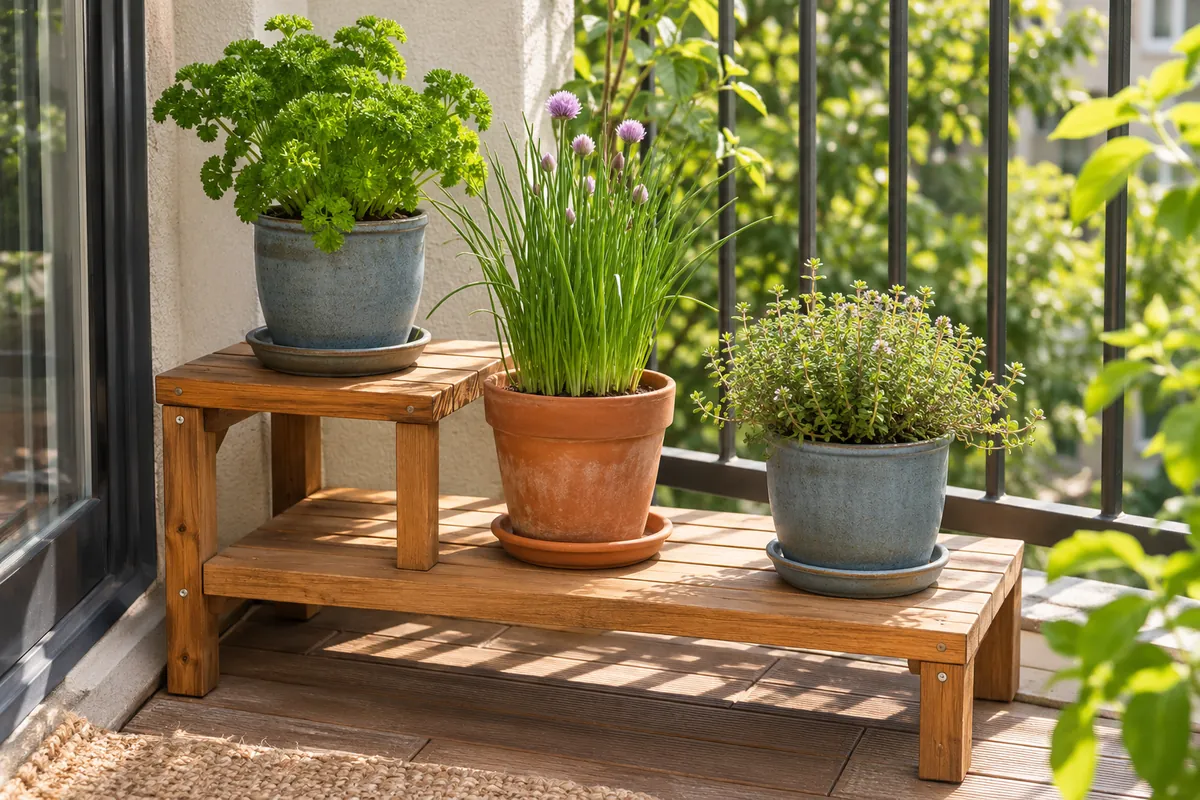
Start with the herbs you use in small regular amounts, then compare their light, seasonal and container needs. A vertical arrangement does not change those needs. Separate pots let you adjust moisture and replace a seasonal plant without disturbing the rest, but they still need suitable growing positions and enough room for roots.
| Possible herb | Reason to include it | Distinction to remember |
|---|---|---|
| Parsley | Frequent leafy additions to everyday meals | Keep its own seasonal and moisture needs in the plan |
| Chives | Upright foliage and small culinary cuts | Allow access to cut leaves without reaching over another pot |
| Thyme | A lower texture and modest savory harvests | Usually allow a drier interval than moisture-loving herbs |
| Basil as a seasonal alternative | Fresh leaves in suitable warm conditions | Tender growth and more consistent root moisture |
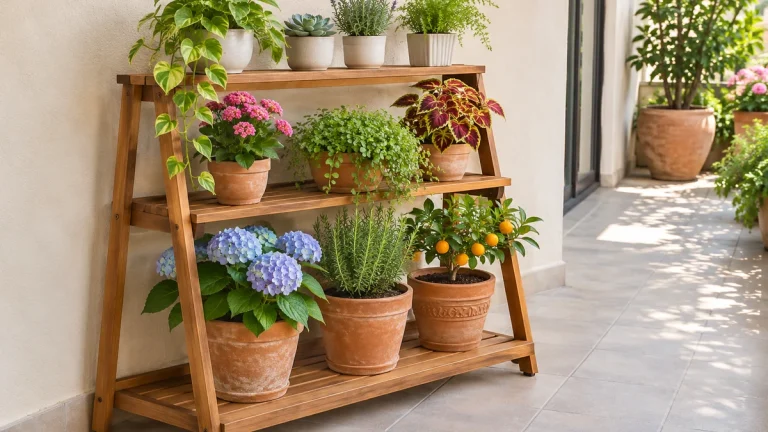
The illustration presents parsley, chives and thyme in independent containers. Choose different herbs when they suit your kitchen and actual growing conditions better. University of Maryland Extension’s container herb guidance provides background on drainage and mix. For the first planting steps, our small container herb garden guide helps you compare pots before deciding which shelf they will occupy.
2. Observe the shelf location before buying plants
Watch the intended position over the day and note direct sunlight, building shade, reflected heat and wind. Check the upper and lower levels separately. The stand, a wall and the foliage above can create different conditions within a small display. A bright-looking balcony does not automatically give every shelf the same light.
Compare those observations with the herbs’ requirements and local seasonal guidance. Many culinary herbs need a sunny position, but needs and tolerance differ. Do not assign plants to a shelf solely because their heights create a pleasing outline from the front.
Record the observations on a simple sketch. Include the doorway, seat and route around the stand so growing conditions remain connected to access. Our balcony planning guide helps with the wider layout. If the position cannot provide suitable conditions, choose another location or a more appropriate plant rather than trying to make every herb fit one predetermined display.
3. Choose a stand that supports independent care
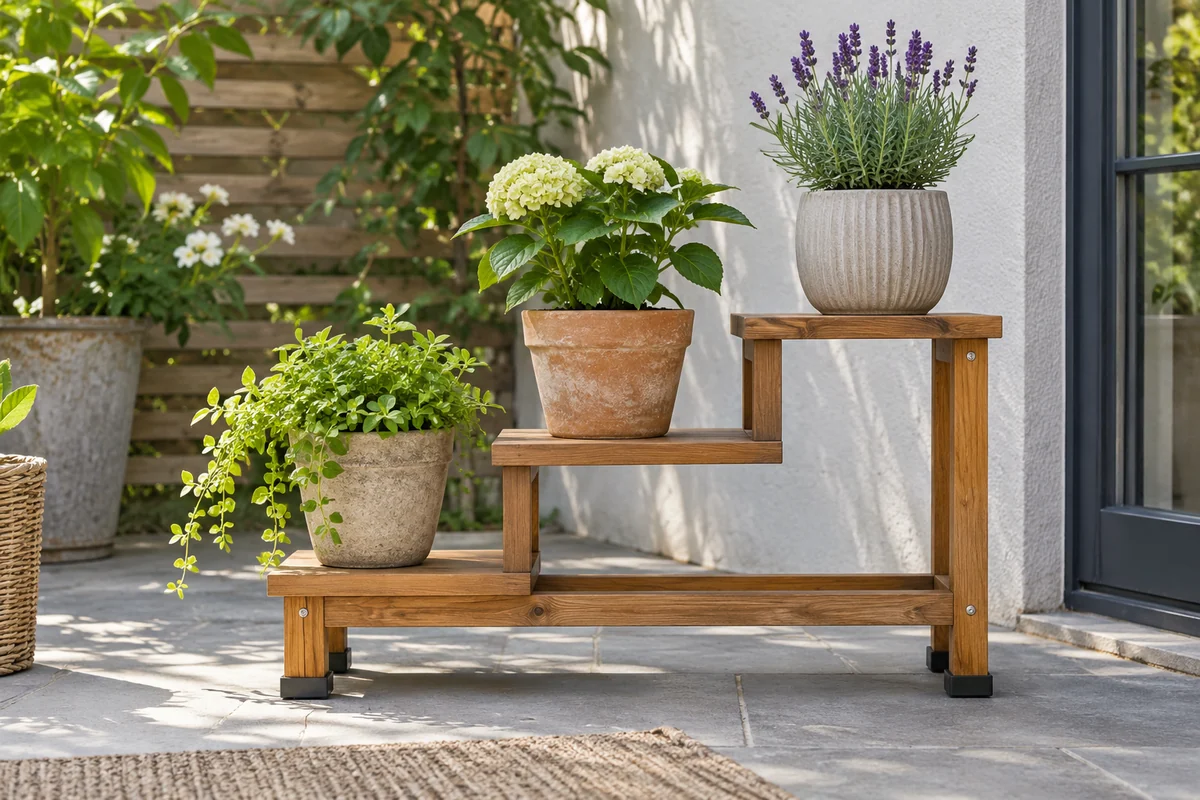
A suitable low stepped stand can make several containers visible and accessible. Check its outdoor use, shelf dimensions, load instructions, assembly and any anchoring requirements. If the required installation conflicts with the building rules, select another solution rather than omitting part of the instructions.
Assess the full footprint, including feet and projecting shelves. Check the route with the chair occupied and the door fully open. A structure that seems efficient from the front may use more floor than expected when viewed from the side.
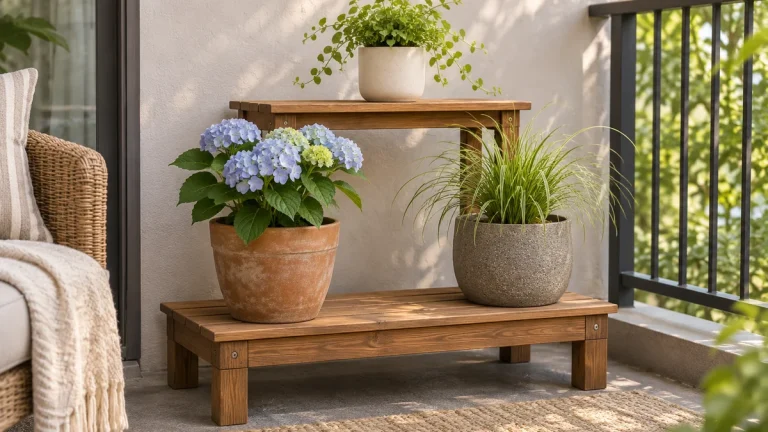
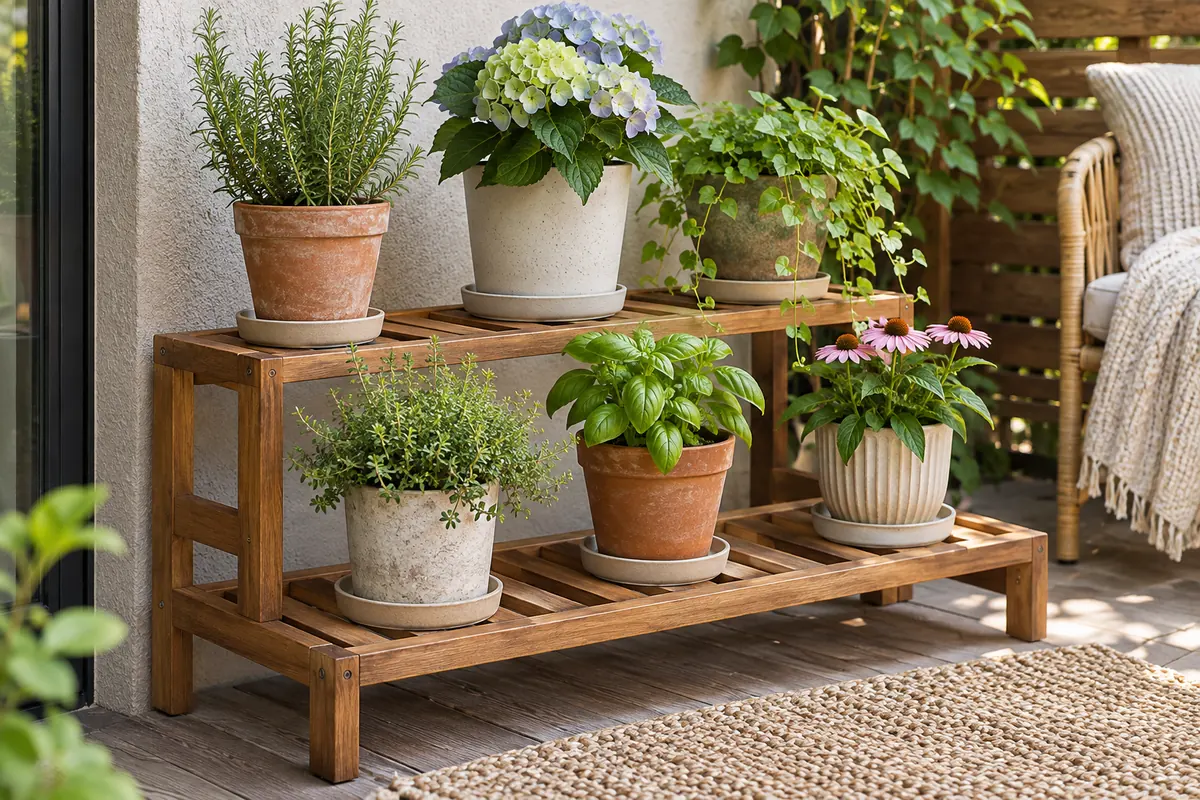
Think about reaching the herbs before loading the stand. You should be able to inspect the growing mix, remove a suitable small container and access collected water without stretching over several other plants. Our tiered plant stand arrangement guide provides a more detailed placement sequence. The useful stand is the one that helps you care for a manageable collection, not the tallest structure that can be squeezed into a corner.
4. Keep herbs in separate planting containers
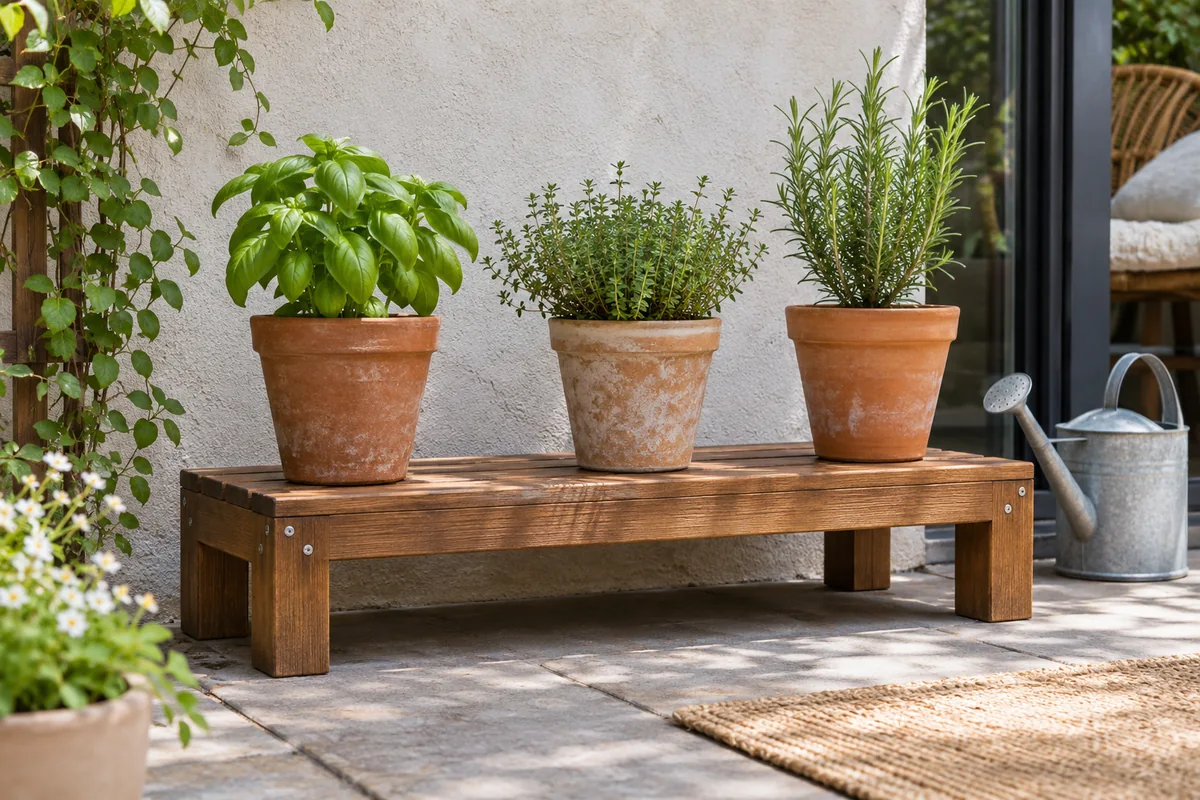
Separate pots let you adjust watering, position and maintenance for individual herbs. They also make identification and observation easier while you learn. A coordinated display does not require a shared root space or identical care, even when all the pots look similar.
Choose each container according to the plant’s expected growth and suitable root space. Consider the filled, wet weight and the stand’s instructions before deciding where it will go. Avoid selecting a pot only because its shape neatly occupies a shelf opening.
Check that every planting container has a workable drainage arrangement. A decorative outer pot needs an accessible plan for inspecting and removing collected water. Our beginner container gardening guide explains the broader setup. Begin with containers you can inspect and handle appropriately, leaving enough shelf space around them that separate care remains practical after the plants grow larger.
5. Use an appropriate container mix and keep the label
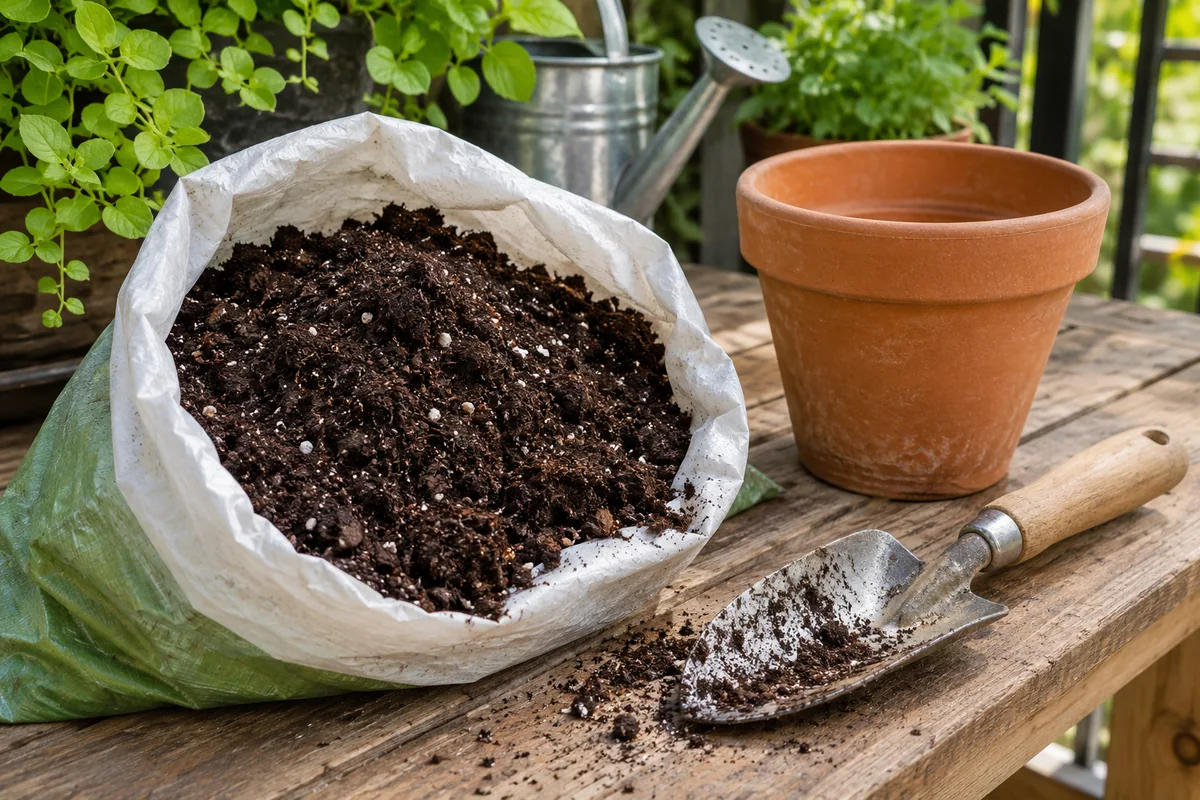
Choose a commercial growing mix suitable for the herbs and container use. Read the packaging for intended use, handling instructions and nutrients already included. Keep a photograph of the label with the plant record so you are not trying to remember the details after the bag has been stored.
University of Maryland Extension’s container herb guidance emphasizes well-draining containers and an appropriate lightweight mix. Use that background alongside plant-specific and local guidance rather than adding several amendments because a recipe sounds more elaborate.
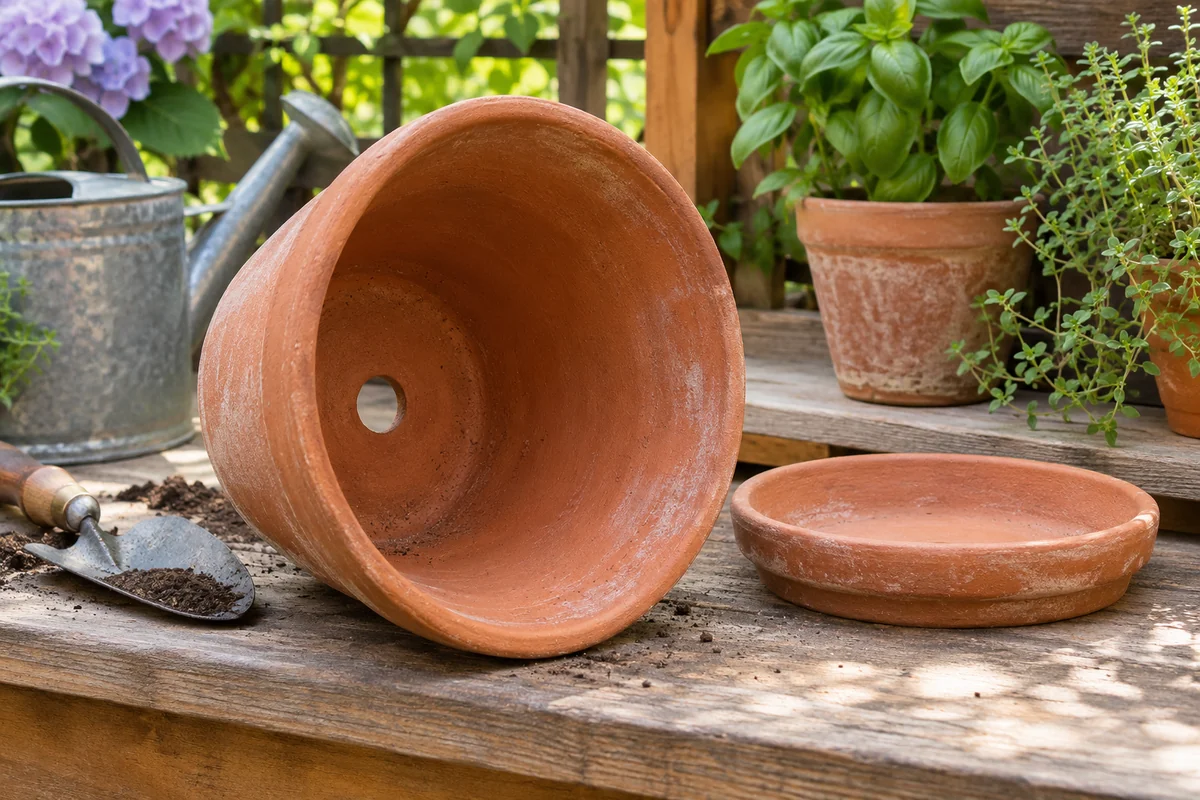
Prepare a controlled planting area, set out the containers and tools, and clean spilled mix appropriately afterward. Keep material from entering building drains. Follow the actual herb’s planting guidance and maintain an appropriate planting depth. The planting stage should produce a clearly identified, manageable container for each shelf position, with the remaining supplies stored properly instead of left beneath the stand as permanent project clutter.
6. Allocate shelves by load and reach
Follow the stand’s loading instructions and consider containers when filled and watered. Where appropriate, heavier pots belong on lower levels rather than creating a top-heavy arrangement. Do not judge suitability from an empty container or assume that a pot fits structurally because it fits visually.
Keep frequently harvested or inspected herbs in positions you can reach comfortably. The top shelf does not need the tallest plant. A small suitable container there may leave the lower levels more visible and easier to care for. An inaccessible shelf can remain empty.
Consider the balcony’s limits as well as the furniture’s limits. Ask the appropriate building contact when weight restrictions are uncertain, and plan handling before moving filled pots. A sketch and an empty-container trial can help avoid repeated difficult lifting. The finished display should have a sensible loading plan and a clear care route, rather than depend on frequent rearrangement to maintain a photograph’s exact composition.
7. Leave room for each herb’s mature outline
Check the expected growth habit of the actual variety. A small plant can expand into a neighboring container or press against the shelf above as it develops. Leave enough space around foliage to inspect leaves and reach the growing mix without bending stems aside.
Compare the display from the side as well as the front. An upper container or canopy can shade the level beneath it, and a plant at the back can disappear behind another pot. Offset positions only within the support and placement intended by the stand; keep containers appropriately supported rather than overhanging an edge for a decorative effect.
Do not use every gap immediately. Empty space gives you room to learn how the collection grows. If one herb cannot remain in suitable conditions on the stand, keep it elsewhere. The display can still feel connected through repeated containers or materials without forcing all plants into the same location or packing the shelves until separate care becomes difficult.
8. Make three separate watering decisions at each check
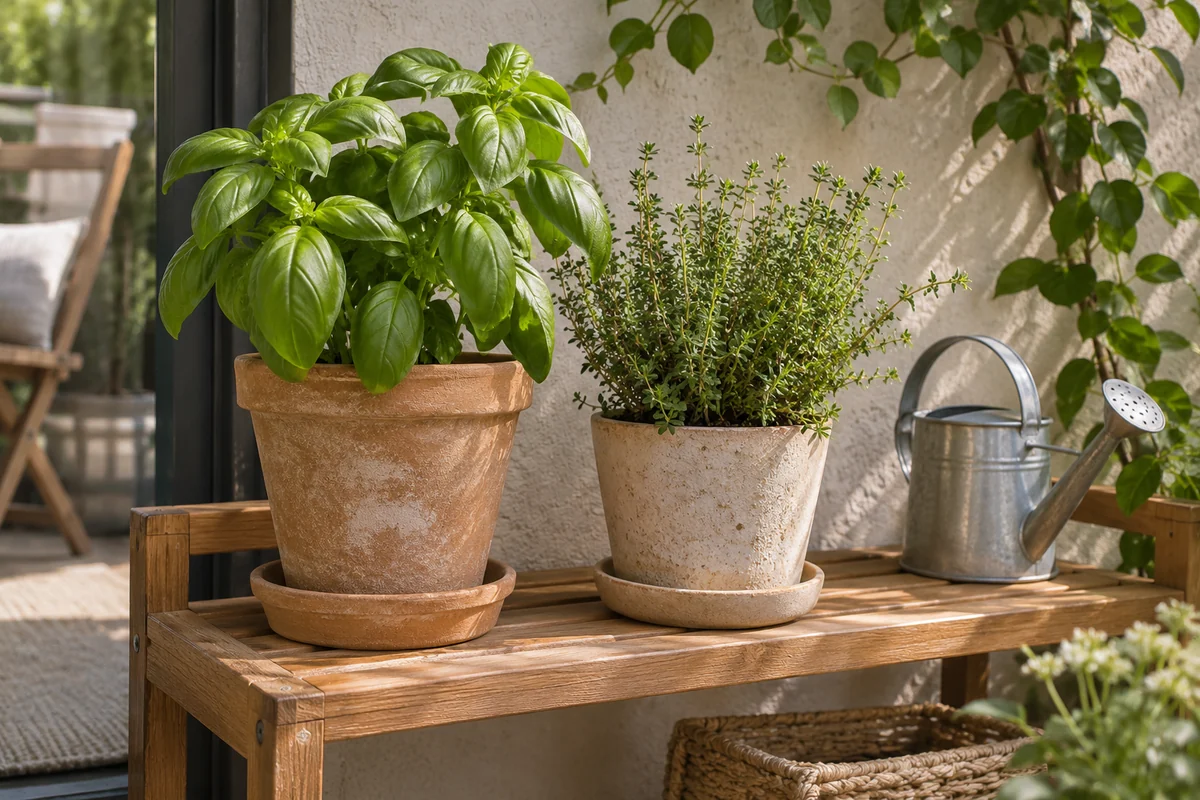
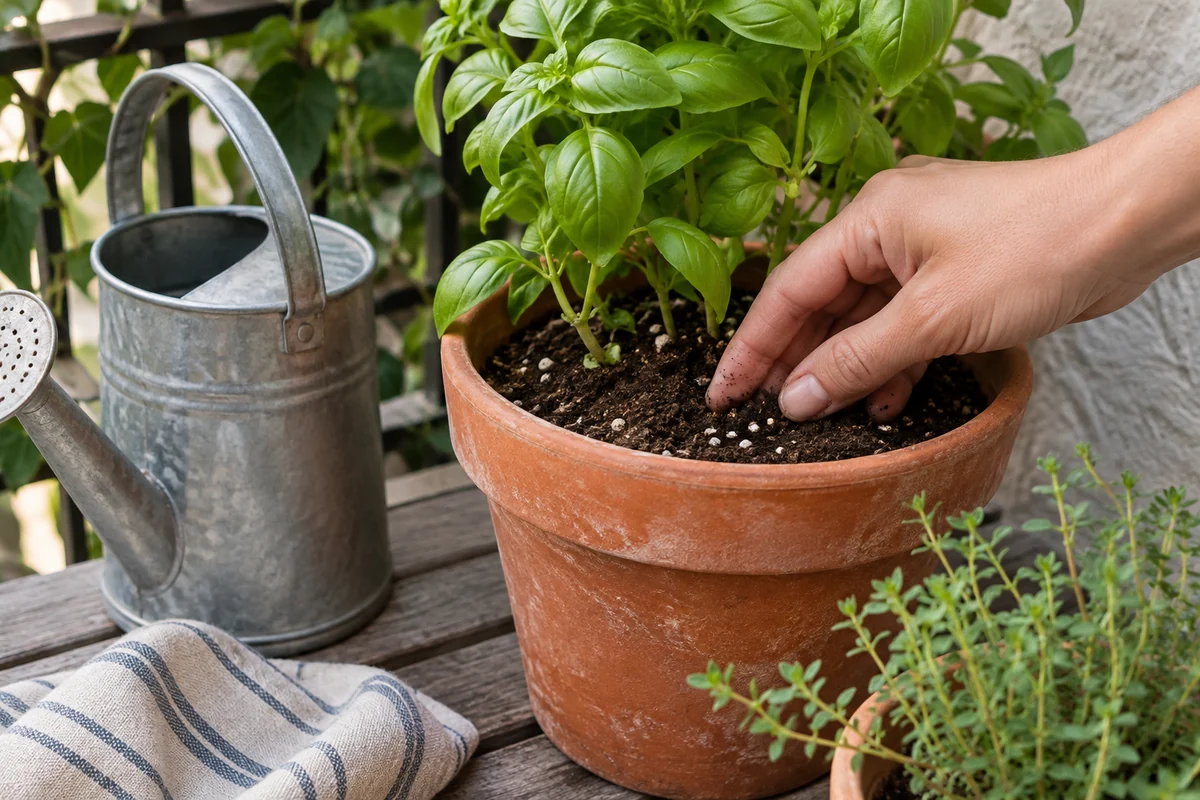
Inspect each pot according to the herb and the condition of its growing mix. For a worked example, suppose parsley feels appropriately moist, thyme has reached the dryness suitable for it and basil in another pot needs attention after warm weather. The sensible response is not an identical drink for all three. Each observation supports a separate decision, and the pattern may change at the next check.
The example illustrates the method rather than prescribing thresholds or a fixed schedule. Learn the actual plant requirements and inspect below the surface where practical without damaging roots. Container size, material, root growth and the shelf’s exposure can change drying rates. A lower shaded position may behave differently from a brighter upper position even with similar pots.
Apply water steadily when needed, observe drainage and remove collected water appropriately. Keep the pots independently reachable so checking one does not require moving the whole display. Our container watering guide explains the inspection sequence. If a pot repeatedly stays too wet or dries unusually quickly, investigate its setup before changing water and fertilizer for the entire herb collection.
9. Control water between the different levels
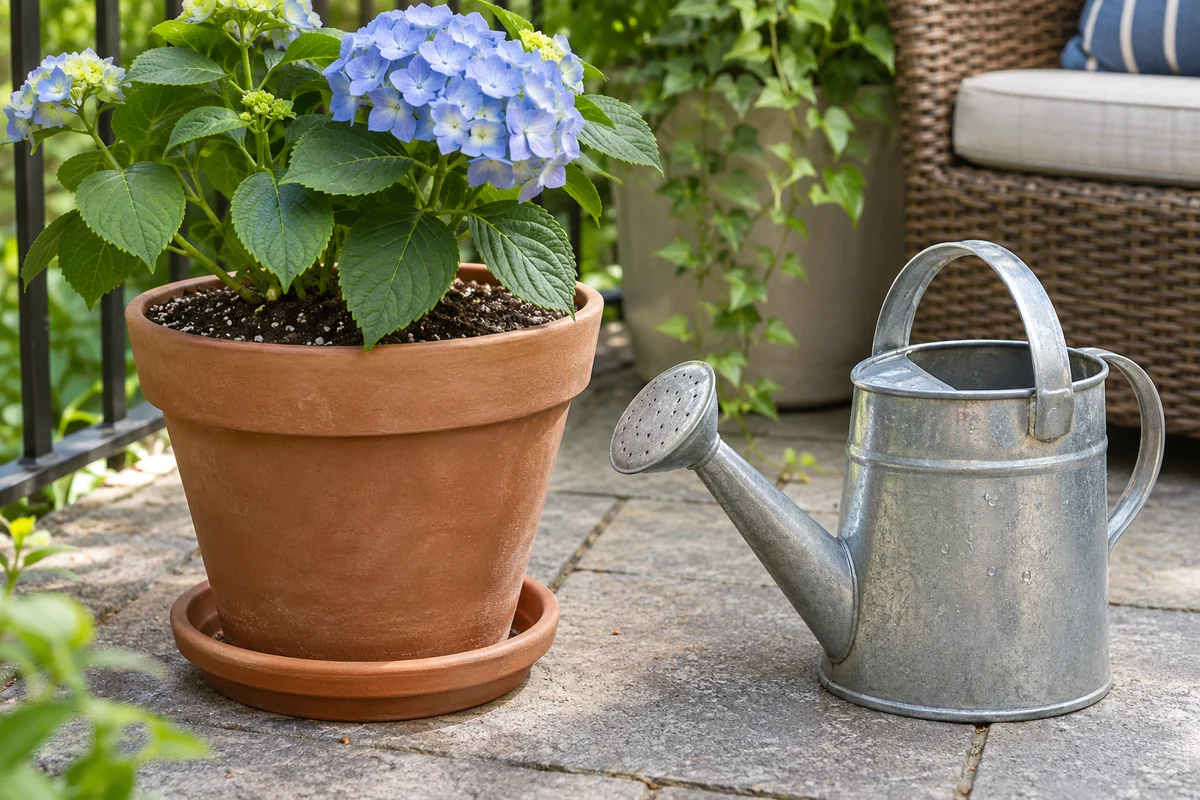
Trace the drainage path of every container. An upper pot should not create an unnoticed collection point beneath another plant or on an unsuitable shelf surface. Protect the furniture appropriately, keep building drainage clear and avoid runoff affecting neighbors below.
Use removable trays or saucers only when you can inspect and empty collected water. Do not leave herbs standing in stagnant water. Decorative outer pots also need accessible inspection rather than concealing water behind a neat exterior.
Practise a complete watering session before adding more containers. Check whether the can reaches each pot and whether a tray can be removed without moving several other plants. If the task feels awkward, revise the arrangement or reduce the collection. Our tiered stand guide connects these practical details with shelf placement. A vertical garden should organize the work, not hide the water-management tasks beneath several layers of foliage.
10. Keep harvest access separate from display styling
Place the herbs you use most often where a small appropriate harvest is easy to take. Follow species-specific harvesting guidance and avoid removing so much growth from a young plant that it cannot recover. Use clean tools when needed and wash what you bring into the kitchen.
Keep culinary plants correctly identified. If a problem requires treatment, check whether the product is suitable for edible herbs and follow the complete label, including any harvest instructions. Ask a reliable local source when diagnosis or treatment is uncertain instead of applying several products to the collection at once.
Review whether you actually use the herbs in the display. A plant may deserve another suitable, more accessible position if it is repeatedly overlooked. The goal is a useful culinary collection rather than a permanent arrangement of props. A modest harvest from a manageable plant can be more satisfying than maintaining a much larger display whose herbs rarely reach the kitchen.
11. Use a shelf map that records observations, not assumptions
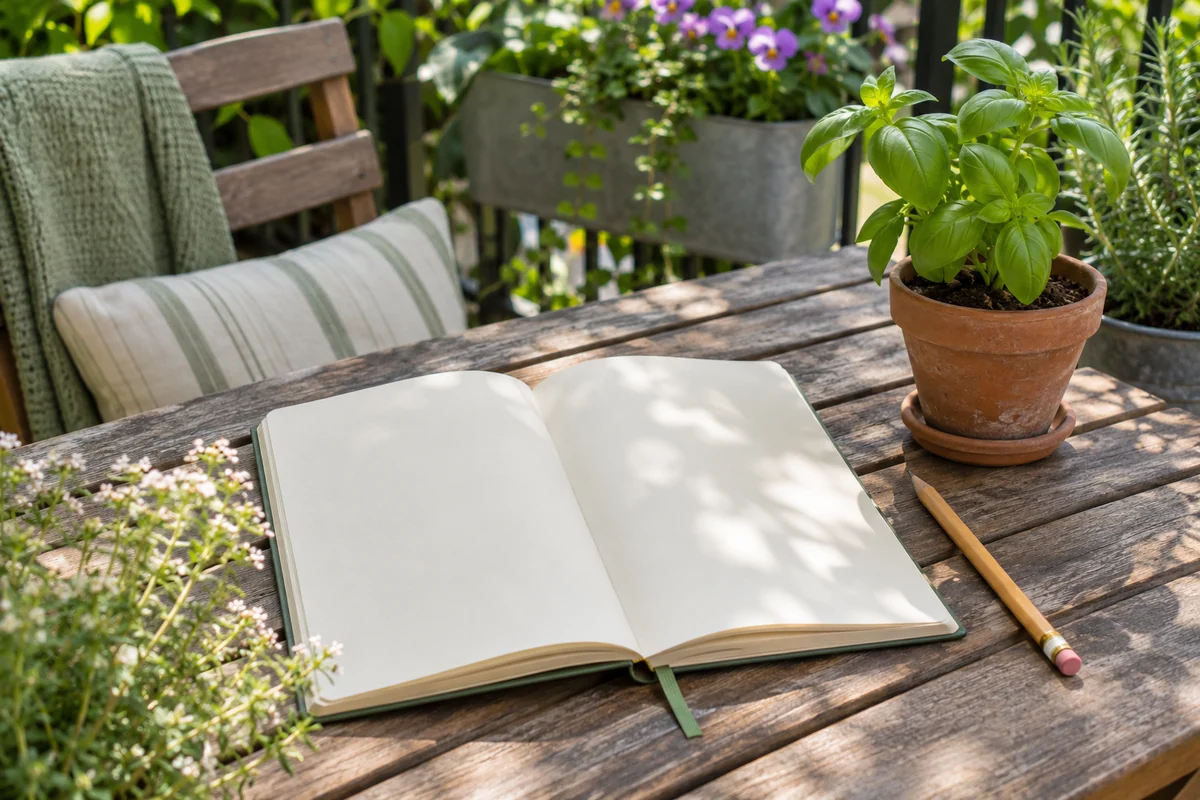
Give each pot a simple reference such as A, B and C and record its plant name and position. Add light observations, the date of a move and a short moisture note. The purpose is to remember what you actually saw rather than assign every herb a permanent top, middle or bottom rule.
| Pot reference | Useful note | Decision it supports |
|---|---|---|
| A | Which hours direct sun reaches the position | Whether the herb has suitable light |
| B | Whether a neighboring canopy shades its rim | Whether spacing or location needs adjustment |
| C | Moisture condition at an ordinary check | Whether watering is appropriate for that pot |
Keep the record short enough to maintain. Add feeding details separately when following a product’s label, and avoid interpreting slow growth as proof that more fertilizer is needed. A light, moisture or seasonal issue may be more relevant. Our tiered plant stand guide explains how to review the display as foliage grows. Update the map after a real change so anyone helping with care can identify the pots and follow the same observations.
12. Review the display before expanding or changing seasons
Use the garden for several weeks and note which positions work, which herbs you use and where care feels awkward. Change one thing at a time so you can judge whether it helps. More pots should follow a clear purpose and an appropriate position, not simply an empty shelf.
Plan seasonal care using local and plant-specific guidance. Herbs differ in cold tolerance, and moving a container indoors introduces different light and care conditions. Do not assume a balcony shelf arrangement guarantees year-round success for every plant. Prepare an appropriate location and inspect plants before any seasonal move.
Keep the finished collection small enough to remain comfortable alongside seating and access. Our DIY balcony plant corner guide helps connect the display with the rest of the outdoor space. A vertical herb garden succeeds when its plants are suitable, its pots stay reachable and its routine fits ordinary cooking and care, with enough open space left to enjoy the balcony too.
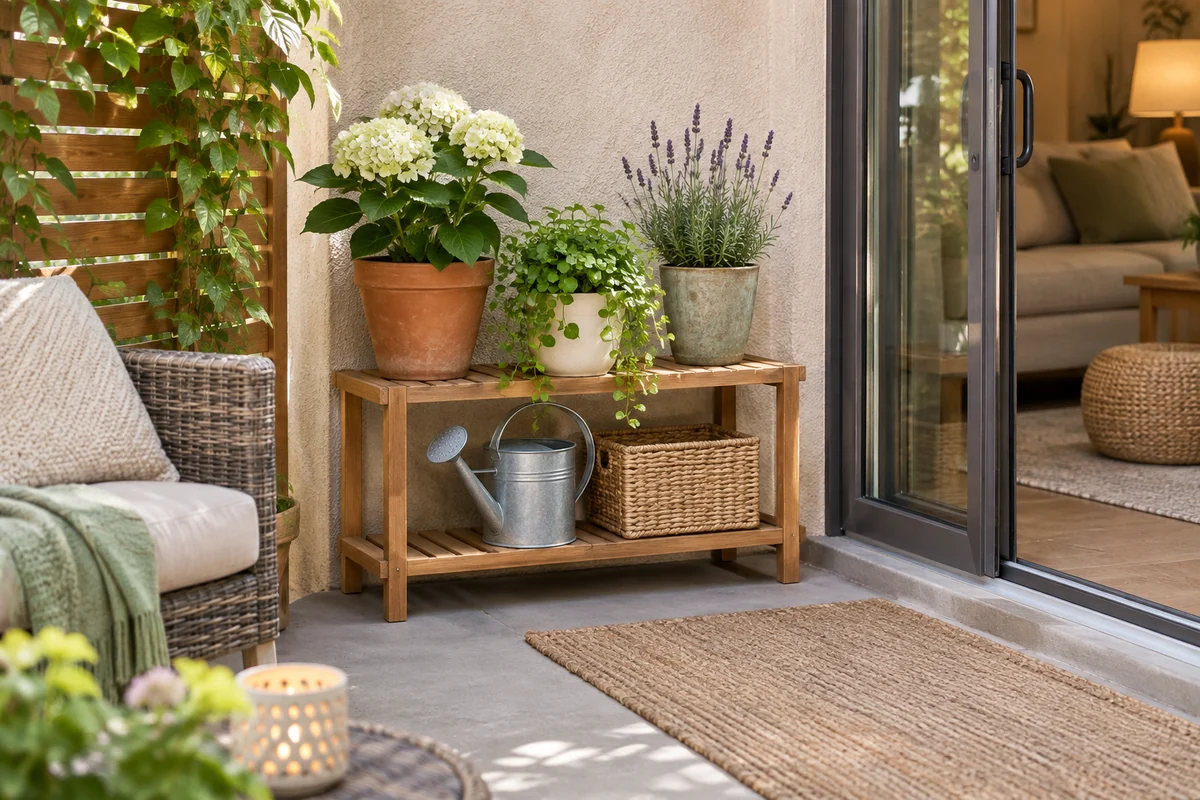
A practical three-pot starting plan
Choose three culinary herbs suited to your observed conditions and local season. Plant them separately, keep their labels and assign positions according to the stand’s instructions, suitable light and your reach. Practise inspection, watering, drainage checks and a modest harvest before adding another container. Review the arrangement from both the seat and the side of the stand so visual balance does not hide a difficult care position.
Do all herbs on a stand need the same watering schedule?
No. Separate containers make it easier to follow individual needs. Check each plant and its growing mix rather than watering the shelves as one unit.
Should I put all the herbs into one long planter?
A shared planter can work for compatible plants, but separate pots are a simpler learning approach when needs differ. Consider mature space, moisture and light requirements before combining herbs.
Will a vertical herb garden supply my whole kitchen?
Treat the first display as a learning garden and a source of occasional harvests. Production depends on the herbs, conditions, season and harvesting. Expand only after the first collection fits your routine and has a clear purpose.
Continue planning your space with our Small Patio Table Decor Ideas: 12 Ways to Style a Useful Surface and Small Balcony Storage Ideas: A Renter-Friendly Plan for Tools and Cushions. Keep the walking route, everyday maintenance and the amount of available space in mind as you combine ideas.
Save this guide for later
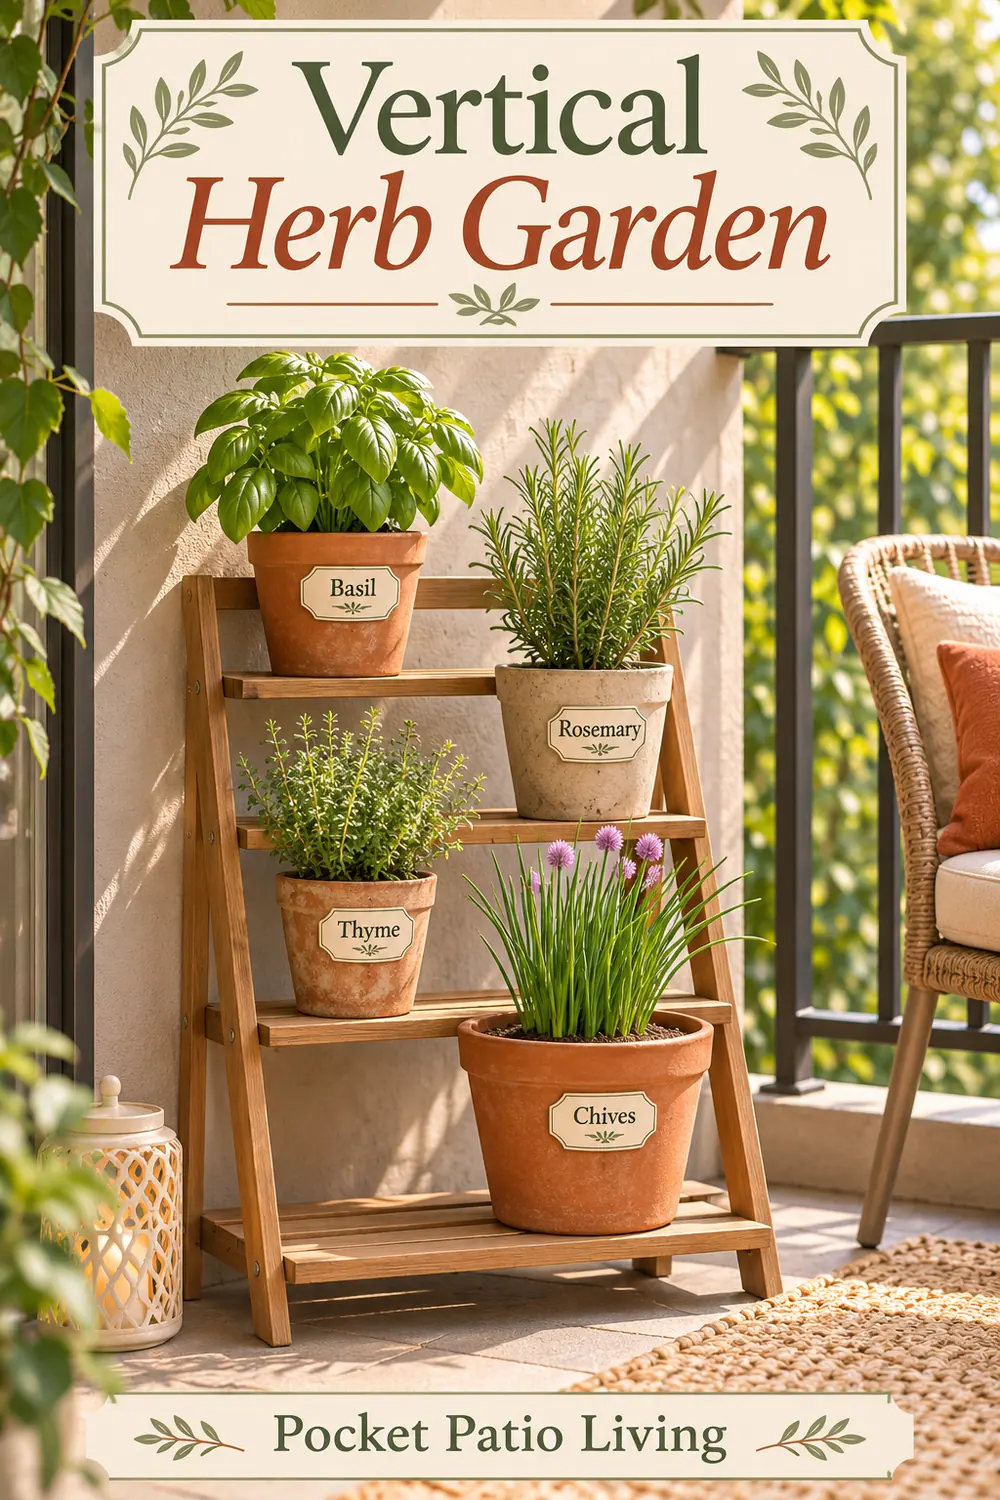
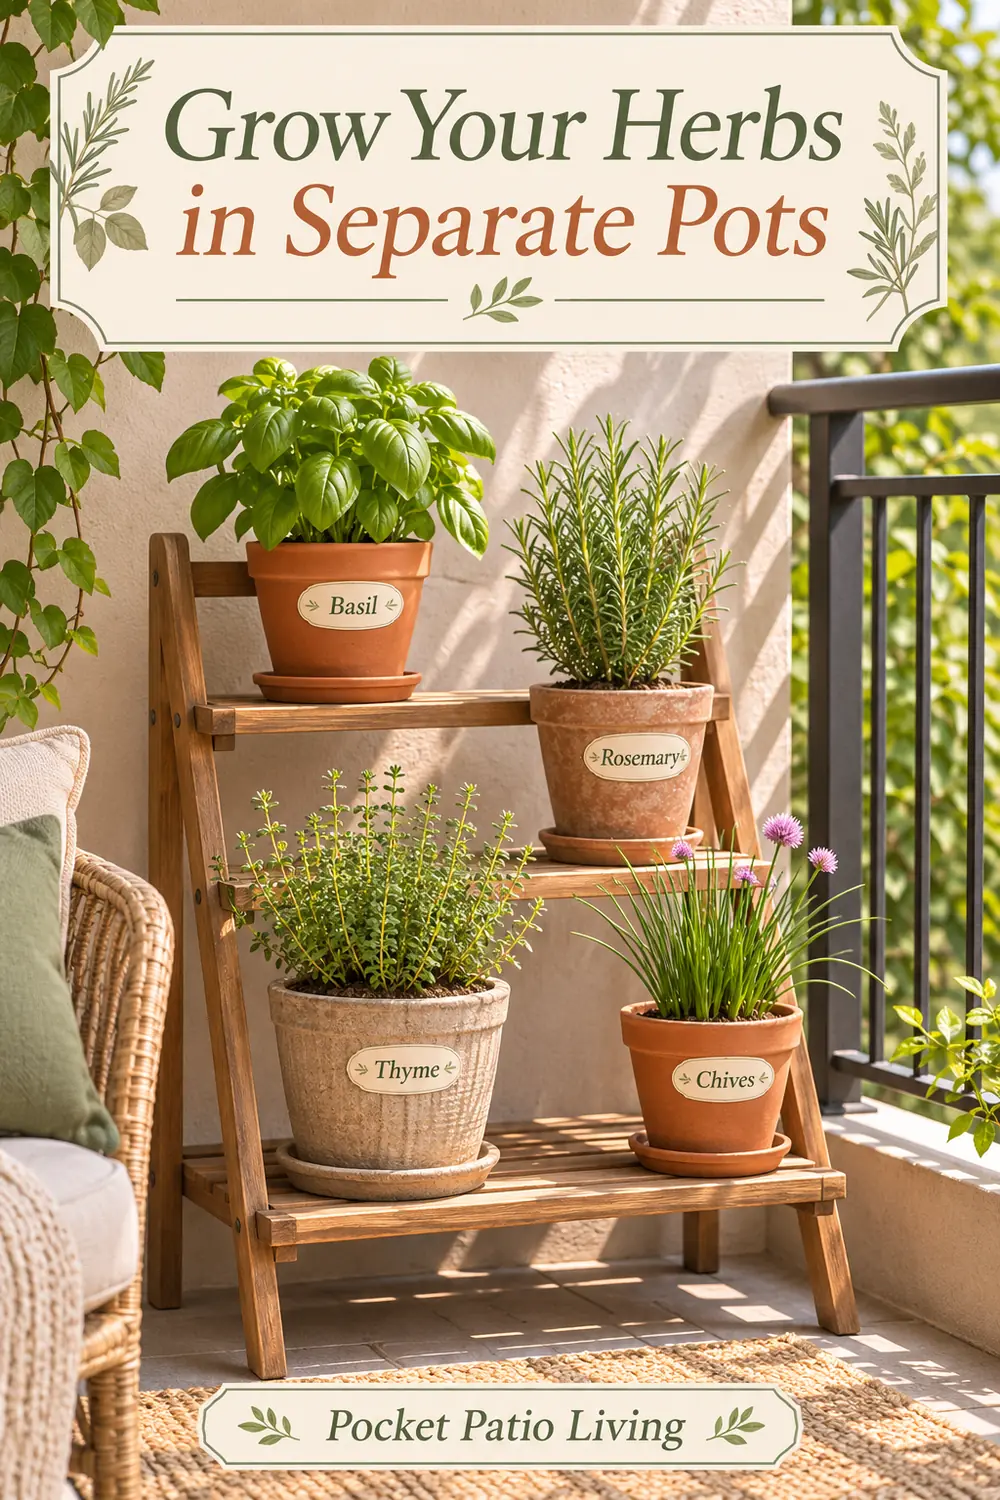
Use these Pinterest graphics to save the ideas you want to try. The images in this article are design illustrations; adapt the arrangements to your own measurements, light and rental rules.