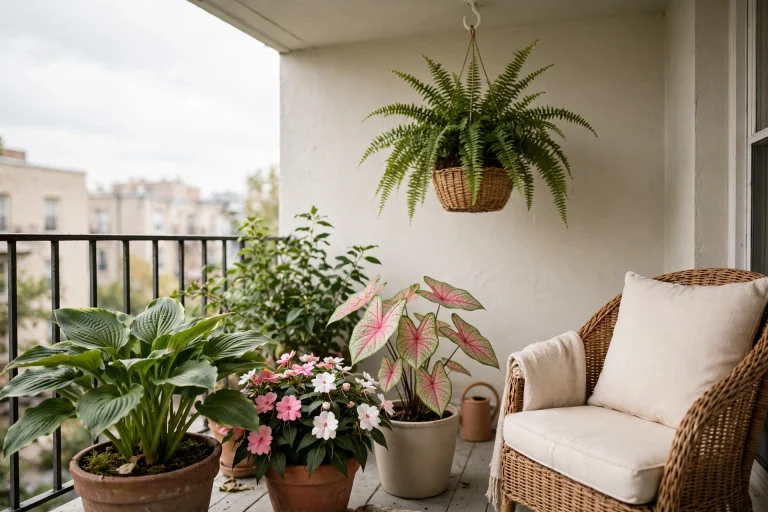
Balcony Plant Arrangement Ideas: 12 Ways to Group Pots in a Small Space
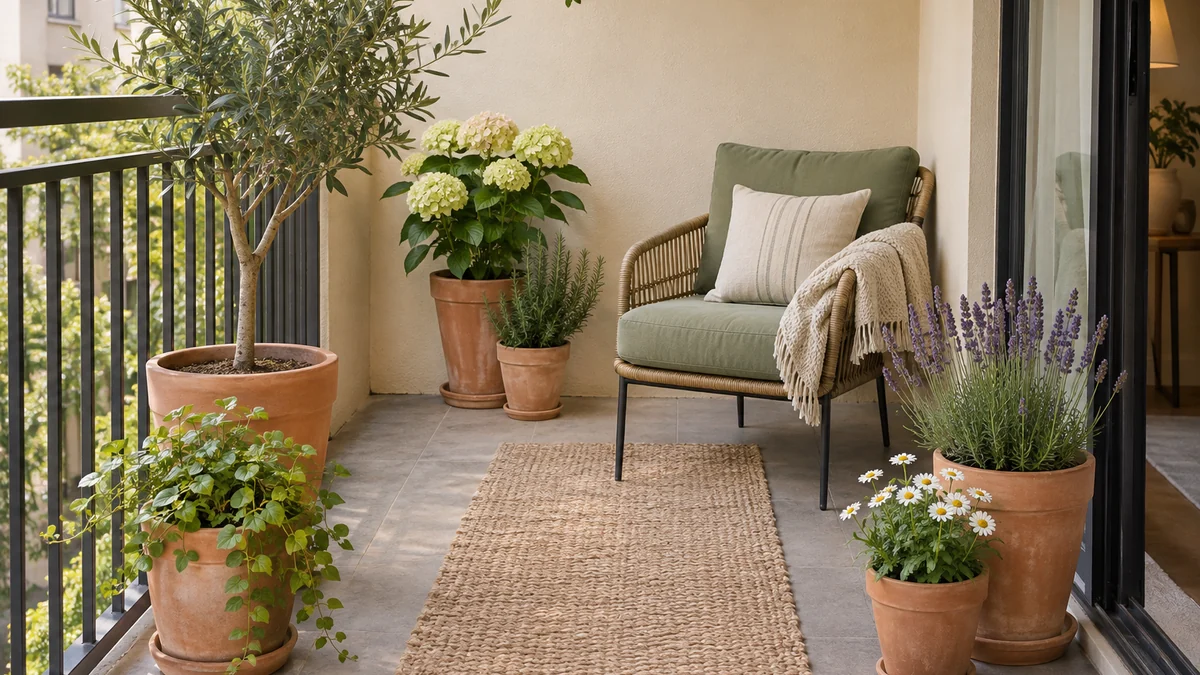
Good balcony plant arrangement ideas solve two problems together: they make a collection look intentional, and they leave the balcony easy to use. Start with the plants you can maintain rather than the number of containers a photograph seems to require. A few pots arranged around light, access and a comfortable seat can feel more generous than a crowded perimeter of greenery.
This guide focuses on arranging separate containers after you have assessed the balcony. For measurements, access and the main seating position, first use our narrow balcony layout guide. Check building rules and weight limits before adding filled containers or a stand. The twelve approaches below are alternatives you can combine selectively, not a shopping list that requires twelve different displays.
In this guide
- 1. Build a three-pot herb group you can actually water
- 2. Build around one plant you want to notice
- 3. Use different pot sizes without creating obstacles
- 4. Repeat a material to connect separate groups
- 5. Place greenery beside the seat, not in its movement
- 6. Keep one stretch of floor completely open
- 7. Organize small pots on one suitable low stand
- 8. Group compatible care tasks together
- 9. Let a practical corner hold the collection
- 10. Compare leaf scale before adding another plant
- 11. Plan the collection around controlled watering
- 12. Review the group with a seven-day care test
- A quick arrangement decision guide
- Continue planning your small outdoor space
1. Build a three-pot herb group you can actually water
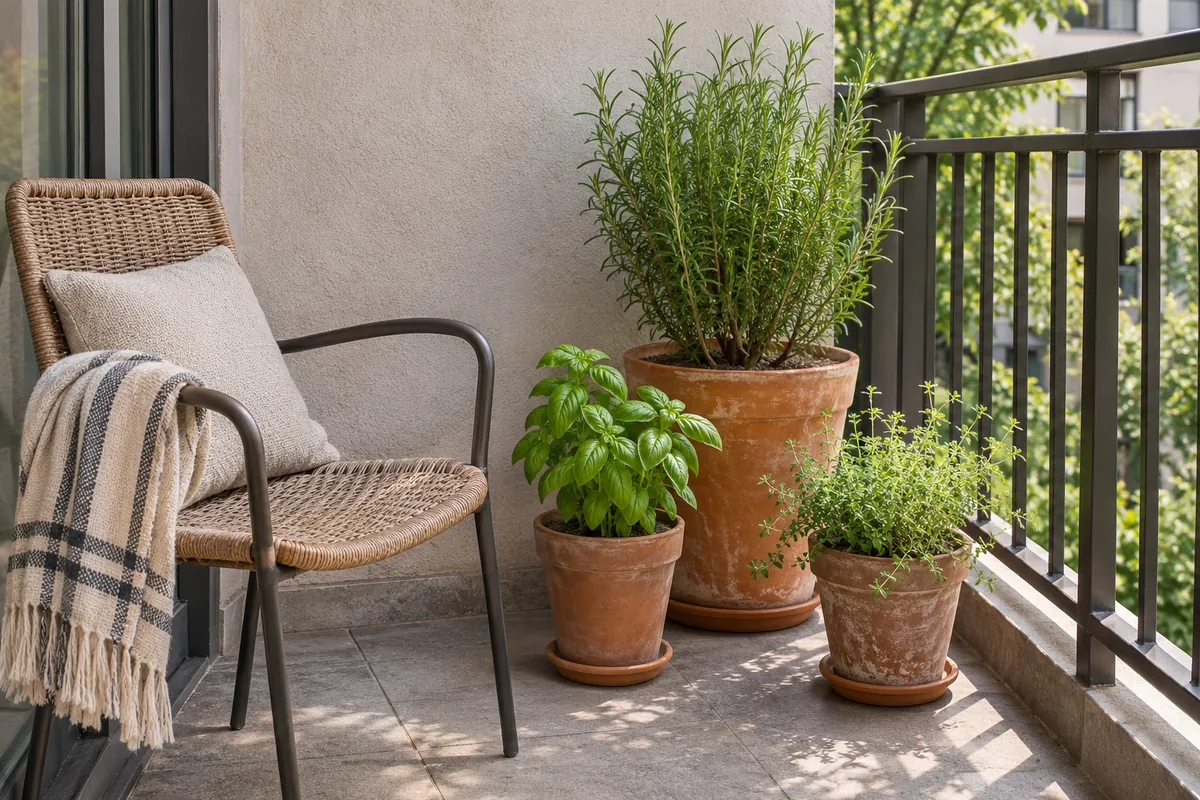
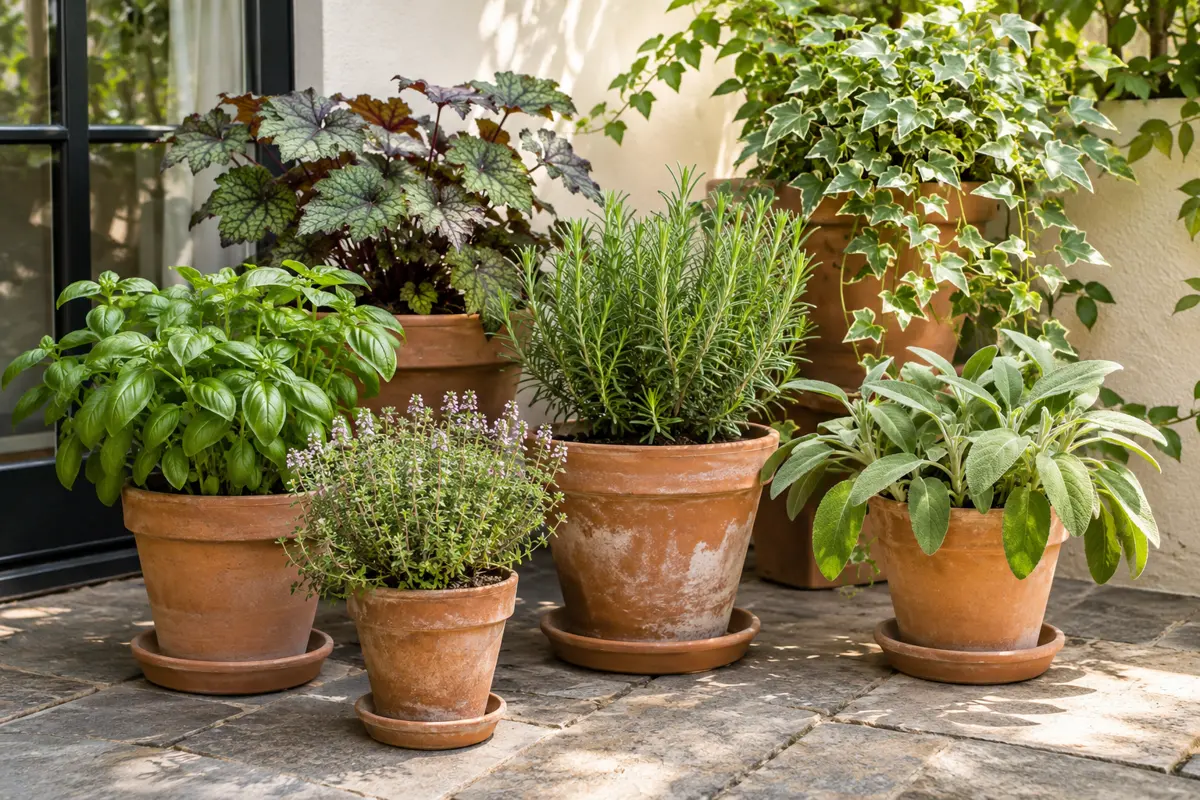
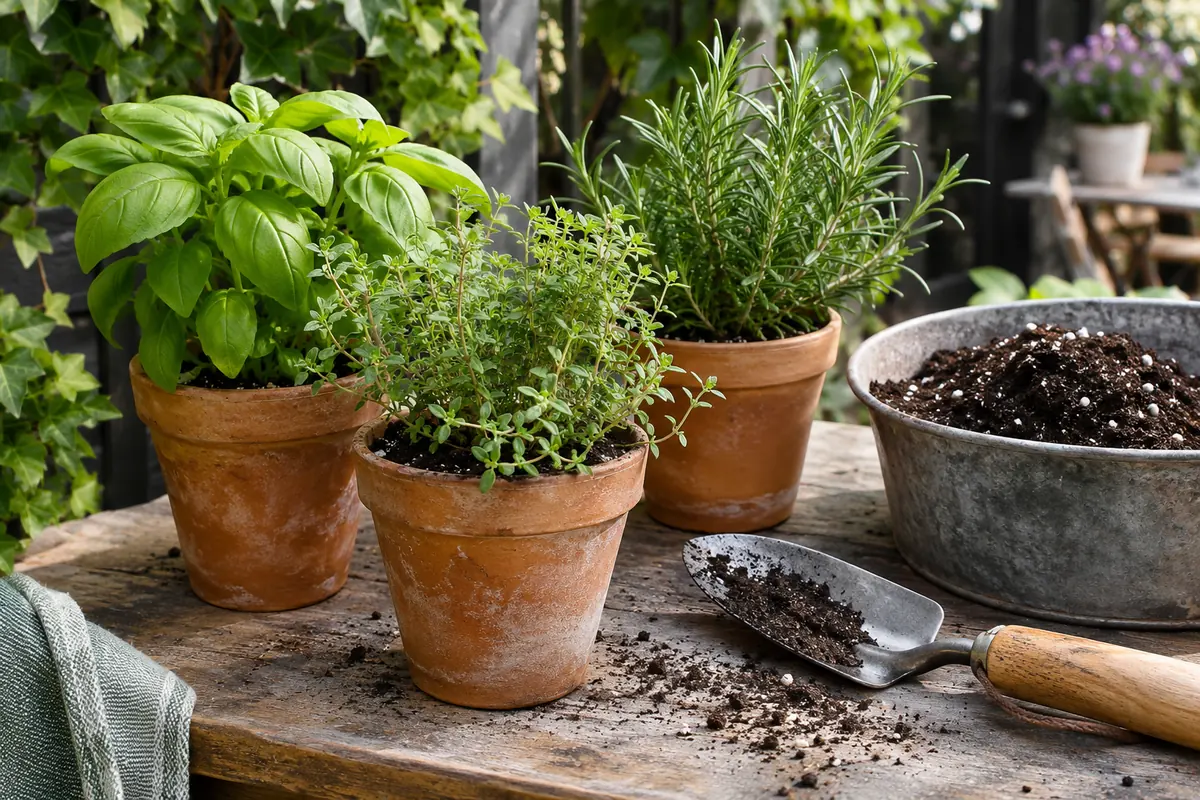
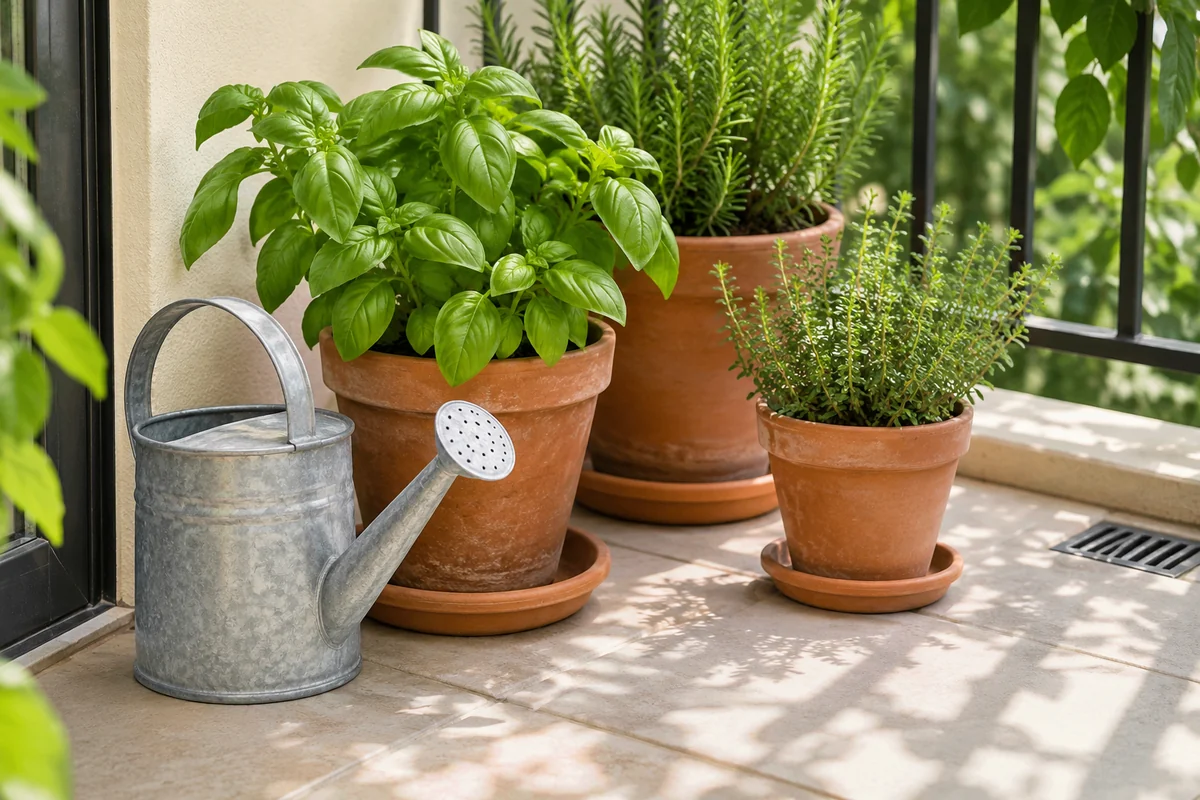
Choose a small collection with a reason to share the same corner. In a suitable sunny season, rosemary can provide the taller outline, chives an upright leafy form and thyme a lower texture. Keep them in separate containers so the arrangement does not force every root zone onto one watering routine. This is a starting example to adapt to the varieties and local conditions, not a promise that all herbs thrive in the same exposure.
Put the taller plant behind and offset from the others rather than directly above them. Check whether its branches shade the smaller plants. Leave each pot rim visible and reachable from the normal approach. A loose triangle is useful only when that triangle also allows the plants to receive suitable light and care.
| Container role | Possible example | Position to test |
|---|---|---|
| Taller outline | A suitable rosemary variety | Rear or side, without shading the whole group |
| Narrow upright foliage | Chives | Where leaves remain clear of chair movement |
| Lower texture | Thyme | An independently reachable growing position |
The illustration demonstrates the spacing principle. For selecting herbs and containers, use our small container herb garden guide. Adjust the group as plants grow instead of trying to preserve the first-day outline permanently.
2. Build around one plant you want to notice
Choose a lead plant before adding a supporting pot. Its shape, foliage or seasonal flowers can provide the main point of interest, while smaller containers give it a setting. The lead plant need not be tall. A compact herb you enjoy harvesting or a rounded flowering plant can be the focus of a modest collection.
Place the lead container where you will see it from the seat and through the doorway. Then assess the practical details: can you inspect the back, water it without reaching across a table, and allow for its expected growth? A focal position should not become an inconvenient position.
Keep nearby additions quieter in shape or number. If every container is trying to be the star, the group can feel busy even when it contains only a few plants. Photograph two possible versions, one with the supporting pot and one without it. Use the simpler version if the extra object does not improve the arrangement.
3. Use different pot sizes without creating obstacles
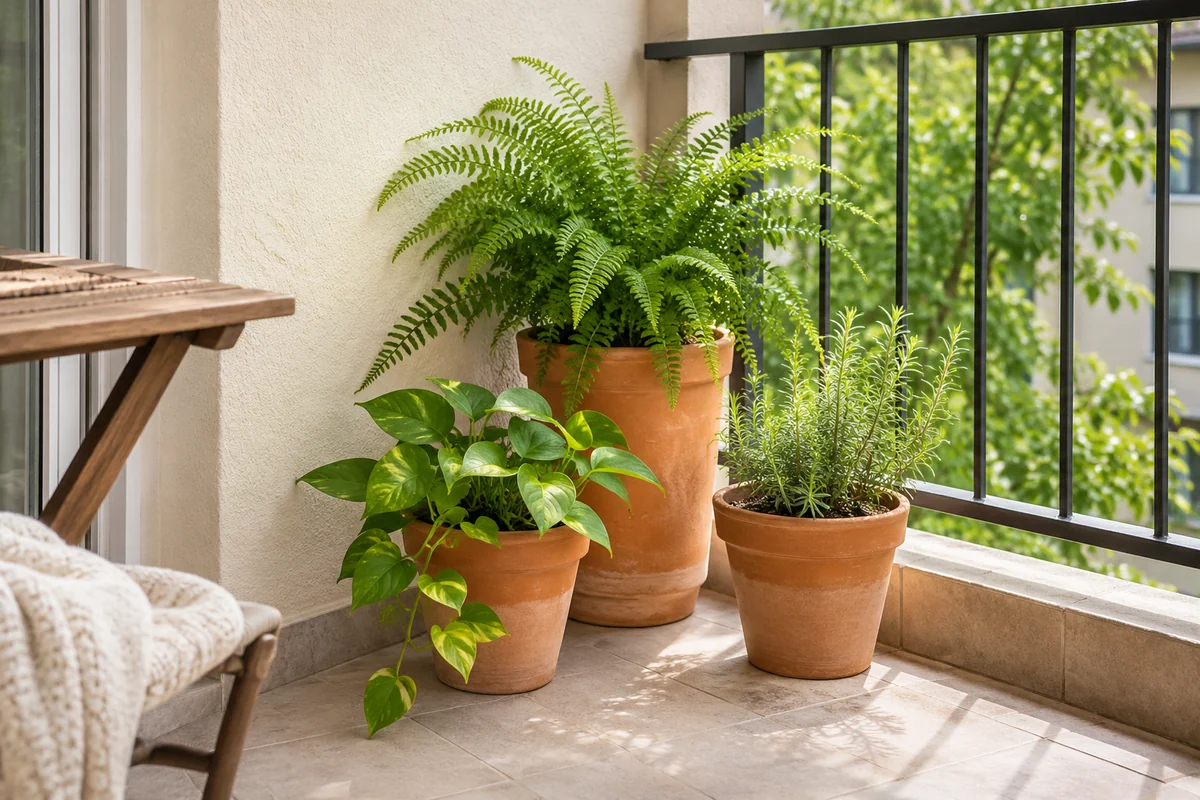
Different container sizes can make a group feel layered, but choose each size for the plant first. A large decorative pot is not automatically useful if the plant does not need it or you cannot manage its filled weight. Check likely mature growth and root-space requirements before deciding which container belongs at the back.
Arrange the group so smaller pots do not disappear behind larger ones. A staggered position often works better than stacking objects on improvised supports. Keep the growing mix visible enough to inspect and allow space for removing any saucer. Test your reach before filling the final position with foliage.
Avoid creating a narrow gap that becomes a trap for fallen leaves or spilled mix. Leave enough room to clean around the containers using the tools you actually own. If the group makes a previously simple cleaning task difficult, reduce it or spread the pots slightly. A layered appearance should not depend on inaccessible corners.
4. Repeat a material to connect separate groups
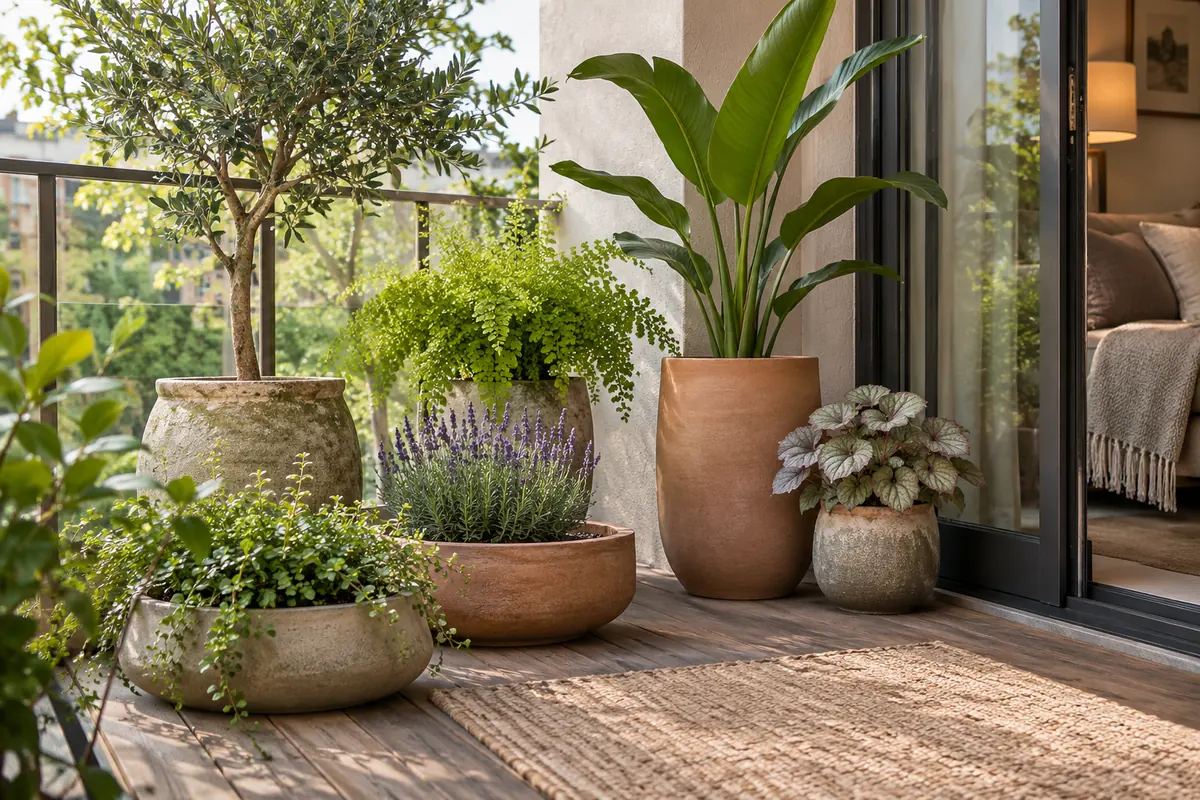
Two small groups can feel related without sitting next to each other. Repeating terracotta, a muted glaze or a simple neutral pot shape gives the eye a connection across the balcony. This is useful when different light conditions prevent all your plants from sharing one spot.
Begin with the containers you already own. Look for a material, rim shape or color that appears more than once, and bring those pieces into the same overall plan. You do not need an identical matching set. Differences in age and texture can make the arrangement feel personal while the repeated element keeps it coherent.
Try removing one unrelated outer pot before buying replacements. Sometimes the collection already has a clear visual theme that is difficult to see because one strongly contrasting item dominates it. If you enjoy that contrast, keep it as a deliberate focal detail. The useful question is whether the group feels considered to you, not whether every pot follows a universal decorating rule.
5. Place greenery beside the seat, not in its movement
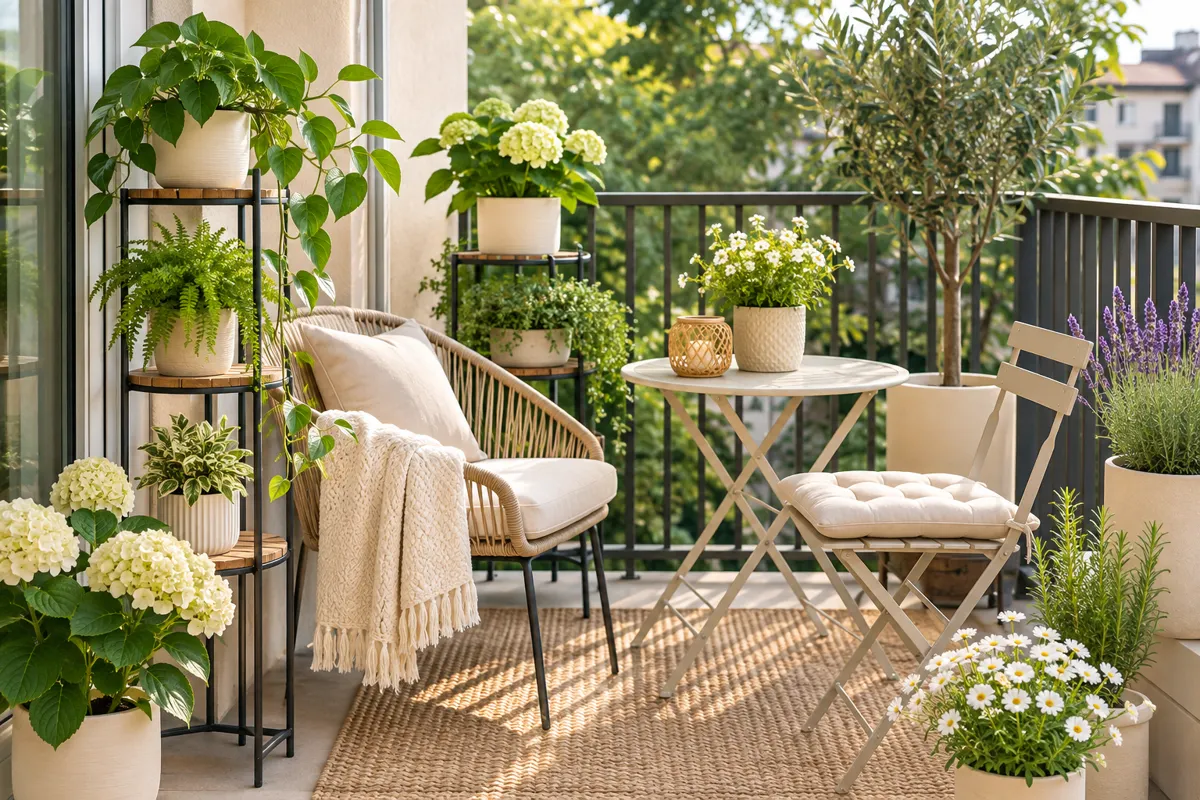
A plant near a chair can make sitting outside feel more enclosed and inviting. Position it beside the chair’s resting place, then test the arrangement while sitting down and standing up. Include arm movement, a pulled-out chair and any reclining action. The pot footprint alone does not show the room the activity needs.
Consider foliage at shoulder and face level. A plant that seems comfortably distant while you are standing may lean into the seat as it grows. Leave space for expected growth and choose a position where routine maintenance does not require repeatedly moving the chair.
Keep a useful surface available for a cup or book if one fits. Do not fill that surface with plants simply because it photographs well. Our small patio layout ideas can help you balance seating and containers when the same outdoor area serves several activities. Plants should improve the experience of using the seat, rather than make it a display nobody can comfortably occupy.
6. Keep one stretch of floor completely open
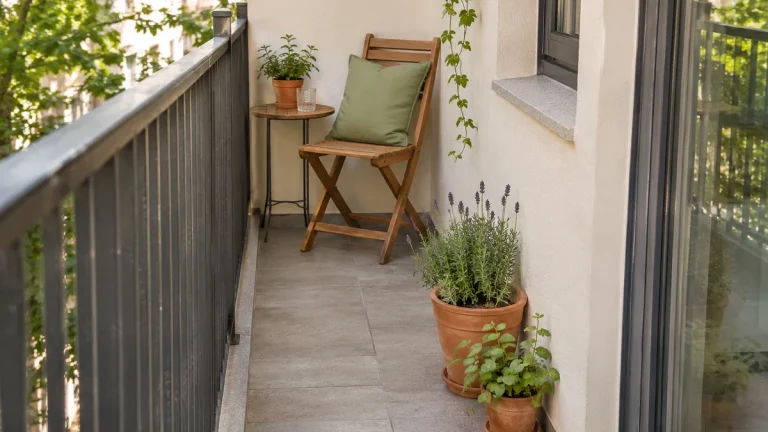
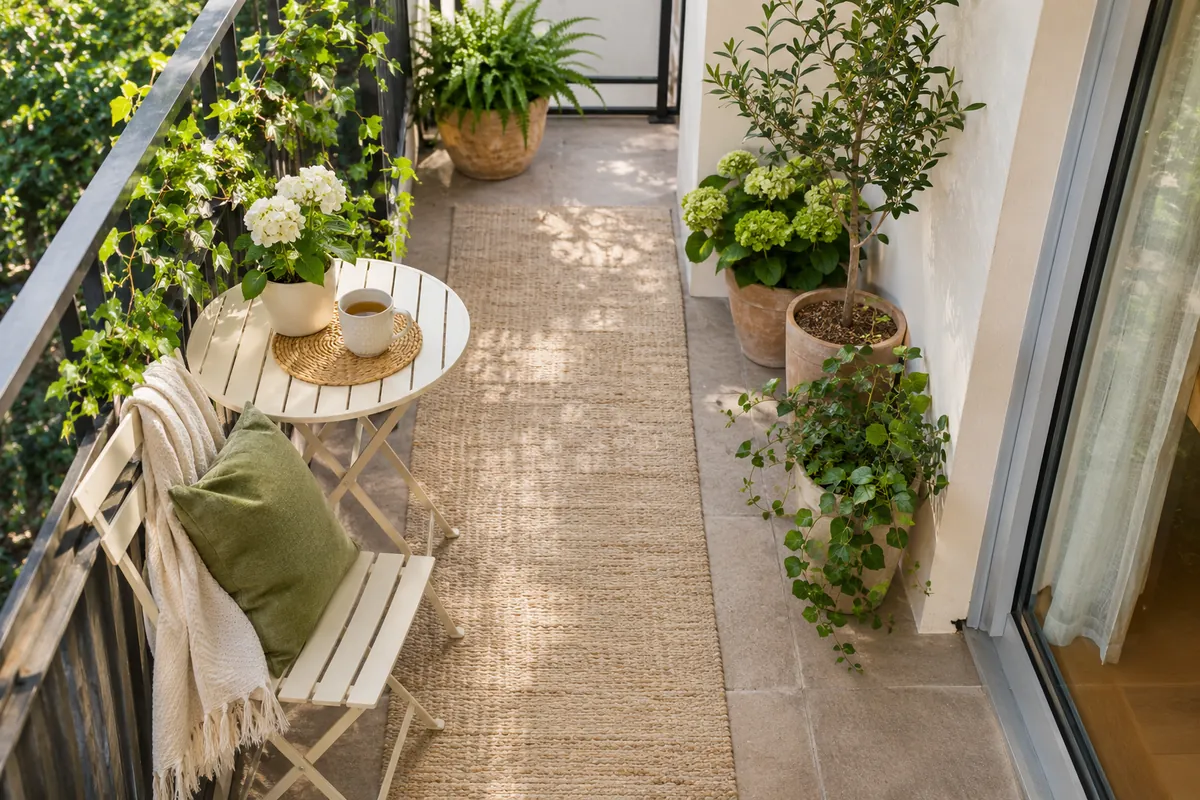
An uninterrupted strip of floor can make a plant collection easier to appreciate. It also provides a route for carrying water, cleaning and moving between the door and seat. Choose the route first, then keep container groups to positions that do not intrude on required access.
Check the arrangement from both directions. Walk out with a small watering can, turn near the seat and walk back. Notice where you instinctively rotate your body or lift an object over a plant. Those movements reveal crowding that may be less obvious from an overhead photograph.
Leave the open stretch alone for a trial week. It may be tempting to fill it because the rest of the balcony looks finished, but that space is already doing useful work. If a new plant is important to you, remove or relocate another container before adding it. Thinking in terms of a fixed, manageable collection helps prevent a clear route from shrinking one small purchase at a time.
7. Organize small pots on one suitable low stand
A low freestanding stand can gather a few small containers into a defined display. Compare its full footprint with the space the pots use on the floor. The stand earns its place when it improves access or organization, rather than merely adding another piece of outdoor furniture.
Check outdoor suitability, the product’s load instructions and any anchoring requirements. Choose a different solution if required installation conflicts with your rental rules. Keep heavier containers low where appropriate, and avoid an exposed, top-heavy arrangement. Do not treat a railing or nearby wall as an improvised support.
Leave some shelf space unfilled so you can reach each container. Our freestanding vertical balcony garden guide explains how to assess the display before loading it. Use a stand as one part of the arrangement, not a reason to increase the plant count until every shelf is occupied. A low display with breathing room often feels more intentional than a fully packed one.
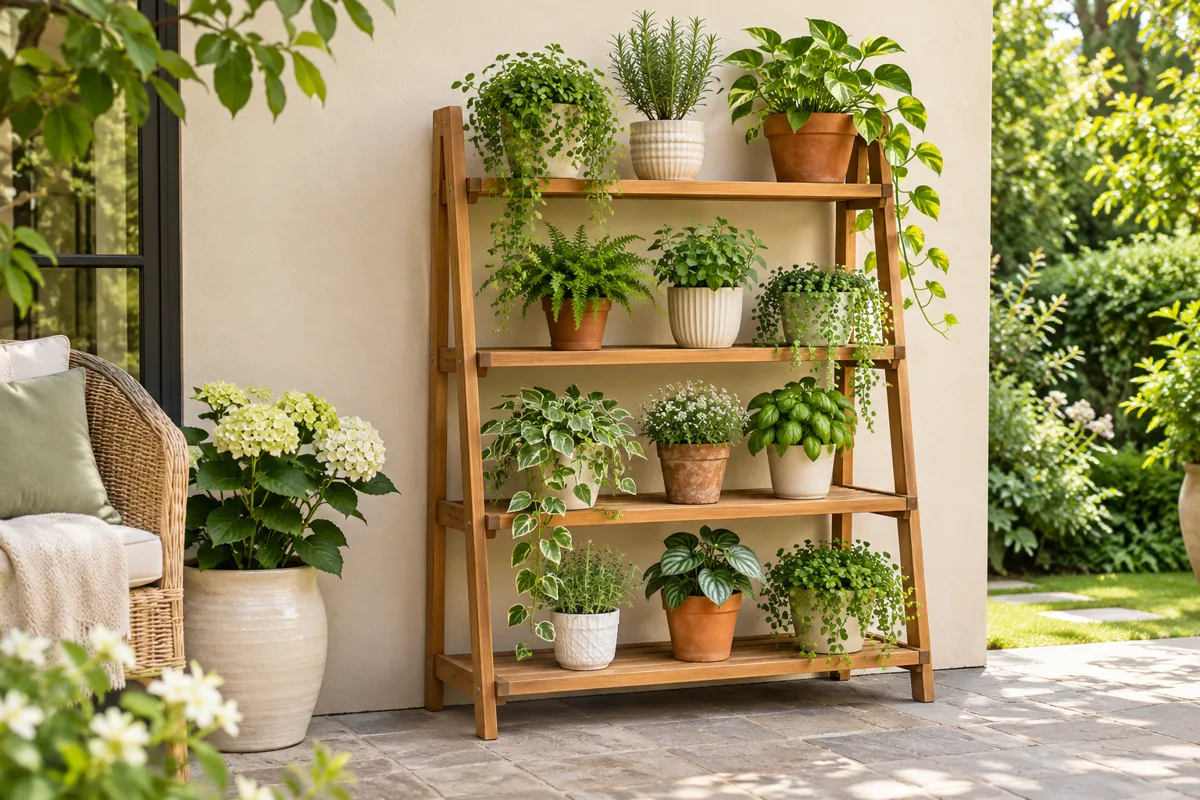
8. Group compatible care tasks together
An arrangement can support maintenance as well as appearance. Put pots you need to inspect often where they are easiest to reach. Keep each plant separately identifiable, and avoid hiding a small container behind a larger group simply because its foliage looks attractive there.
Plants in separate containers can have different watering needs even when they share a display. Organize your route so you check the growing mix in each pot rather than watering the whole group automatically. A small notebook or label system is useful when several plants look similar to a beginner.
For example, a frequently harvested culinary herb might belong at the front of a suitable sunny group, while another plant occupies a position you reach less often. Use the arrangement to make the important task straightforward. Our small container herb garden guide shows how a modest, clearly organized collection can help you learn the needs of each plant before you expand.
9. Let a practical corner hold the collection
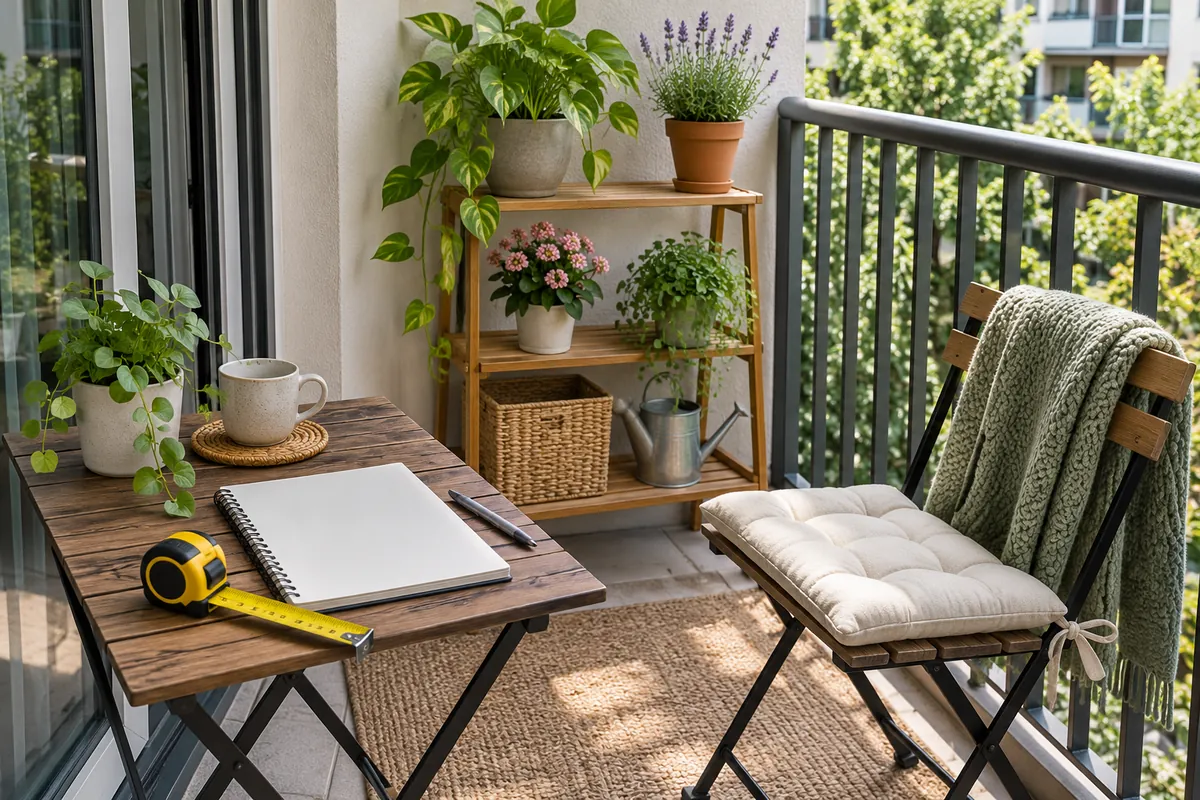
A corner can provide a clear boundary for pots without spreading them across every edge. Measure the usable area and check that it does not contain a drain, service point or required access. Look at the light there over the day before choosing plants for it.
Start with a floor-level group, then add a suitable low stand only if you need it. Keep the forward edge of the arrangement clear enough to reach every container. A corner should gather the collection, not conceal half of it behind the front row.
Leave room for the small tasks that happen nearby: setting down a watering can briefly, inspecting a leaf or removing a saucer. If the corner cannot accommodate maintenance comfortably, reduce the plant group. For a step-by-step setup using movable pieces, use our renter-friendly balcony makeover plan. A clearly defined plant zone makes it easier to keep the rest of the balcony available for daily use.
10. Compare leaf scale before adding another plant
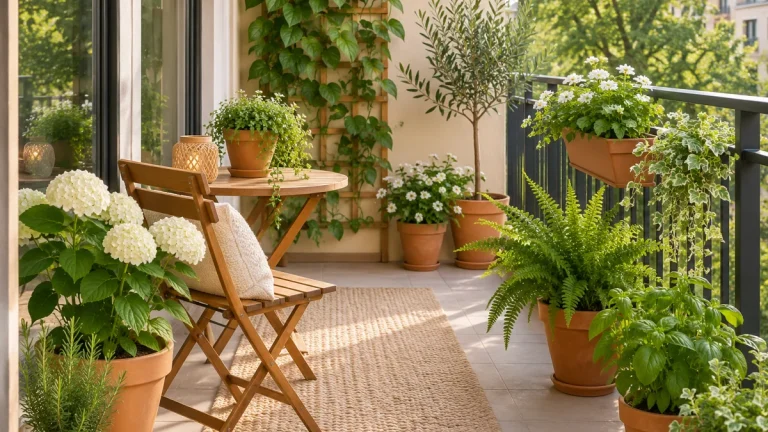
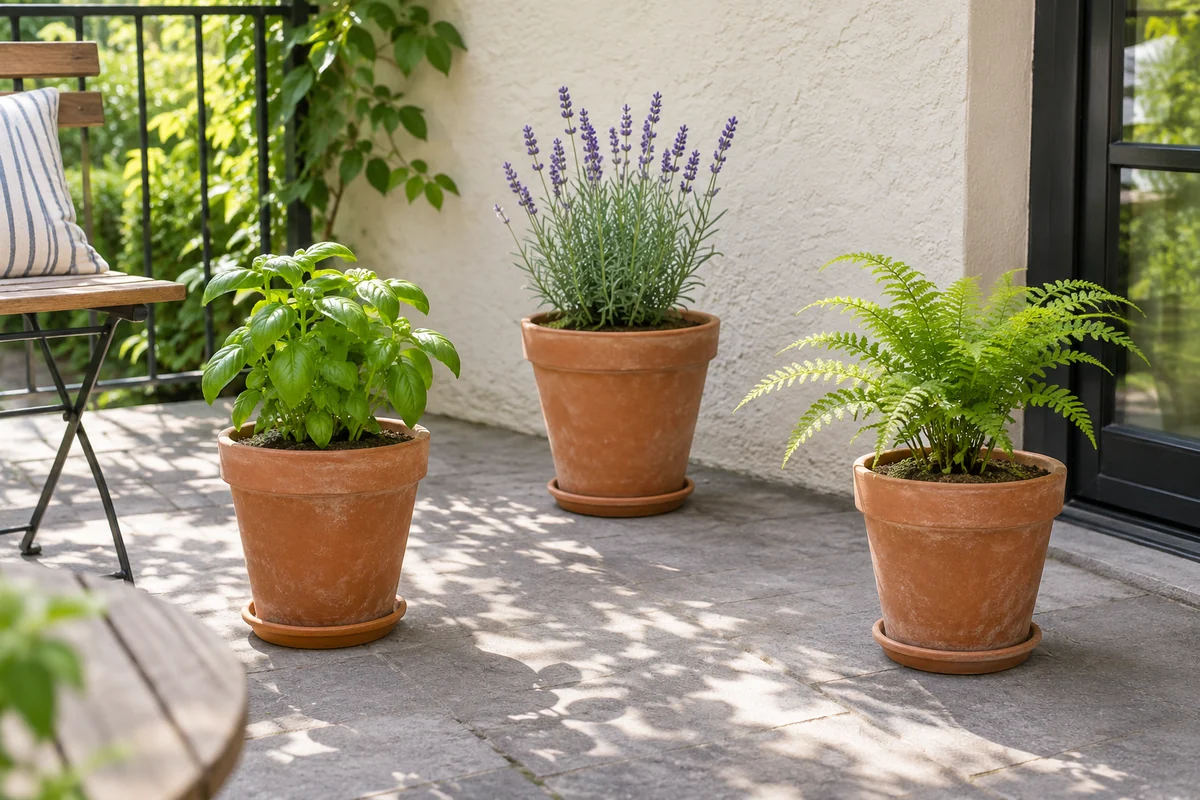
Stand at the normal viewing point and look at the shapes already present. A narrow-leaved herb beside broad foliage can create variation even when both are green. The plants do not need equal height or matching containers to form a coherent group. Give each enough space for its own outline to remain visible.
Choose a new plant for its growing requirements before its texture. A plant that needs different light cannot become a suitable companion simply because its leaves provide contrast. Separate pots allow some care differences, but the growing position must still work for each one. Check the mature spread as well as the small transplant you see at the nursery.
Try removing or moving one container before buying an extra shape. If the group becomes easier to read and water, keep that improvement. Compare from the chair as well as from indoors; a tall pot can look balanced in a photograph while hiding a smaller plant from the seat. Our vertical balcony garden ideas offer another display option when a suitable low stand would genuinely improve light and access.
11. Plan the collection around controlled watering
Look at the base of every pot as well as the foliage. You need a workable drainage arrangement and access to collected water. Keep the building’s drainage routes clear and avoid positioning containers where runoff could affect neighbors or damage unsuitable surfaces.
Choose a watering can you can handle comfortably in the available space. Practise reaching each pot before finalizing the layout. If you need to lift one plant over another or stretch from the doorway, the group needs another adjustment. A convenient watering route makes regular inspection easier to sustain.
Keep temporary maintenance items from becoming permanent clutter. Return tools to their storage place after use, and avoid storing loose bags beneath an already crowded plant group. The arrangement should make it possible to see a spill or collected water promptly. Our beginner container gardening guide provides the basic planting and care sequence that should sit behind any decorative container arrangement.
12. Review the group with a seven-day care test
Use the balcony normally for a week and note three things: which pot is difficult to inspect, which plant interferes with the chair and which position receives less useful light than expected. Keep those observations separate from decorative preferences. A pot that repeatedly needs moving during watering is a practical problem even if the overall group looks attractive.
Change one position at a time, keeping product and building requirements in mind. Then repeat the ordinary care routine. Do not add another container to hide a gap until you know why that gap exists. It may be the room that makes watering or seated movement possible.
Keep the version that works during use and still offers a view you enjoy. For the care routine, see our watering container plants guide. For objects accumulating around the pots, use our small balcony storage ideas instead of turning the plant group into a general storage corner. The finished arrangement should make the collection easier to see and maintain, with enough open space left for the balcony’s other activities.
A quick arrangement decision guide
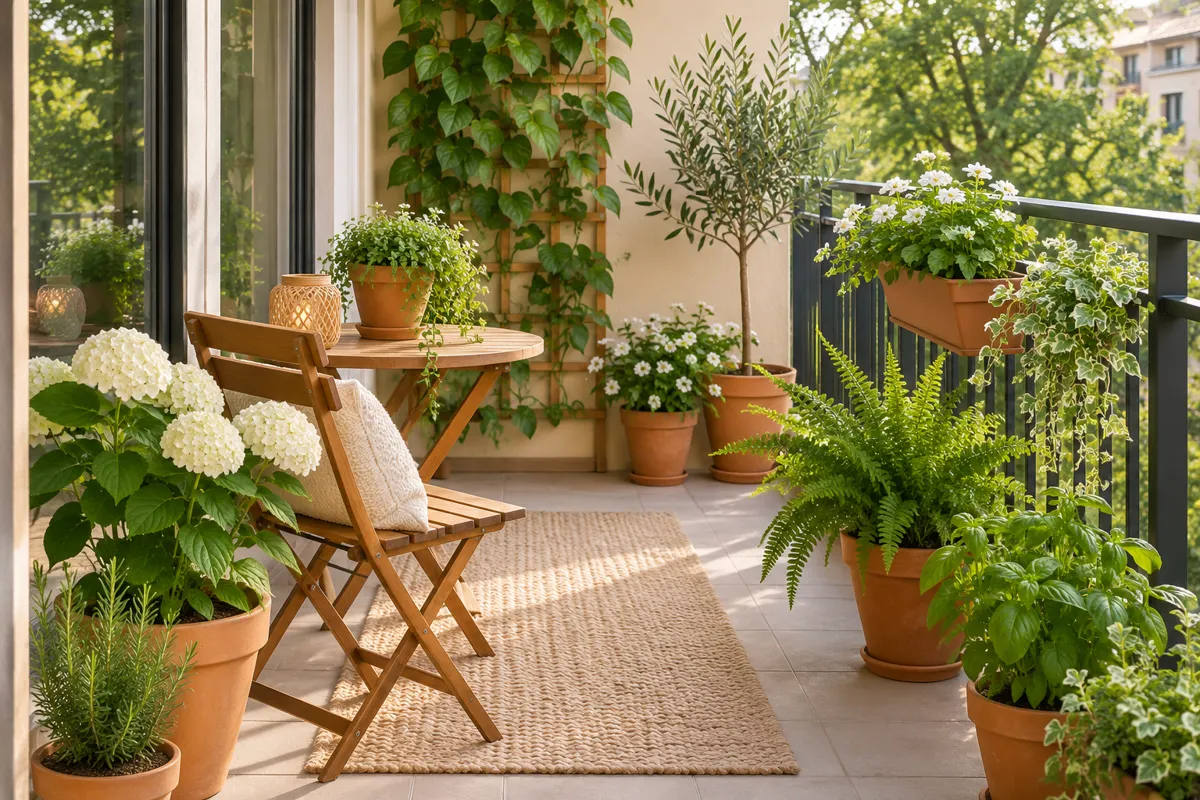
Choose one compact group if you want the simplest starting point. Use two visually connected groups when plants need different positions. Add a low stand only when its instructions, stability and footprint suit the space. Keep floor-level pots if a stand makes access harder. In each case, test the occupied chair and watering route before considering the arrangement complete.
Do odd numbers of pots always look better?
No. Three pots are a useful experiment, not a requirement. Two well-positioned containers can work beautifully when they fit the plants, the available space and your maintenance routine.
Should the largest plant go in the corner?
Only if the position suits its growing needs and keeps it accessible. Do not use a corner to hide a container you cannot reach or move appropriately.
How many pots should a small balcony hold?
There is no universal number. Building limits, access, mature growth and your care routine determine what is manageable. Start with fewer containers and add only when the existing collection remains comfortable to use and maintain.
Continue planning your small outdoor space
For a related part of your setup, explore diy balcony plant corner. You can also use our how to arrange plants on a tiered stand guide to connect the next decision with the space and routine you already have.
Save this guide for later
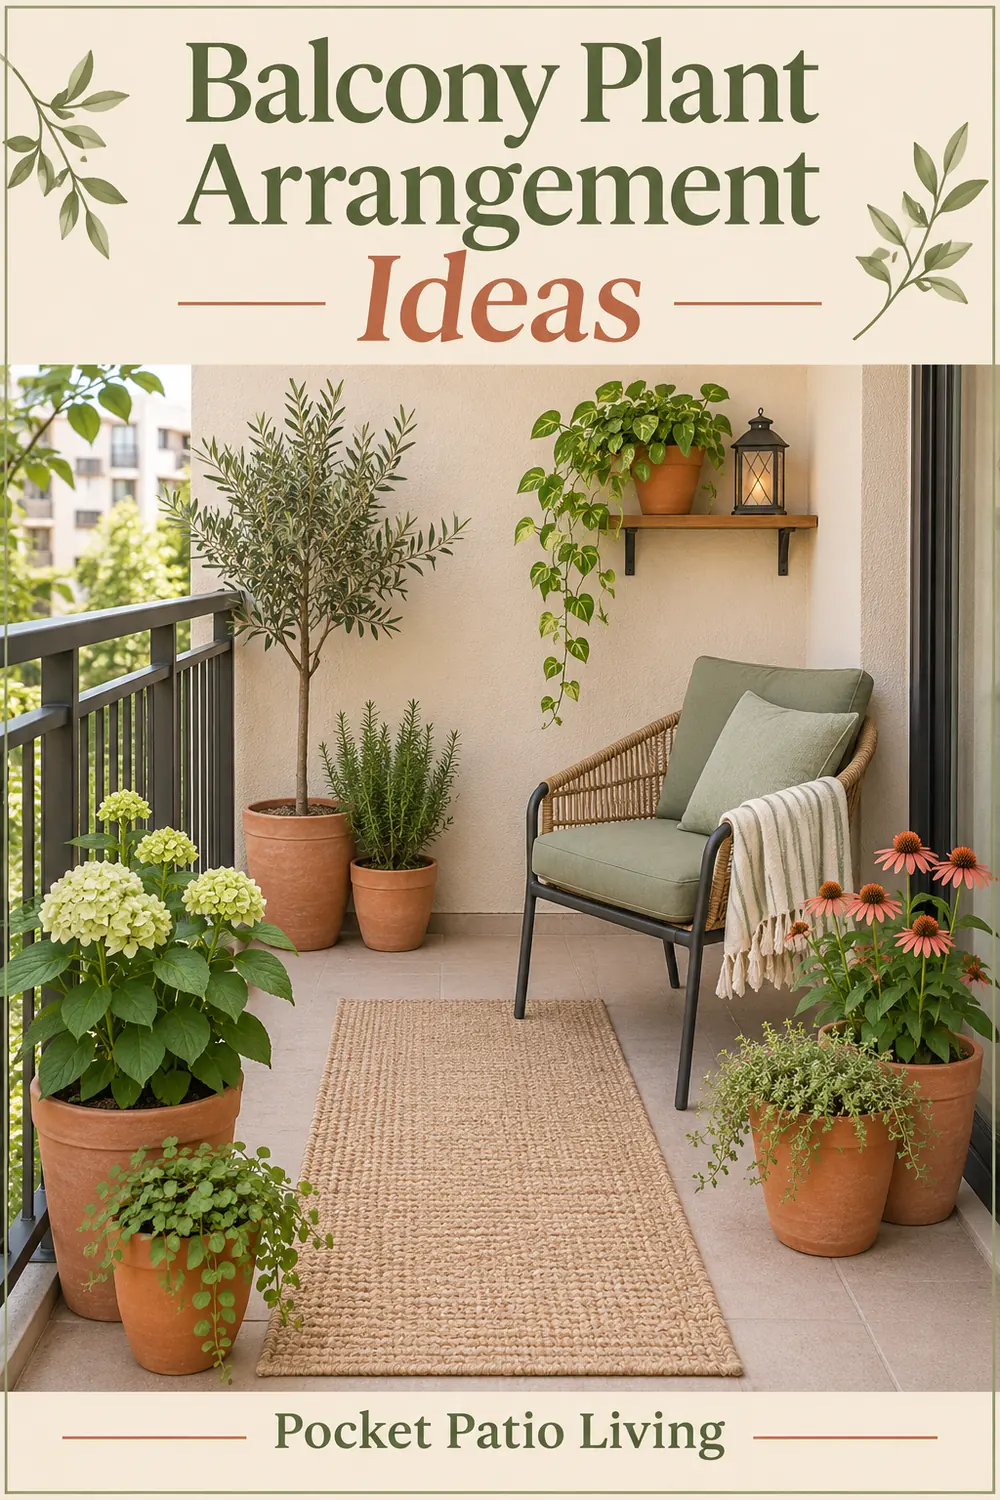
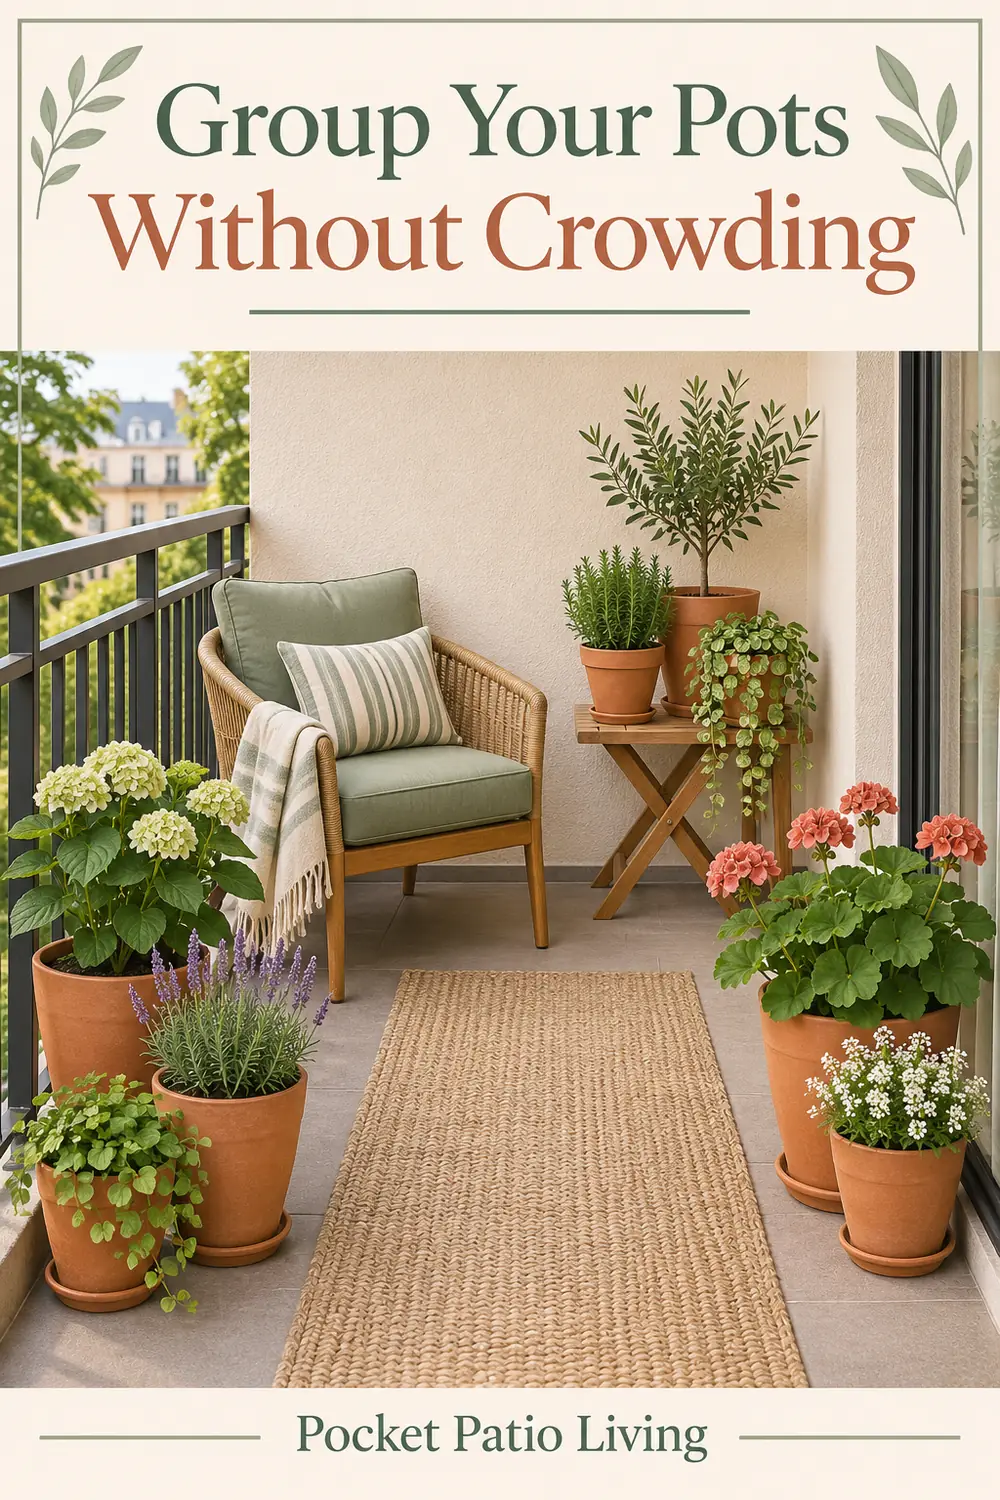
Save one of these Pinterest-style designs for your next planning session. All article images are design illustrations.