How to Arrange Plants on a Tiered Stand: A Practical Balcony Guide
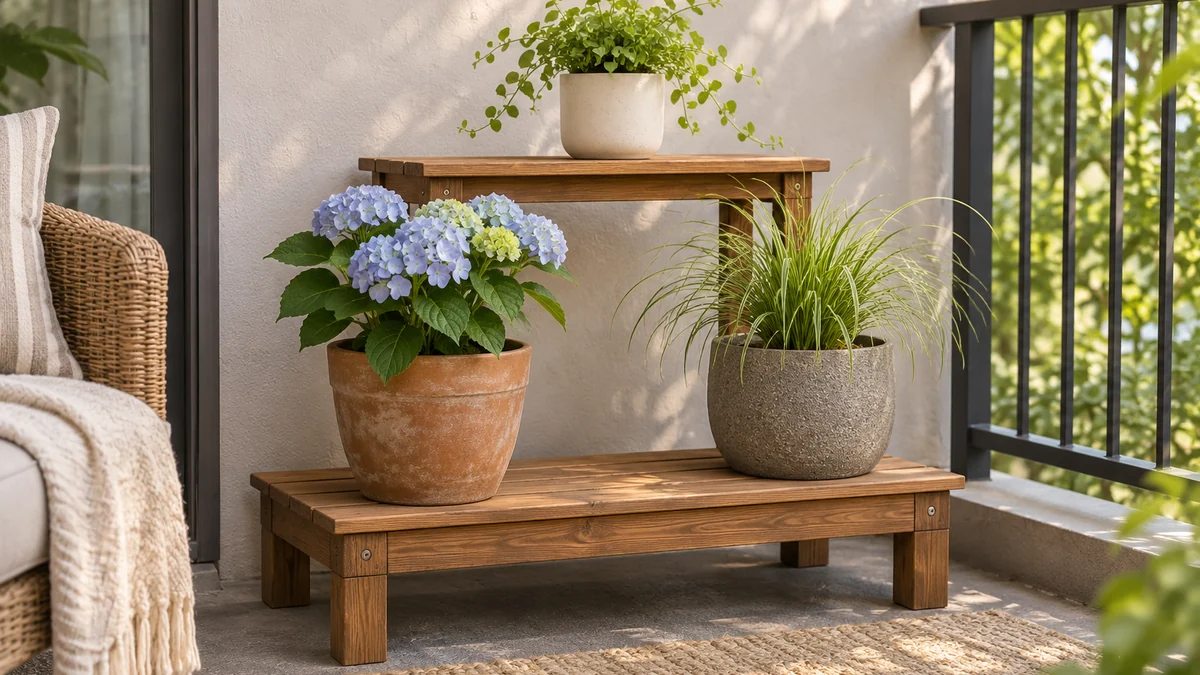
Learning how to arrange plants on a tiered stand starts with the individual containers, not with filling the shelves from top to bottom. Every pot needs an appropriate position, a manageable drainage arrangement and room for you to inspect it. A display can look balanced from the front while remaining awkward to water or crowded from the side.
This guide focuses on arranging a small collection on a suitable manufactured outdoor stand. For choosing the structure and assessing the location, begin with our freestanding vertical balcony garden guide. Follow the stand’s assembly, loading and anchoring instructions and the building rules. Once those basics are settled, use the twelve steps below to plan a display that remains useful after the first styling session.
In this guide
- 1. Inventory the plants before assigning shelves
- 2. Measure the stand, the pots and the working space
- 3. Plan for mature foliage, not only the pot rim
- 4. Allocate the lower levels with weight in mind
- 5. Use the upper shelf selectively
- 6. Offset three different canopies without blocking the lower pots
- 7. Give spreading growth a defined direction
- 8. Trace the drainage route from each pot to the reset
- 9. Build the watering route around observation
- 10. Keep labels and a simple position record
- 11. Review the arrangement as light and growth change
- 12. Compare a sparse version before adding more pots
- Three arrangements to sketch before loading
- Continue planning your small outdoor space
1. Inventory the plants before assigning shelves
Set out a simple list of the plants you want to display. Record the name, current container, expected growth and the care guidance you are following. Note which plants you inspect or harvest frequently. You are arranging a living collection with individual needs, not a set of interchangeable decorative objects.
Separate plants that are still being assessed from those whose requirements you understand. An unfamiliar purchase may need more observation before you give it a difficult-to-reach position. Keep the label and ask a reliable local nursery or extension service when care or identification is unclear.
Begin with fewer containers than the stand could potentially hold. That leaves room to compare positions and see how the shelves affect light and access. A partly filled stand is not an unfinished project. It is a useful starting arrangement in which you can notice the shape of each plant and reach every pot without moving several others first.
2. Measure the stand, the pots and the working space
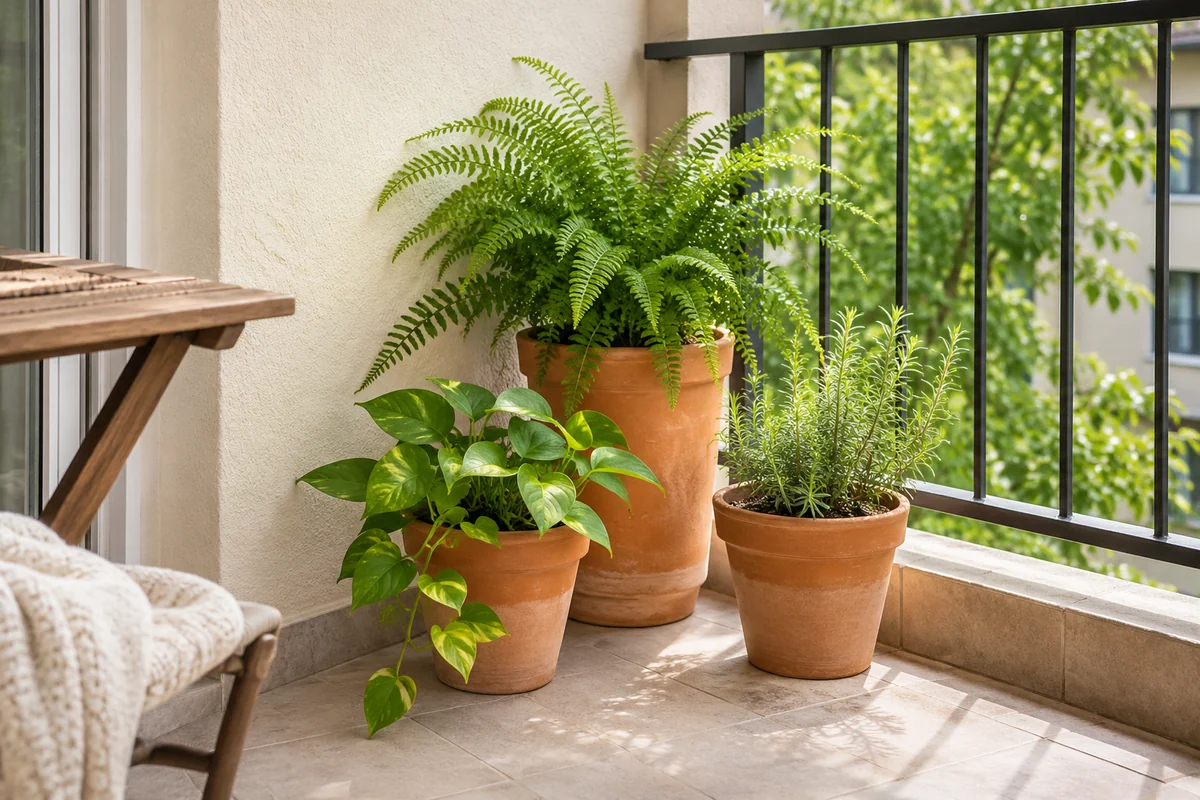
Record the stand’s overall width, depth and height, including projecting feet or shelves. Then measure each usable shelf and compare it with the actual pot bases and saucers. The outside dimensions do not tell you whether a container sits fully supported or whether there is room to lift it without catching foliage above.
As a paper exercise, a shelf 24 inches wide does not automatically provide two independent positions for pots with 12-inch-wide saucers. That combination leaves no allowance between them or at the edges, before you consider the stand’s shape and instructions. These hypothetical dimensions explain the comparison; they do not establish a permitted loading arrangement.
Compare the stand occupied with the same pots at floor level. Include the route for reaching the back container and handling collected water. Follow the product’s actual use, loading and anchoring requirements, and choose another solution if they do not fit the property. Our vertical balcony garden guide helps assess whether height improves the display. A useful stand gives the collection better visibility and access, not merely more possible positions to fill.
3. Plan for mature foliage, not only the pot rim
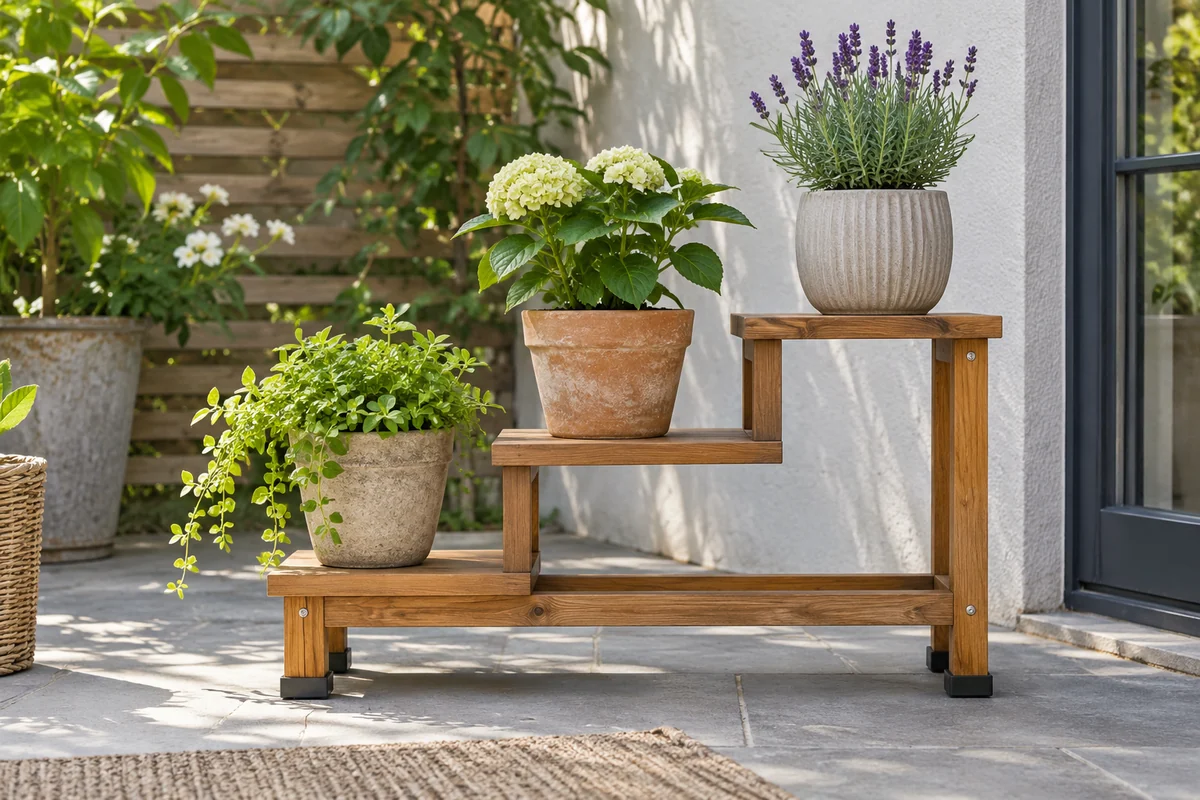
The pot tells you where a plant begins, not where its leaves will end. Review likely growth and leave space around the canopy. A small nursery plant can fit beneath an upper shelf on planting day but later press against it or spread into neighboring foliage.
Use a paper sketch to represent the expected outline as well as the container. You do not need a precise botanical drawing. A simple circle or upright shape can reveal where two plants may overlap or where a shelf could limit access. Check the plant’s actual growth habit instead of assuming every variety behaves like a photograph you have seen.
Leave a route for your hand to reach the growing mix and inspect leaves. If a position works only when you bend the plant aside, it is too crowded for routine care. Keeping fewer pots on the stand can create a more attractive display because the shapes remain visible and the plants have space to develop.
4. Allocate the lower levels with weight in mind
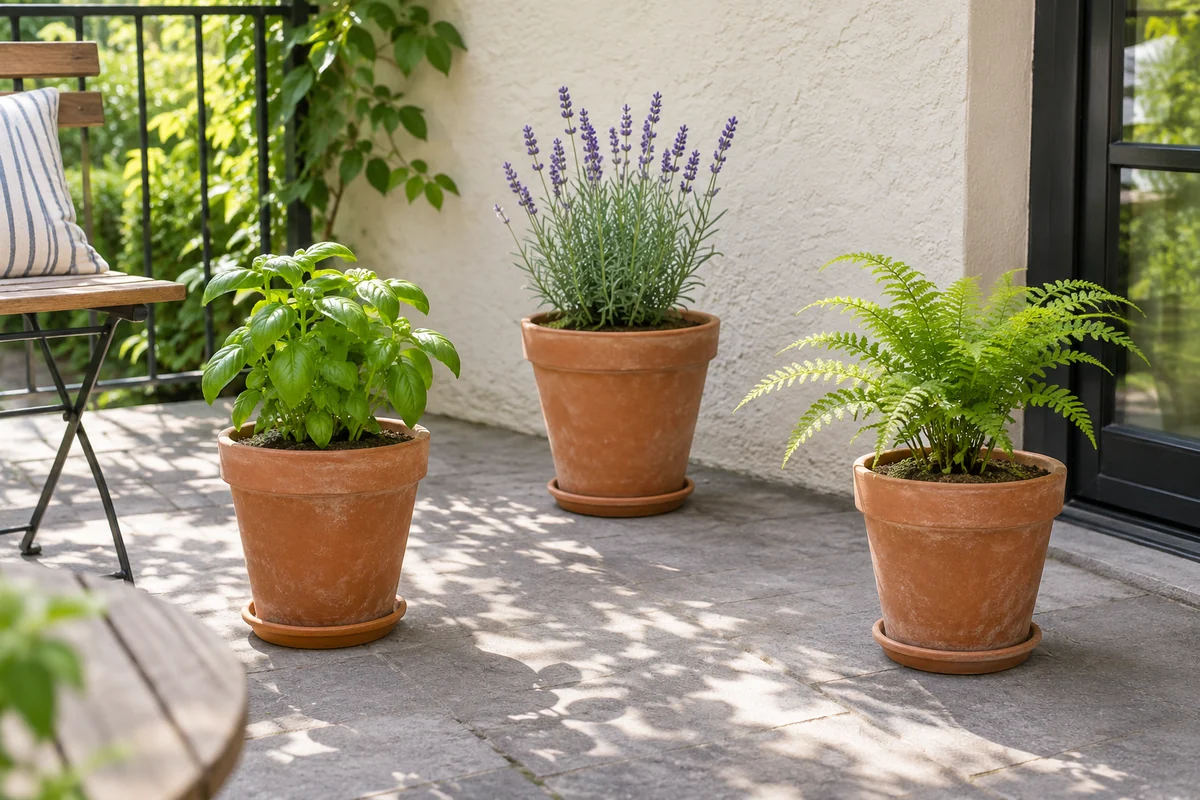
Follow the stand’s loading instructions and consider the weight of filled, watered containers. Where appropriate, heavier pots belong on lower levels rather than creating a top-heavy display. Do not judge suitability from the empty pot alone or assume a shelf is strong enough because a container physically fits on it.
Think about the balcony’s limits as well as the furniture’s limits. Ask the appropriate building contact when structural weight restrictions are uncertain. Adding heavy pots to improve stability is not a solution to an unknown capacity question. The whole setup needs to remain suitable for the location and intended use.
Plan any necessary lifting before planting and watering. Keep heavy containers in manageable, accessible positions and get appropriate help rather than moving them repeatedly to compare decorative compositions. A clear sketch and an empty-container trial can reduce unnecessary handling. The aim is a sensible loading plan you can maintain, not a display that depends on frequent difficult moves.
5. Use the upper shelf selectively
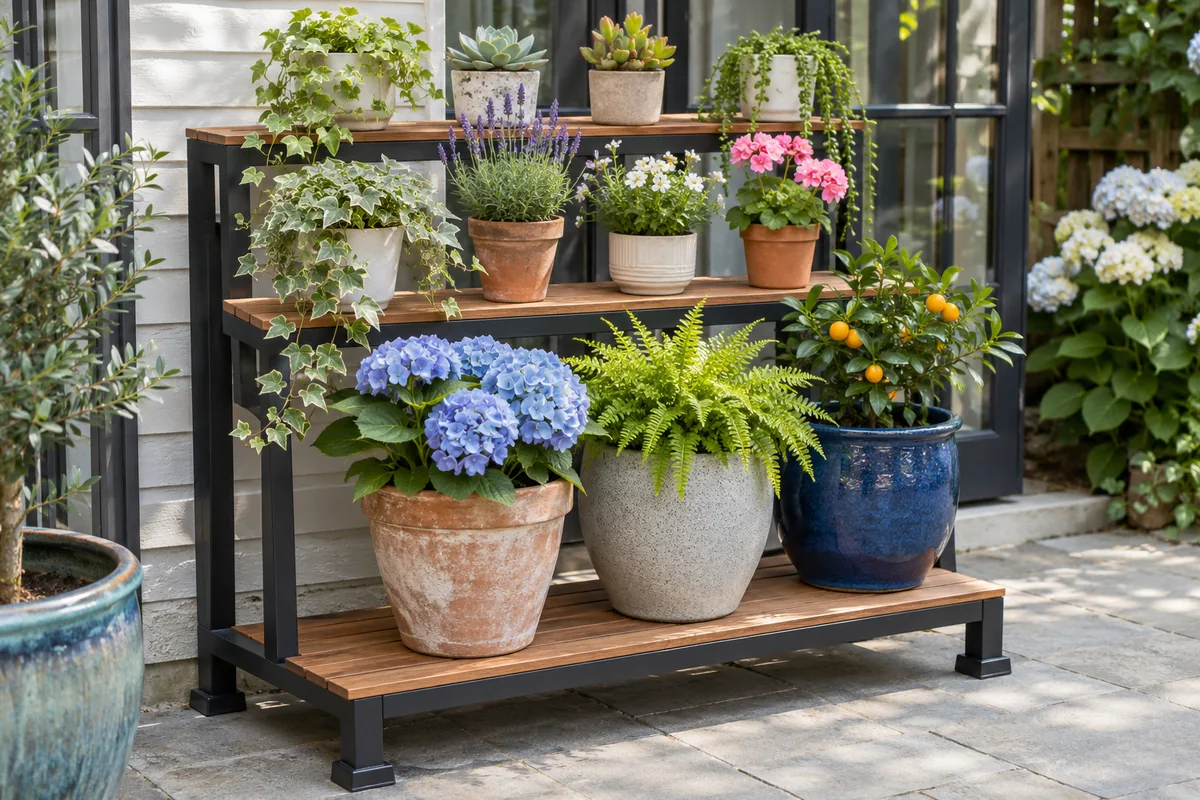
An upper shelf can show a small plant clearly, but it does not need to carry the tallest or most dramatic specimen. Consider the permitted load, your reach and how the plant will affect the levels below. A modest upper container may leave the rest of the display more visible and accessible.
Check whether you can inspect the mix and water the pot comfortably. If you cannot see inside the container or must stretch over other plants, choose a different position. A shelf that is easy to photograph may still be inconvenient for someone using the stand every day.
Avoid placing a container where it could be knocked by a door, a person passing or routine furniture movement. Follow product and building guidance for exposure and installation. If no plant can occupy the upper level appropriately, leave it empty. An unused shelf is preferable to assigning a pot to an unsuitable location simply to make the structure appear completely filled.
6. Offset three different canopies without blocking the lower pots
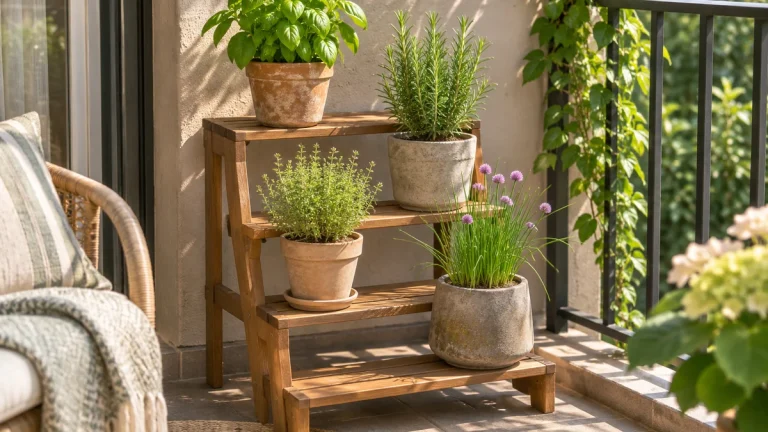
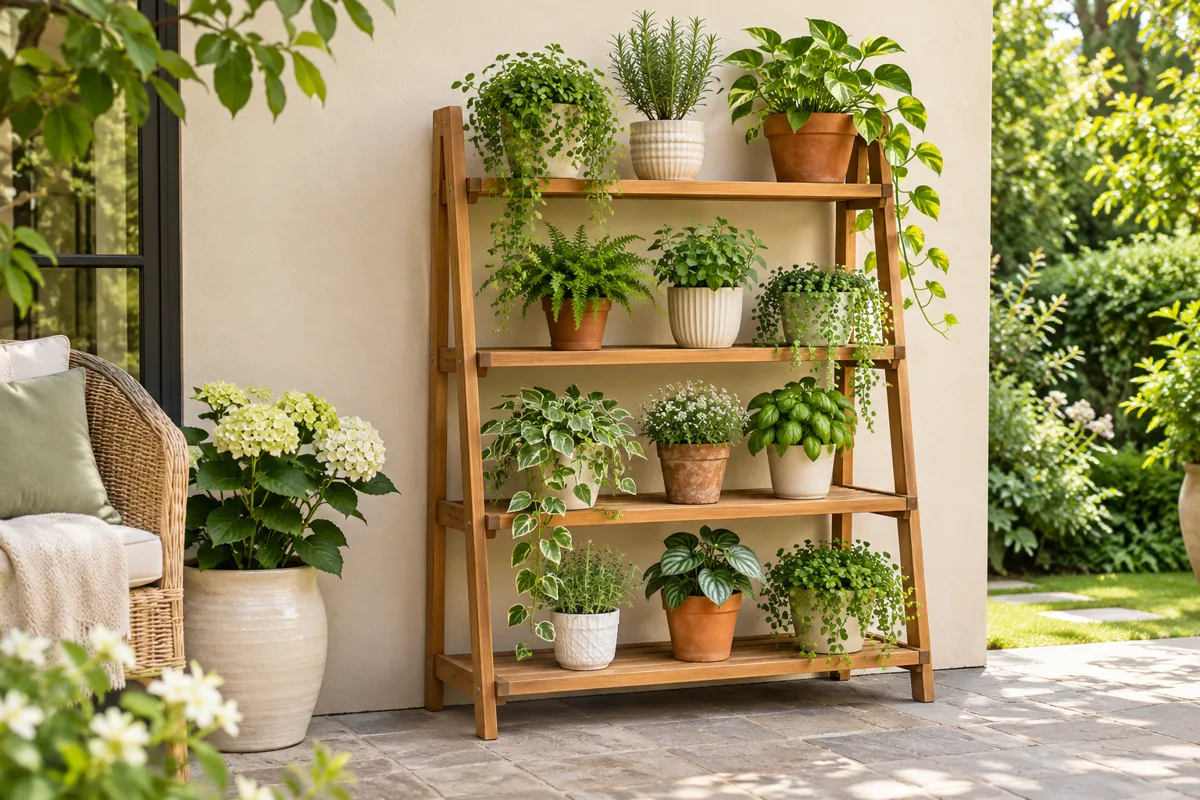
Imagine three separate herbs suited to the available conditions: a leafy basil, upright chives and a lower thyme. Their outlines provide variety, but shelf placement must also serve light, reach and the product’s loading instructions. Do not put a tall plant on top automatically just because that seems like a dramatic display.
| Plant outline | Position to investigate | Care question |
|---|---|---|
| Broad leafy growth | Offset from smaller plants | Will it shade a lower container as it grows? |
| Narrow upright foliage | A position clear of the seated route | Can leaves and the pot rim be inspected comfortably? |
| Low spreading growth | A suitably lit, reachable shelf area | Is the container accessible beneath neighboring foliage? |
Leave visible empty shelf space where it supports those tasks. The illustration shows staggered access rather than the maximum capacity of a specific stand. Check the arrangement from the side as well as the front, because overlapping canopies can hide a rim even when the pots look separated. Our vertical herb garden guide explains the benefit of keeping the planting containers independent while connecting them visually.
7. Give spreading growth a defined direction
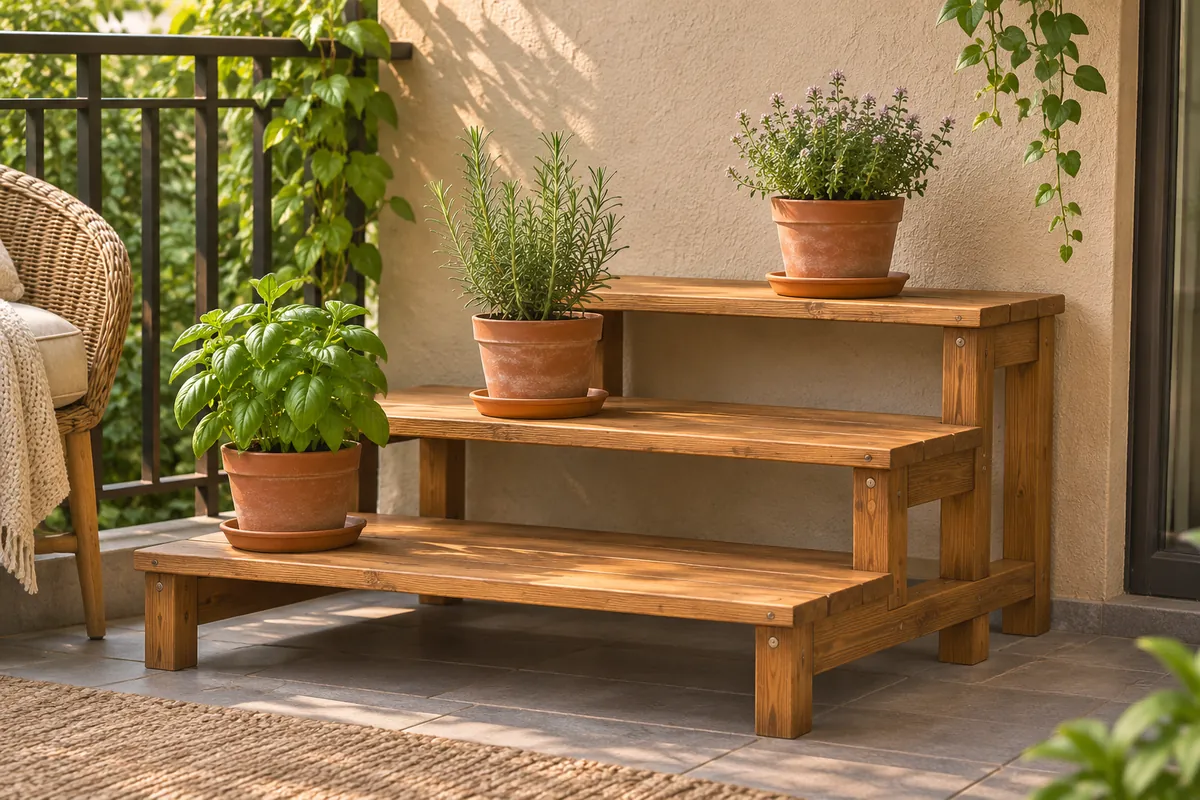
If a plant naturally spreads or trails, consider where that growth will go before assigning its container. Keep foliage away from door movement, the walking route and positions where it will catch clothing or make care difficult. Check the actual plant’s habit rather than selecting a trailing shape solely for a styled effect.
Leave access to the containers below. A curtain of foliage may look attractive while making a lower pot difficult to inspect. You should not have to lift or pull neighboring stems aside each time you check the growing mix. Adjust the grouping or choose another position when that happens.
Observe growth as the season develops and maintain the plant according to reliable species-specific guidance. Do not tie foliage to the building or railing as an improvised way to correct an unsuitable location. Our balcony plant planning guide keeps access and the wider space central to the decision. The stand should organize the plants without letting their growth take over essential movement.
8. Trace the drainage route from each pot to the reset
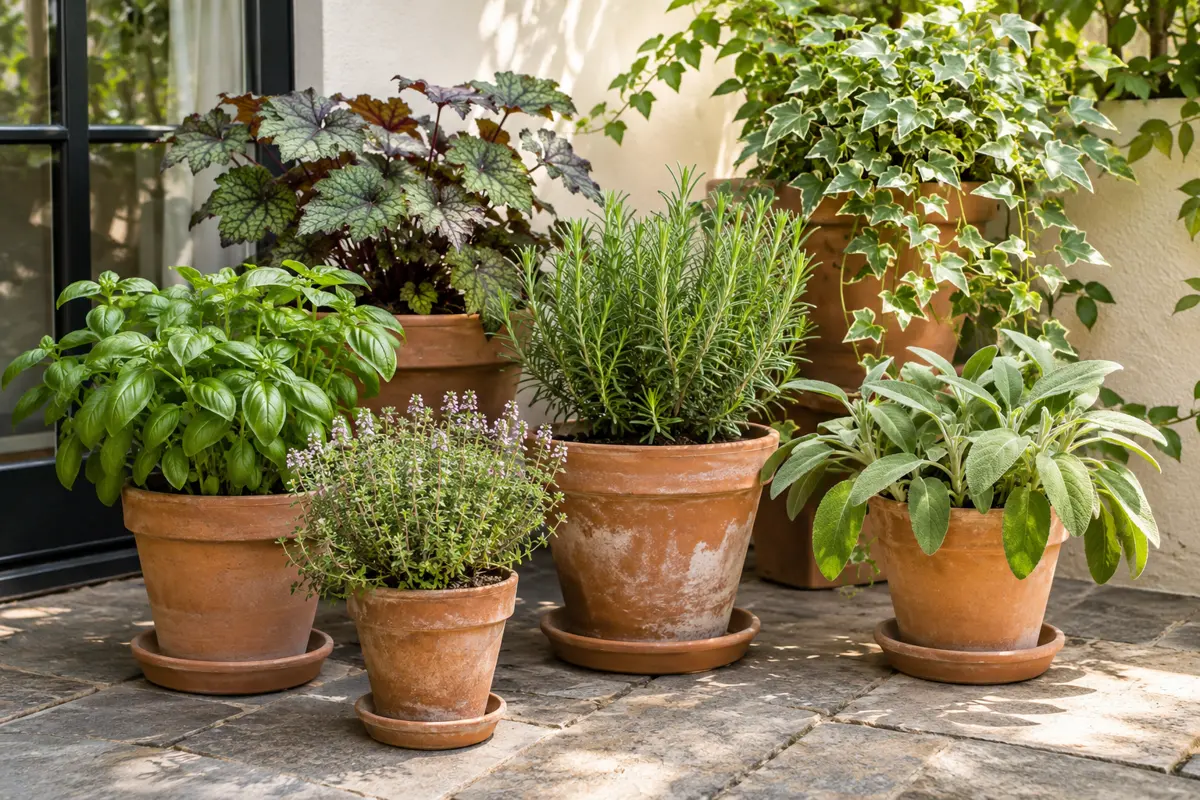
Check one container at a time. Identify where excess water leaves, where it collects temporarily and how you will remove that collected water. An upper pot should not send uncontrolled runoff over lower foliage, stored objects or the balcony edge. Decide whether watering in place is practical or whether an appropriately manageable pot needs a separate permitted watering position.
Test access to saucers or outer containers before loading the stand fully. A tray that can only be removed after shifting three other plants is likely to make the routine cumbersome. Include the load of filled containers and water when following the product instructions. A visual arrangement cannot establish that a particular shelf can support a particular load.
Finish by checking the stand and surrounding surface for collected water, then return equipment to its home. Our container watering guide explains the plant-level observations behind the task. If routine drainage requires awkward lifting or reaching, revise the arrangement now. A sparse stand that you can maintain comfortably is a more useful display than a full one whose hidden trays are difficult to inspect.
9. Build the watering route around observation
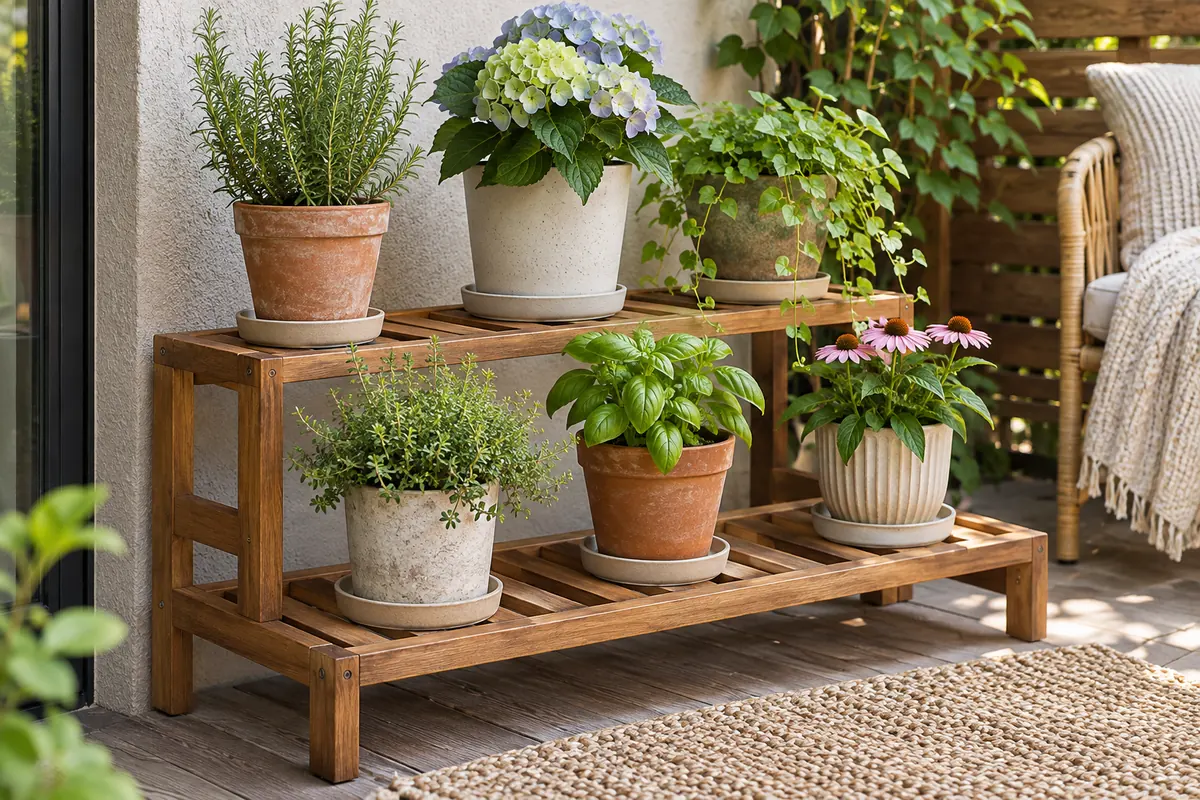
Choose an inspection order that reaches every pot. You might start at the most accessible level and work across the display, but do not let the sequence become a rule to water everything. Check the growing mix and the needs of each plant before deciding what to add.
Keep the watering can small enough to direct comfortably. If you repeatedly spill while approaching one pot, consider a different position or a more suitable tool. Do not compensate for an awkward layout by rushing past that plant or pouring from a distance you cannot control.
After watering, inspect trays, shelf surfaces and the floor. Return tools to storage and keep the route clear. Our beginner container gardening guide covers the foundation behind the display. A good arrangement makes the routine predictable because every plant is reachable and identifiable, even though different pots may need different decisions on the same day.
10. Keep labels and a simple position record
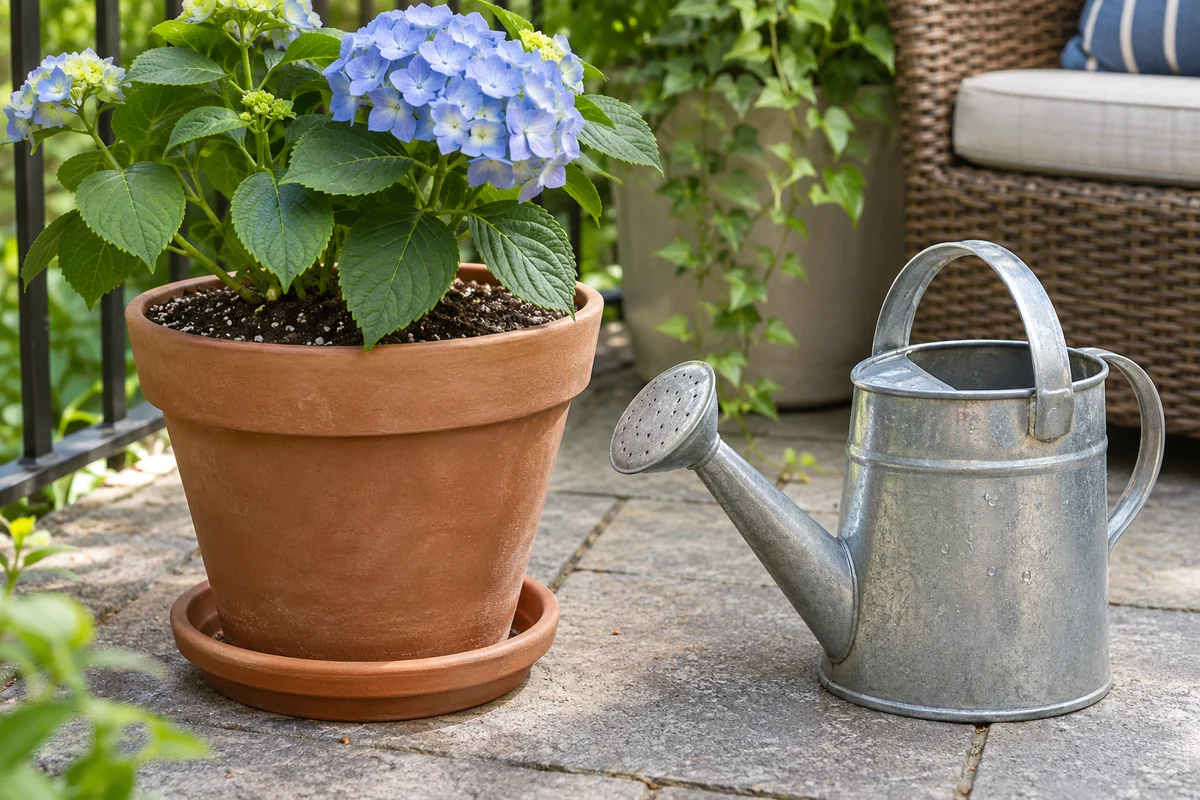
Label the pots or keep a small sketch showing which plant occupies each position. Include the plant name and relevant care guidance. A display becomes harder to manage when several similar containers have lost their labels and you cannot remember which one needs a different approach.
Record changes in position so your observations remain useful. If one plant improves or struggles, knowing when it moved can help you investigate light, exposure and the rest of the setup. Avoid changing several plants and care variables at once without noting what happened.
Keep the record brief enough that you will maintain it. A date, position and short observation are often sufficient. The goal is practical continuity, especially if another person helps with care. Our small container herb garden guide shows why a clearly identified, modest collection is a useful learning project. A tidy display is easier to sustain when its organization extends beyond the photograph to the information behind each pot.
11. Review the arrangement as light and growth change
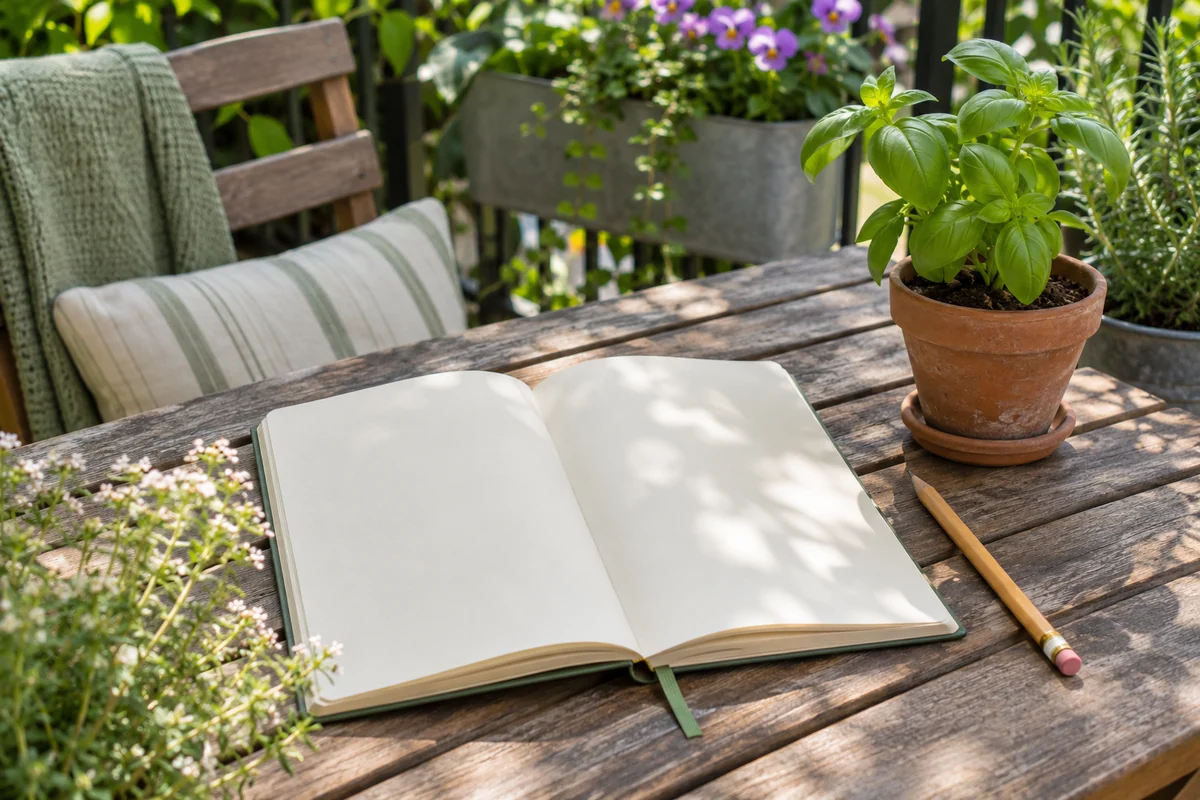
Observe the stand through the day and again as the season develops. A position that receives suitable light at one point may change because of building shade, plant growth or the sun’s seasonal path. Check the actual pots instead of assuming the original arrangement remains ideal indefinitely.
Make adjustments only when appropriate for the plants, product and handling involved. You may need to relocate a small container, reduce the collection or choose a different plant for a position. Avoid frequent difficult lifting of heavy wet pots in pursuit of a permanently perfect composition.
Use a photograph from the side to notice crowding that the front view hides. Leave the main route and property features accessible while reviewing the display. University of Illinois Extension’s container guidance provides useful background on light, heat and wind. Treat it as context for observation and plant-specific decisions rather than a reason to apply the same adjustment to every pot on the stand.
12. Compare a sparse version before adding more pots
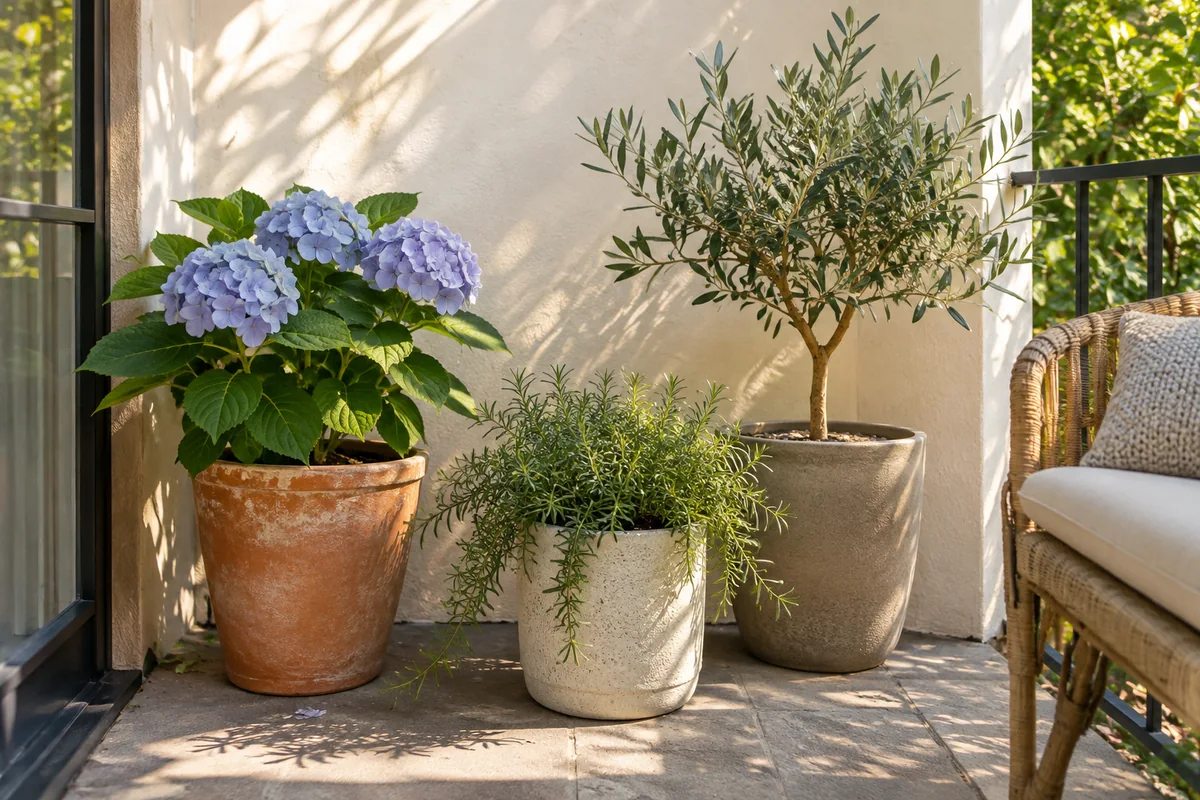
After using the stand for a week, temporarily compare a smaller collection within appropriate handling limits. Notice whether the remaining plants are easier to see, inspect and water. The display may feel more intentional with one open space than with a container occupying every possible position.
Ask which problem an additional pot would solve. It might provide a herb you use often or replace a plant that is unsuitable for the conditions. Filling a gap is not a sufficient reason to increase care tasks or reduce access. Keep the collection connected to its purpose.
Review the furniture, seat and doorway together. The stand is one part of the balcony, and its success depends on leaving the rest useful. For planning a defined plant zone with movable pieces, our renter-friendly makeover plan offers a broader sequence. Stop expanding when the plants remain accessible, the care routine is manageable and the display supports the way you enjoy the outdoor space.
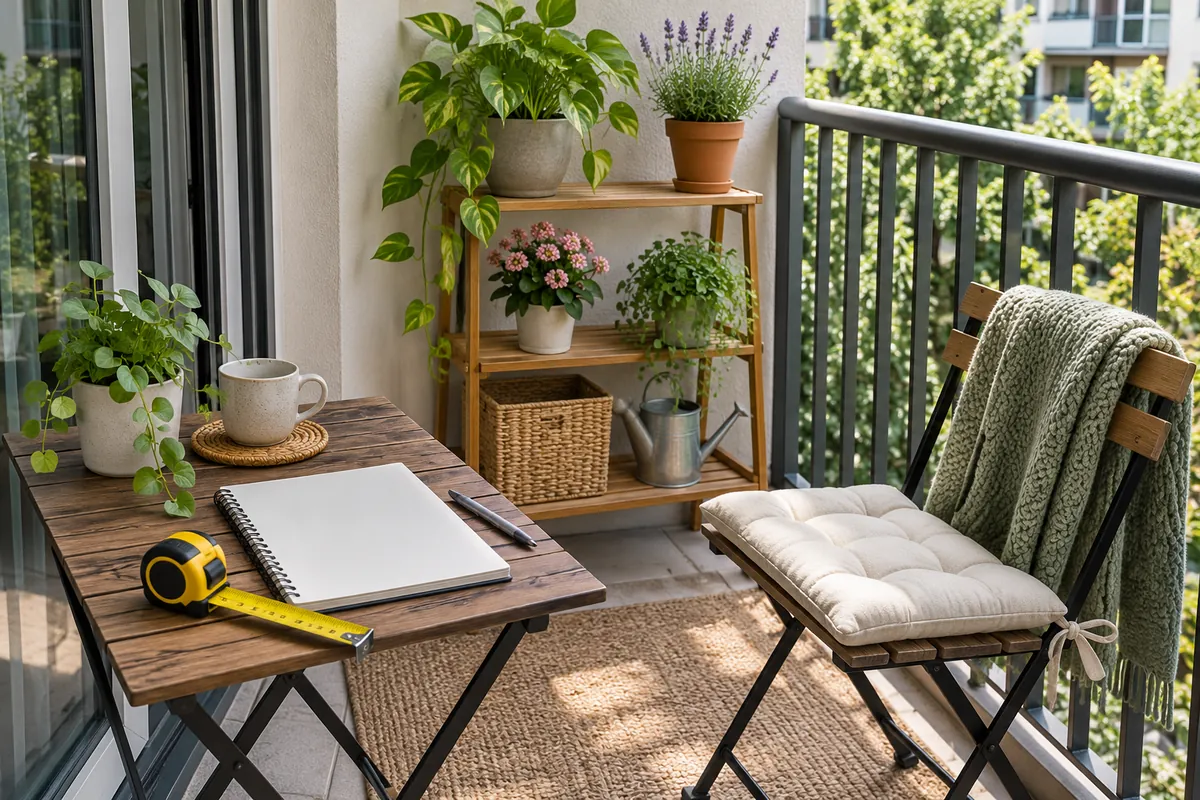
Three arrangements to sketch before loading
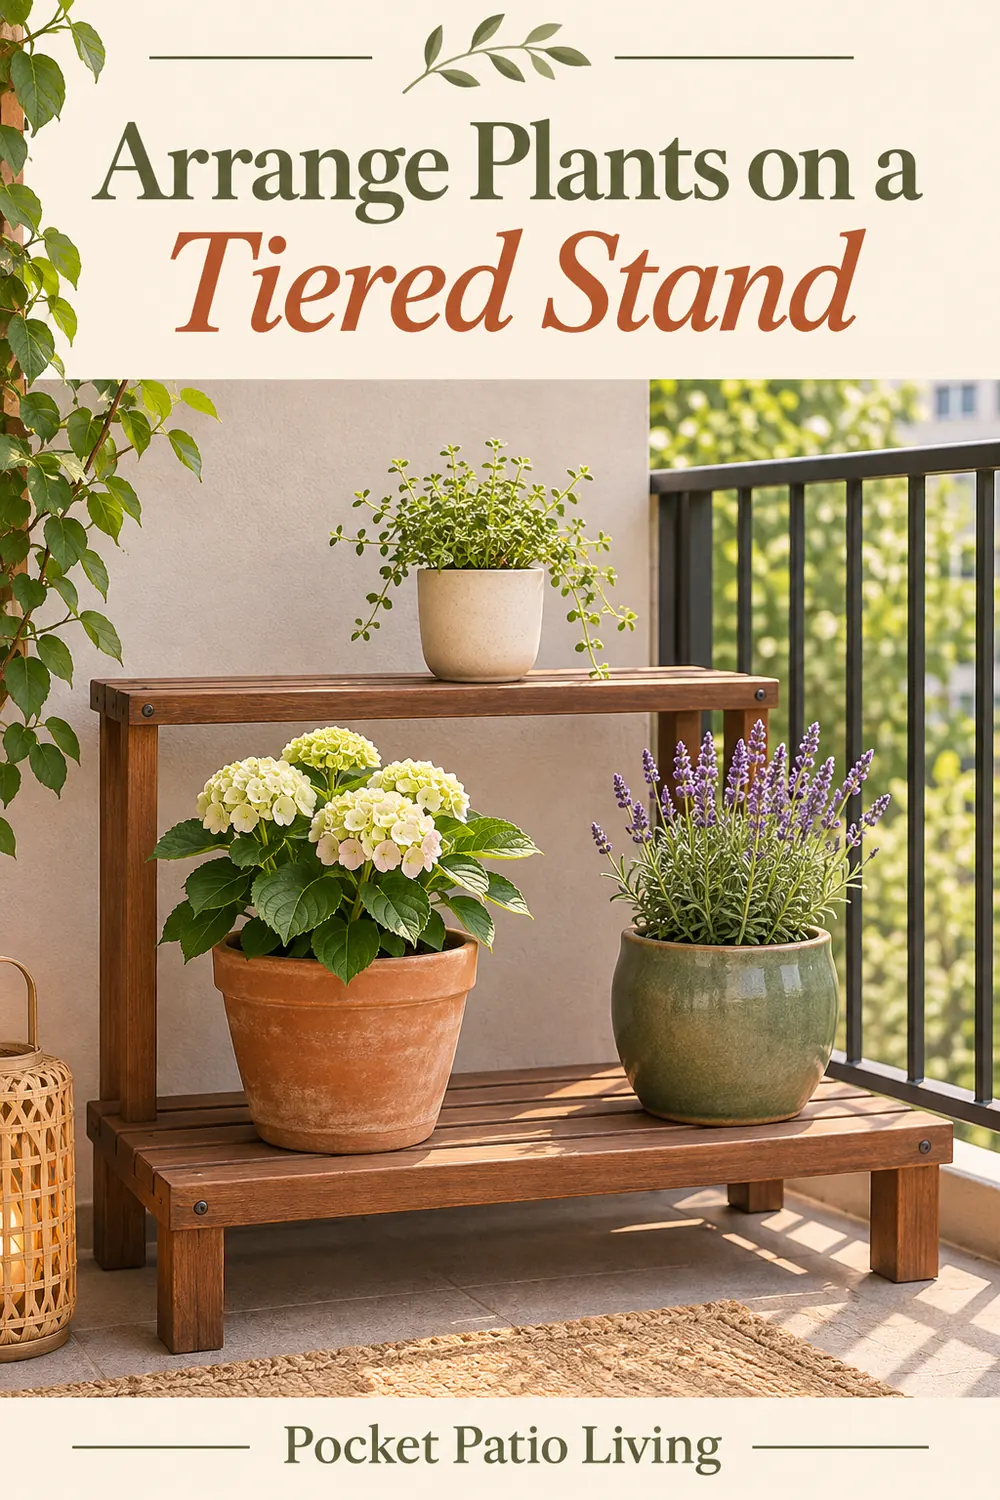
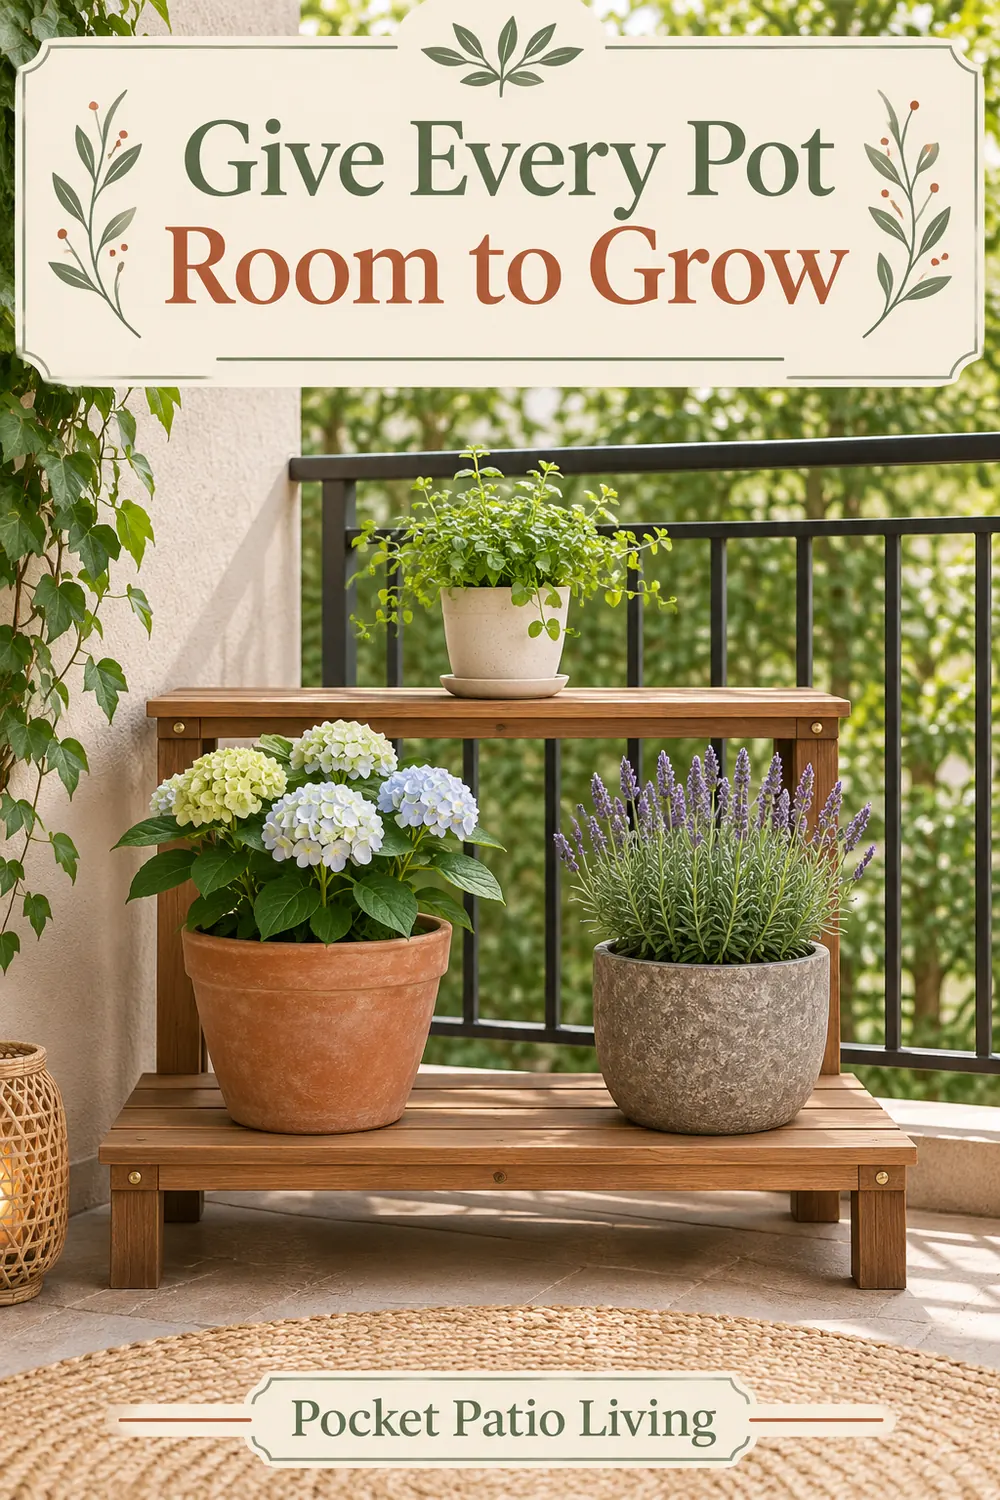
For a simple three-pot display, sketch one suitable smaller container above and two appropriate containers lower down, following the stand’s instructions. For a care-first version, give the most frequently inspected plants the easiest positions and leave the least accessible level empty. For a shape-focused version, offset different foliage outlines while maintaining support, suitable light and reach. These are planning approaches, not load specifications; the actual product and plants determine what is appropriate.
Should the tallest plant always go on top?
No. Consider load instructions, stability, light, expected growth and reach. The top shelf does not need the largest plant to make a display feel complete.
Can I fill every shelf immediately?
Begin with a smaller group and learn how access, growth and watering work. Empty space is useful while the plants develop and can remain part of the finished arrangement.
What matters more, symmetry or maintenance?
Choose suitable conditions and practical care first. You can refine the visual arrangement within those limits, but a balanced front view should not depend on inaccessible or crowded containers.
Continue planning your small outdoor space
For a related part of your setup, explore watering container plants. You can also use our balcony plant arrangement ideas guide to connect the next decision with the space and routine you already have.
Save this guide for later
Save one of these Pinterest-style designs for your next planning session. All article images are design illustrations.