Vertical Balcony Garden Ideas: A Practical Freestanding Plant Display
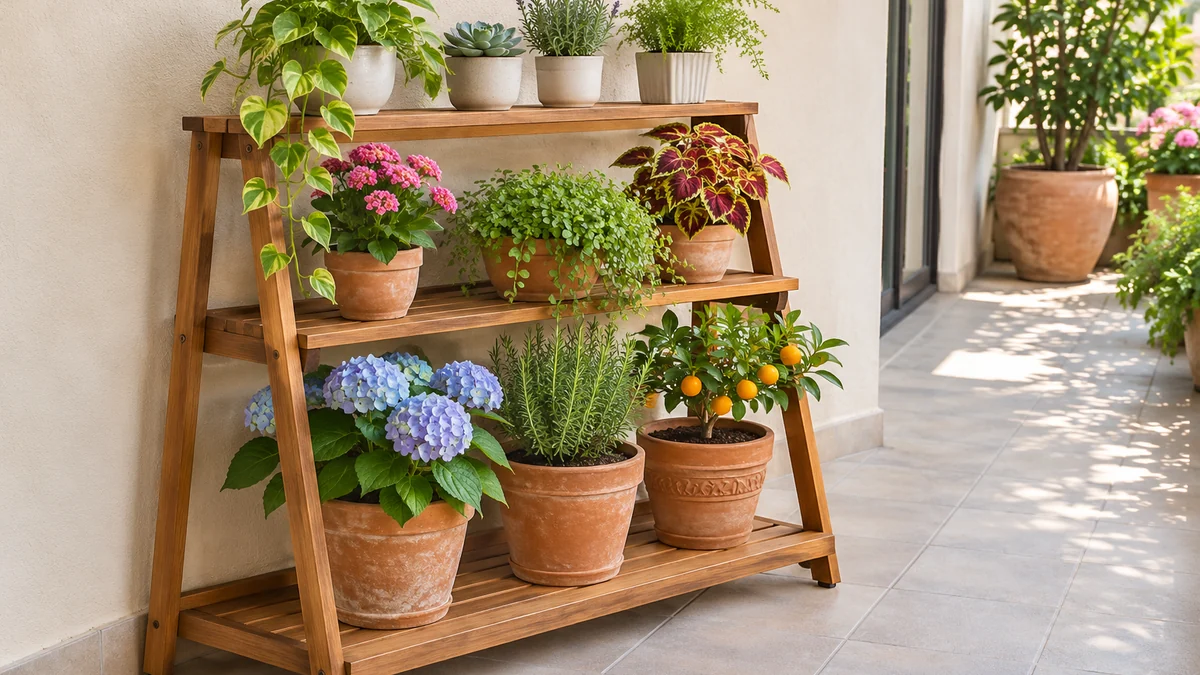
Vertical balcony garden ideas do not have to begin with wall brackets or railing planters. A suitable freestanding display can organize a small collection while keeping each pot accessible. The most useful arrangement is modest enough to manage, stable in its intended location, and compatible with the building rules. Growing upward still involves floor space, weight, water, and maintenance.
Start by deciding what problem the display should solve. Perhaps several small pots are scattered beside the chair, or one container is difficult to reach behind another. A stand should make those tasks easier rather than simply increase the number of plants you can buy. For the overall balcony setup, use our small apartment balcony garden guide before adding another piece of furniture.
In this guide
- 1. Choose the location before choosing a stand
- 2. Look for a low, outdoor-suitable structure
- 3. Distribute pots with stability in mind
- 4. Keep the plant collection smaller than the shelf capacity
- 5. Use shelf spacing to preserve light and access
- 6. Plan where water goes before the first watering
- 7. Build a simple inspection and cleaning routine
- 8. Expand only after the first arrangement works
- Compare the stand with a floor-level plant group first
- Give each shelf a plant and a light plan
- Keep drainage independent on every level
- Check the display through changing light and growth
- Questions before adding height
- Plan the next part of your space
1. Choose the location before choosing a stand
Observe the proposed position at different times of day. Note direct sun, shade from the building, reflected heat, and wind exposure. Conditions can vary between the floor and upper shelves, and they change as plants grow. Select the location around the plants’ needs and safe access rather than choosing a stand first and searching for somewhere to squeeze it in.
Measure the available footprint, including feet and any projecting shelf edges. Check the door through its full movement and leave required routes, drains, and service points accessible. A stand that looks slim in a photograph can occupy significant floor area once filled with pots and spreading foliage.
Read the building rules and ask about restrictions when necessary. Do not infer weight limits from the size of the balcony or from a neighbor’s display. Wet growing mix, containers, the stand, furniture, and people all contribute weight. If a suitable position is not available, a smaller floor-level group is a valid alternative to a vertical arrangement.
2. Look for a low, outdoor-suitable structure
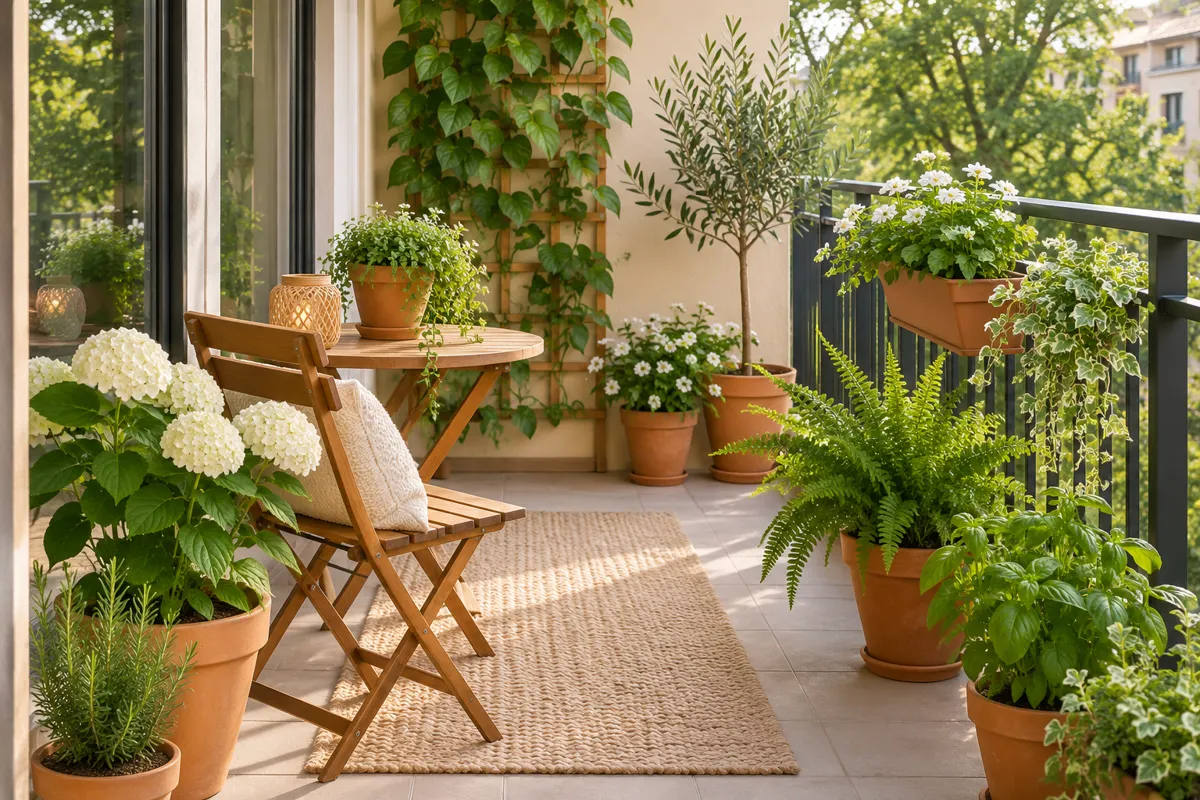
A low stand can make small containers easier to see and reach without creating a tall display. Check the manufacturer’s intended use, assembly instructions, load limits, and anchoring requirements. A product sold as freestanding may still require attachment in some conditions. If the instructions require an attachment your building does not permit, choose another solution rather than omitting the required step.
Inspect the feet and how they sit on the actual surface. An uneven or sloping location may be unsuitable for the product. Do not improvise supports or lean the stand against the railing to compensate for a poor fit. Keep the arrangement within the intended use of the furniture.
Think about maintenance while evaluating height. You should be able to inspect the upper pots, reach the growing mix, and move a small container without stretching over others. More shelf levels do not automatically create a better garden. A compact structure with accessible plants may be easier to maintain than a tall shelf filled to capacity.
3. Distribute pots with stability in mind
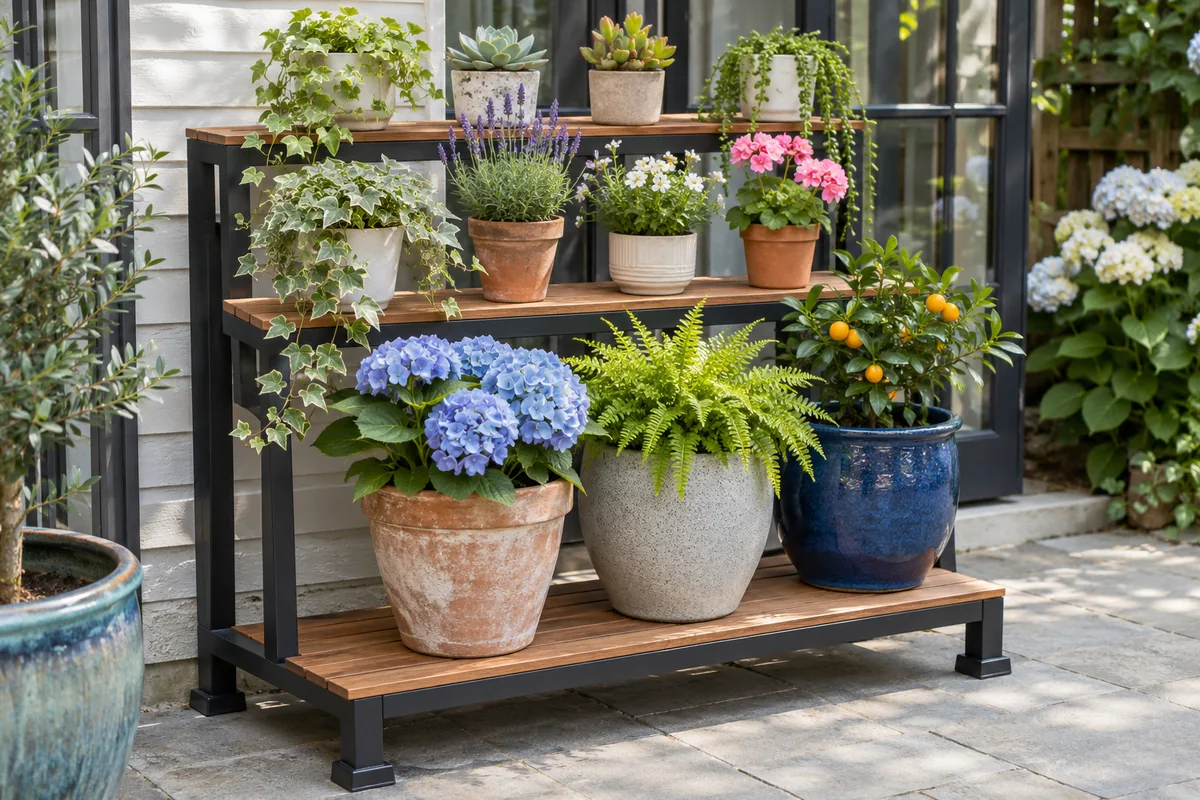
Follow the stand’s instructions for loading and place heavier containers on lower levels where appropriate. Consider the combined weight of the pot, wet growing mix, plant, and any retained water. A small empty pot can become a different handling task once planted and watered. Do not use decorative appearance as a guide to structural capacity.
Avoid a top-heavy arrangement with tall plants concentrated on the highest shelf. Wind can affect containers and foliage, particularly on exposed balconies. University of Illinois Extension notes the importance of container stability and matching the container to the upper growth. Use that as a reason to assess the whole arrangement, not as permission to add heavy ballast to an unknown balcony structure.
Leave room around the stand so it is not easily bumped by a chair or someone entering the balcony. If the location feels exposed or unstable, reduce the display or choose another position. Adding an improvised attachment to a railing is not an appropriate substitute for a suitable product and a permitted installation.
4. Keep the plant collection smaller than the shelf capacity
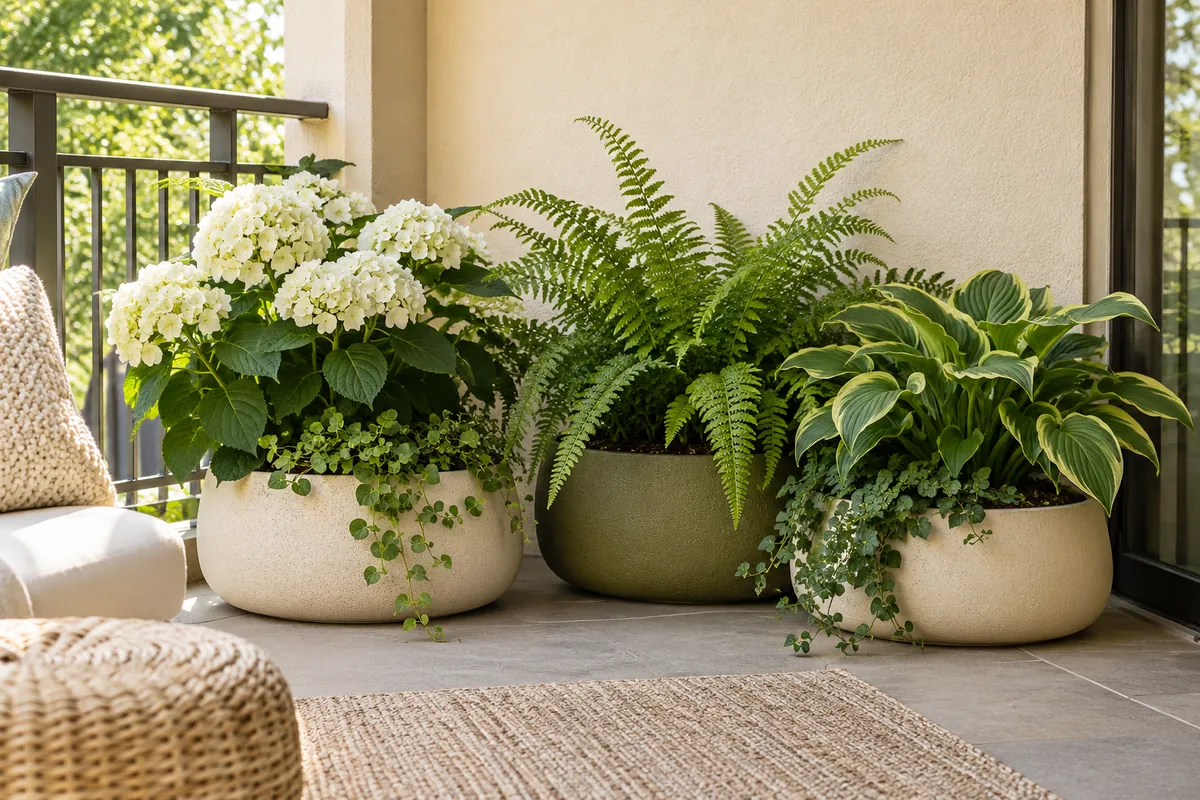
An empty shelf is not a requirement to buy another plant. Begin with a few containers and leave space between them so you can inspect leaves and reach the growing mix. Plants occupy more room than their pots as they mature, so consider the likely foliage spread when deciding how many containers belong on each level.
Repeat a pot material or related color if you want the group to feel connected. This visual link does not mean the plants must share a container or receive identical care. Separate pots are useful when light and moisture needs differ. Labels and a simple record can help you keep track of each plant as the collection develops.
Choose plants according to the actual position, not a generic list of supposedly perfect balcony plants. Regional climate, season, exposure, and your maintenance routine all matter. Our container gardening guide for beginners provides the basic sequence for matching plants, containers, growing mix, and a workable care routine before you expand vertically.
5. Use shelf spacing to preserve light and access
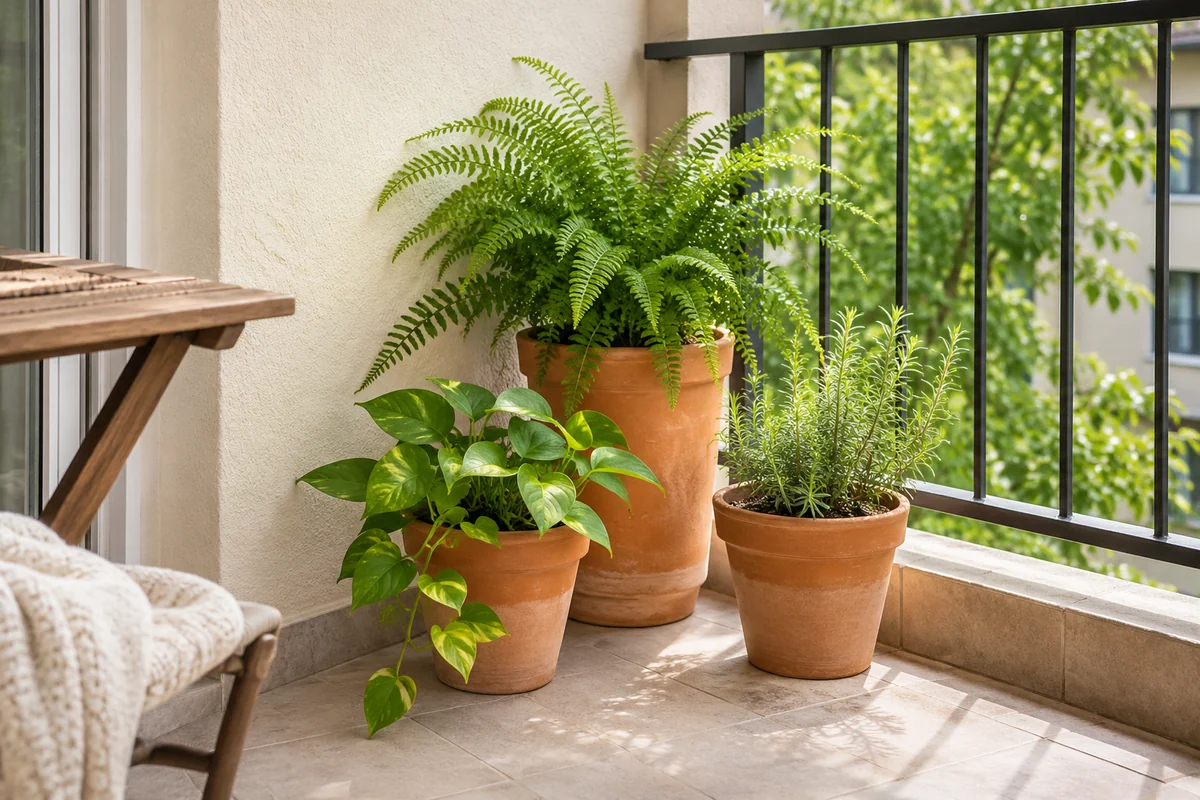
Look at the display from the side as well as the front. A deep upper container can shade the plant below, while a spreading stem can block access to another pot. Leave sufficient space for growth and choose the arrangement according to what each plant needs. A balanced photograph does not necessarily show a practical growing position.
Place a plant on a different level only if that level suits its conditions and the stand’s load instructions. Do not keep moving heavy containers to chase light. If suitable conditions cannot be provided on the shelf, use another position or choose a more appropriate plant after checking reliable local guidance.
Keep every container independently reachable. You should not need to remove three other pots to inspect one at the back. This matters when you are checking for pests, removing damaged growth, or assessing moisture. A shelf with fewer, accessible containers can support more attentive care than a densely packed display that discourages regular inspection.
6. Plan where water goes before the first watering
Check each container’s drainage arrangement and consider the shelf below it. Water should not collect unnoticed in decorative outer pots, run onto unsuitable furniture, or drip beyond the balcony. Protect surfaces appropriately and follow the care instructions for the stand as well as the planting containers.
Use removable saucers or other suitable arrangements only when you can inspect and empty collected water. Do not leave plants standing in stagnant water. Keep building drains clear and avoid placing the display where maintenance runoff will affect neighbors. A vertical arrangement should make watering controlled and accessible rather than hide the consequences beneath several shelves.
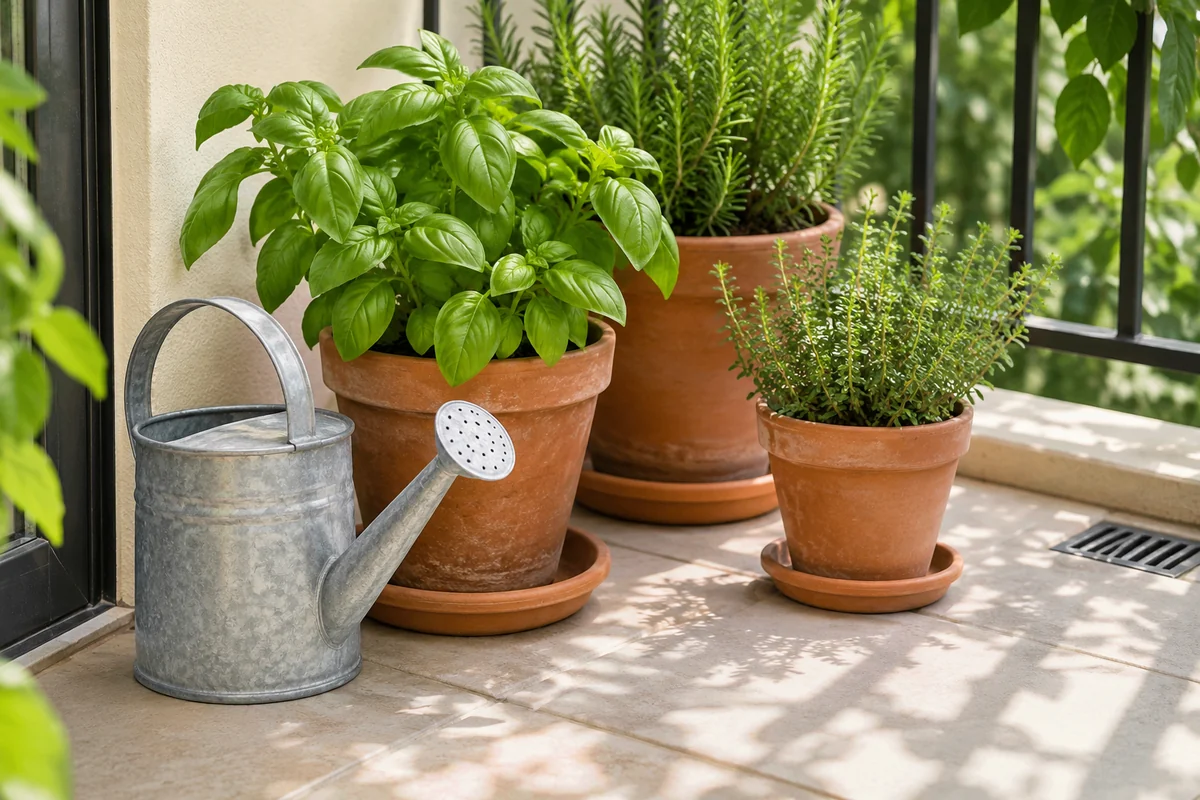
Choose a watering can that is comfortable to handle in the available space. Check moisture and plant needs before watering, rather than applying the same amount to every shelf. If you cannot reach a pot without spilling or stretching awkwardly, change the arrangement. That is a layout problem to solve, not a reason to skip the container during routine care.
7. Build a simple inspection and cleaning routine
Check the plants while observing the growing mix. Look for damaged leaves, pests, changes in growth, and pots that remain wet or dry differently from the others. Record brief observations so you can notice a pattern instead of responding to each change with a new product or more water.
Inspect the stand according to its care instructions. Outdoor exposure can affect finishes and hardware, so keep the manufacturer’s guidance available. If the structure becomes damaged or unstable, stop using it until it can be addressed appropriately. Do not cover an issue with a decorative pot or assume the wall will support the display.
Leave enough room to clean around and beneath the stand. Avoid storing loose bags, empty containers, or unrelated objects where they block access or conceal water. A small notebook entry and a short regular check are often more useful than a complicated maintenance schedule you cannot sustain. The display should remain an easy part of your existing balcony routine.
8. Expand only after the first arrangement works
Use the display for several weeks before adding more containers. Notice which shelf positions suit the plants and whether the stand improves access compared with pots on the floor. If you keep moving containers to reach the back, reduce the group or change the layout within the product’s instructions.
Consider an additional low container group rather than automatically choosing a taller stand. Growing upward is one organizing method, not a goal that must continue indefinitely. The right stopping point is where plants remain accessible and the balcony still supports seating, movement, and cleaning.
When you do add a pot, give it a clear purpose. It might provide a herb you use often or replace a plant unsuited to the conditions. Avoid filling space simply because it is available. For ideas on arranging furniture and containers together without overspending, read our small patio decorating plan. Keep the whole outdoor space useful as the garden develops.
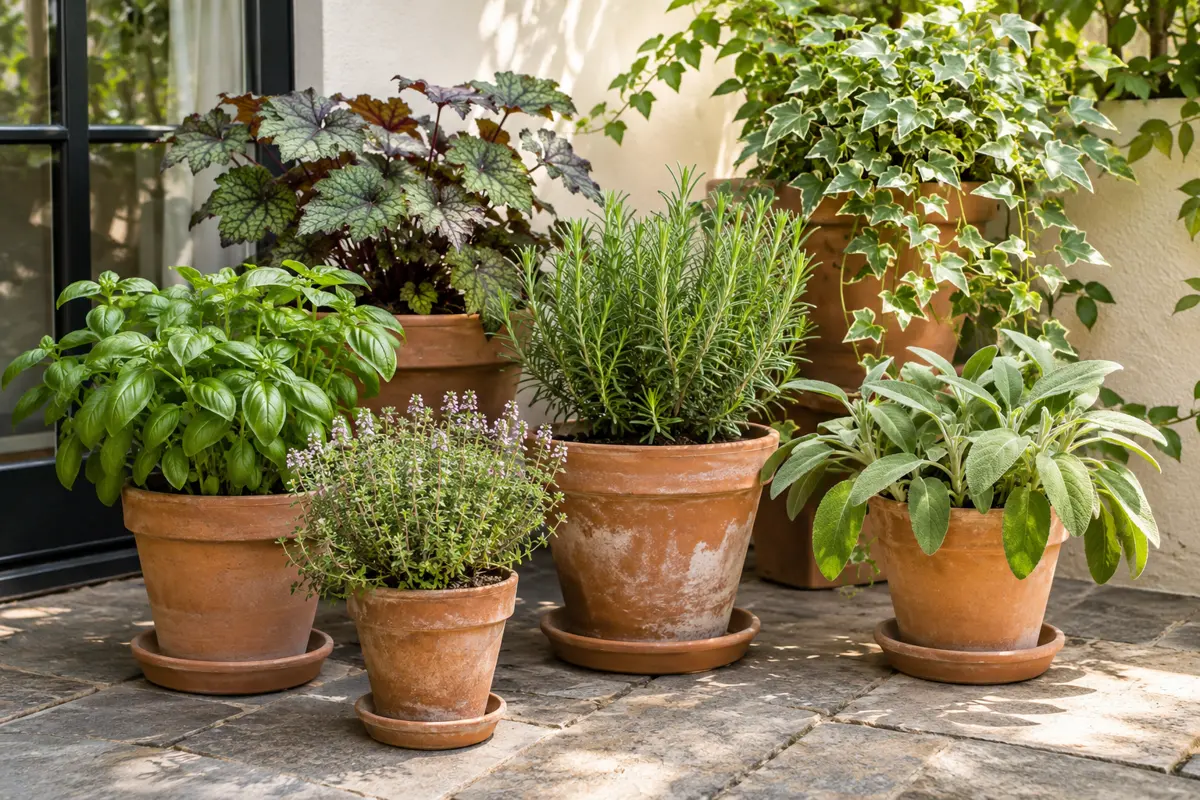
Compare the stand with a floor-level plant group first
A vertical display earns its footprint when it makes plants easier to see or reach. Before choosing one, arrange the intended pots on the floor and measure the group. Then compare the stand’s widest points, shelf projections and the space needed to lift a container. Height alone does not guarantee a smaller usable footprint.
| Option | Main benefit | What to check |
|---|---|---|
| Floor-level group | Simple handling and fewer components | Bending and access behind the front pots |
| Low stepped stand | Staggered visibility and reachable rims | Product limits, stability and full base dimensions |
| Taller shelf | More possible display levels | Required anchoring, shade below and comfortable reach |
| Separate individual supports | Flexible positions | Suitability and stability of every support |
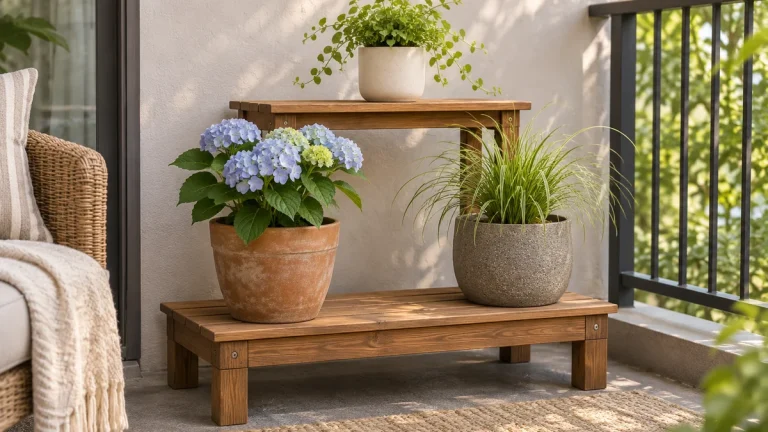
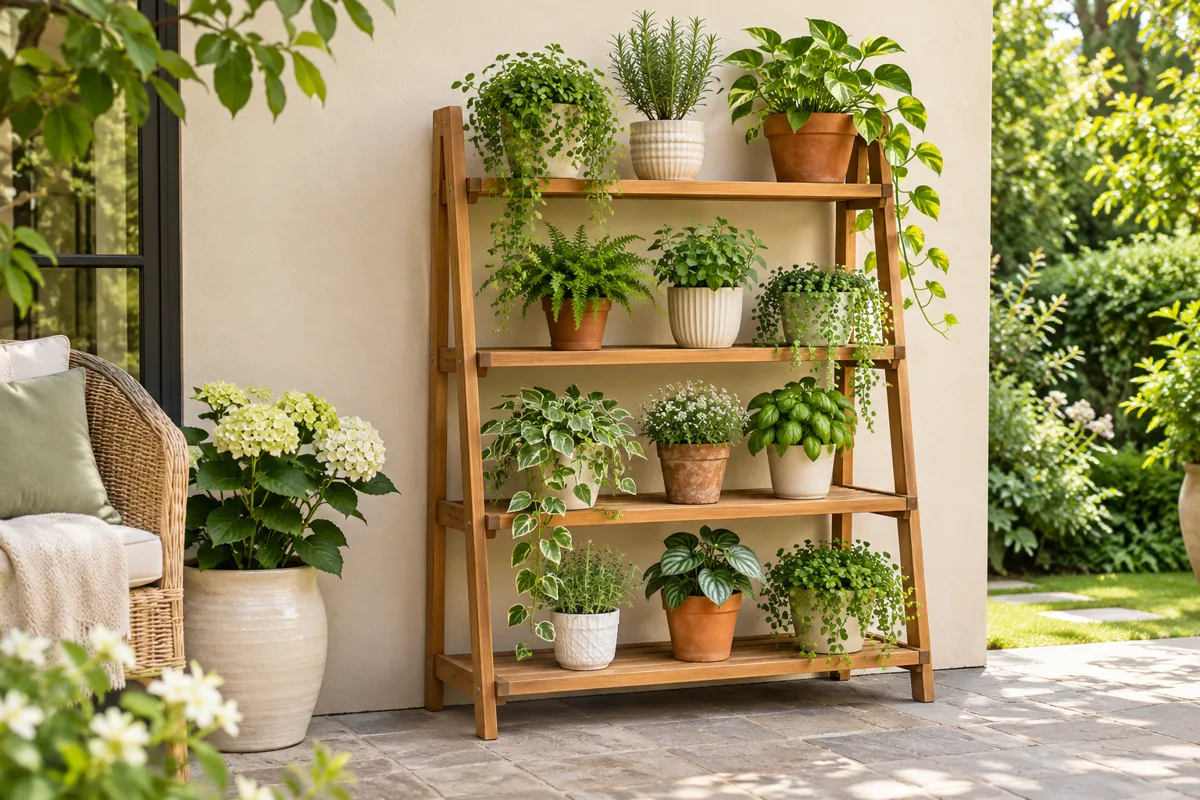
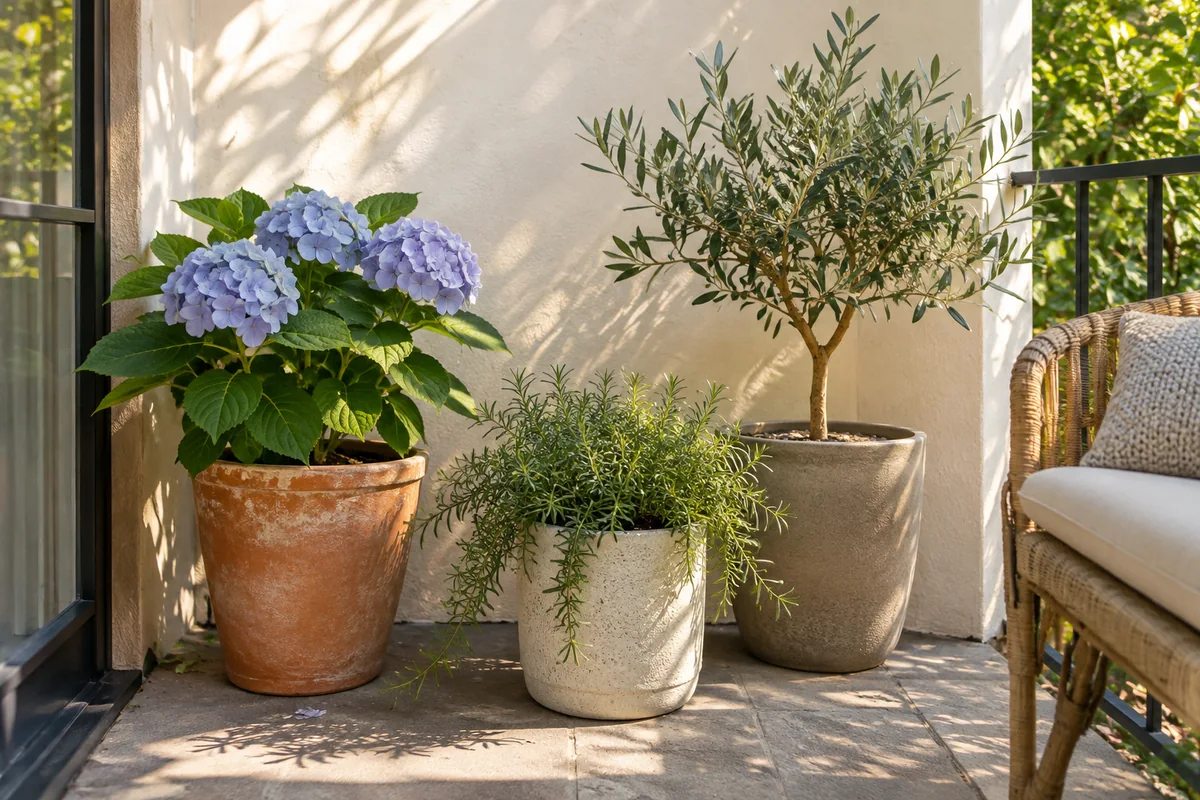
The illustration shows a deliberately sparse, low display. It is a visual example rather than proof that a particular product or arrangement meets your building’s requirements. Check the actual stand’s intended use and installation instructions. If those instructions cannot be followed, choose another option. Our tiered plant stand guide helps compare the practical shelf arrangement after the stand itself is suitable.
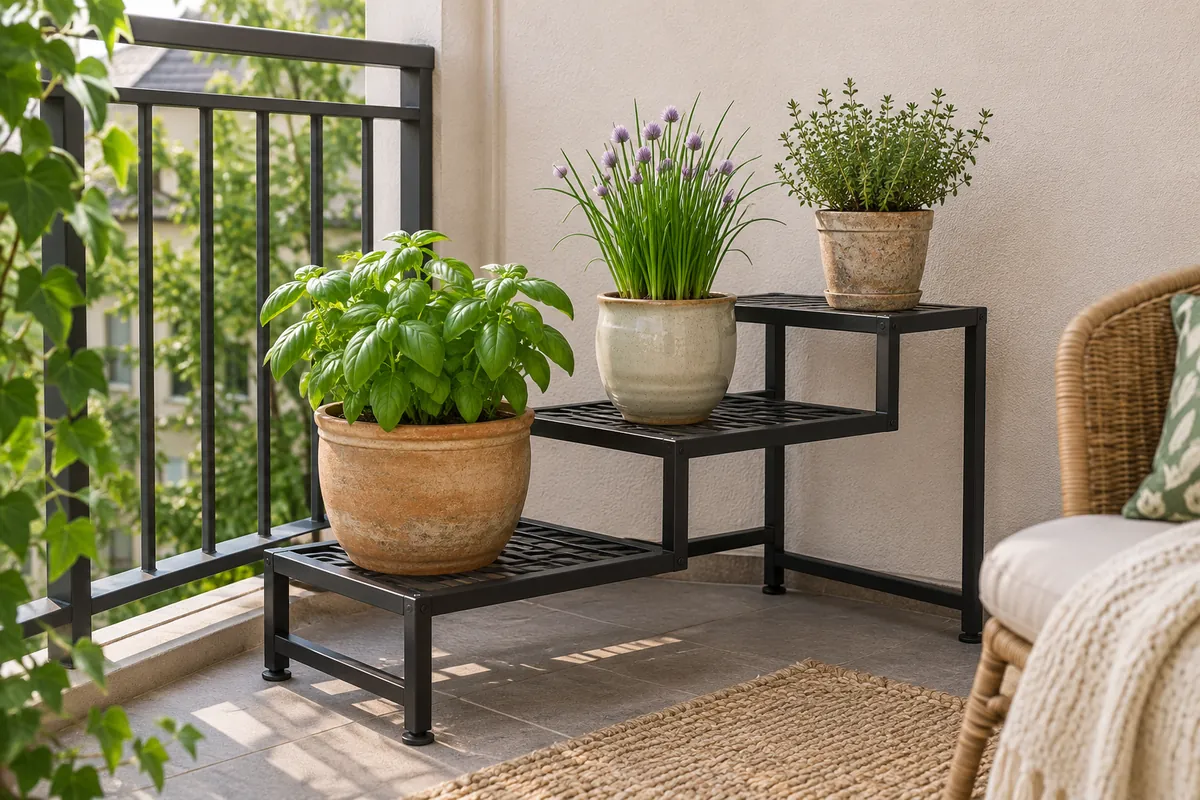
Give each shelf a plant and a light plan
Look at the light that reaches every level, not only the light above the stand. An upper shelf and its foliage can shade the growing position beneath. A bright wall behind the display does not tell you how much direct sun reaches a small thyme pot on a lower tier.
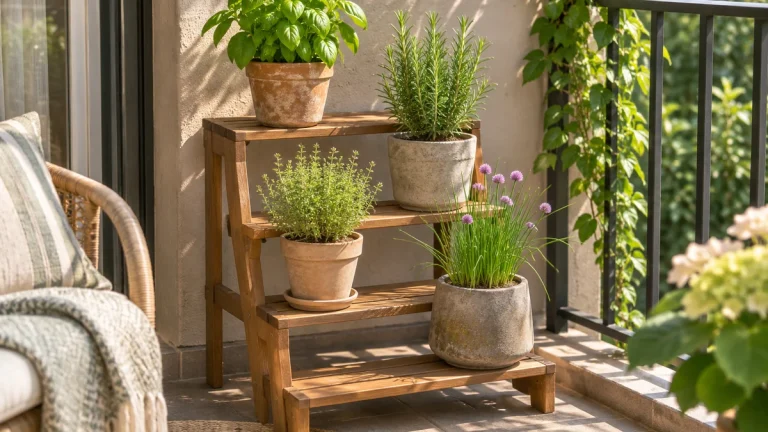
Start with three separate herbs only when the season and light suit them. Basil can provide a taller leafy shape, chives a narrower upright form and thyme a lower texture. Their different moisture preferences still need individual attention. Arrange for suitable light first, then refine the silhouette. Do not put the driest-looking herb in the brightest position without checking its actual condition and requirements.
Keep space for mature foliage and a hand at the rim. If the lower plant cannot get suitable light and inspection access together, reduce the collection or use a separate location. Our small container herb garden provides the planting choices, and the vertical herb garden guide connects those choices with separate pots on a stand.
Keep drainage independent on every level
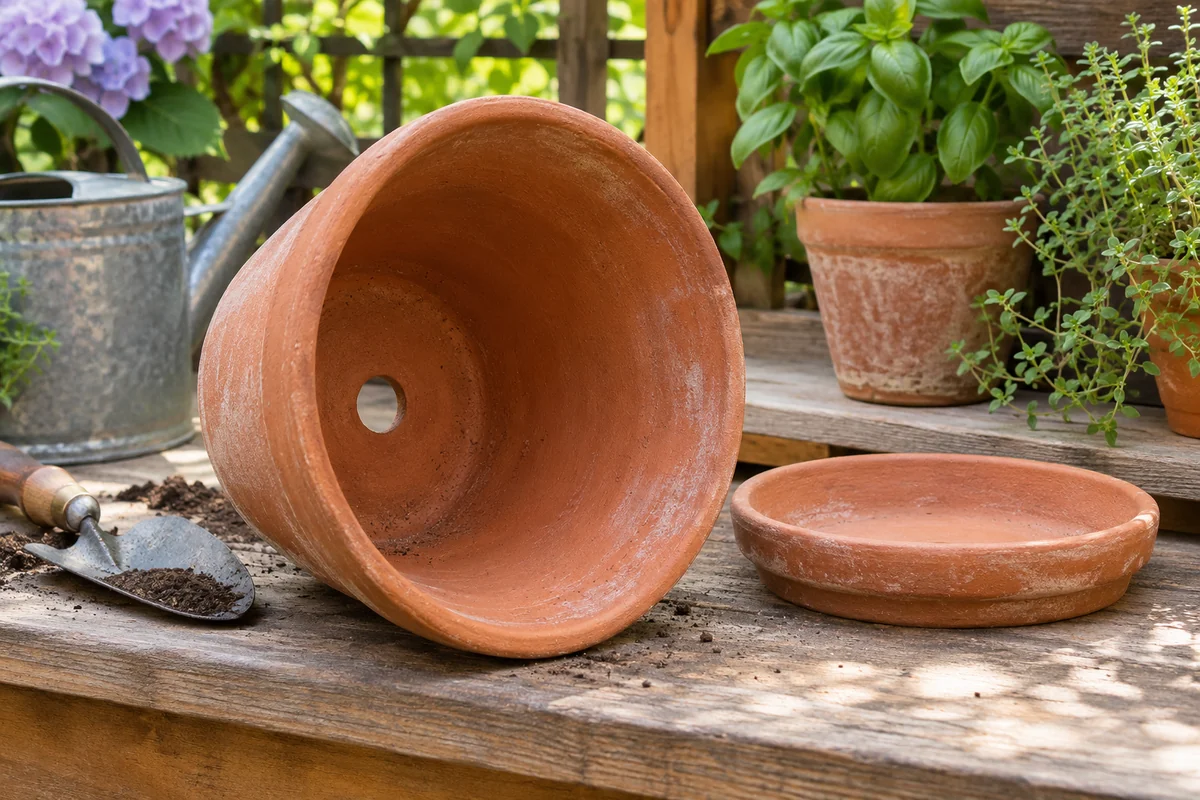
Inspect the underside of each shelf and the position of the pot above it. Water from an upper container should not become an uncontrolled shower onto the lower foliage, stored objects or balcony edge. Decide whether each pot can be watered in place with a workable collecting arrangement or needs to be moved to a suitable watering position.
Keep saucers and removable outer containers accessible. A tray hidden behind several pots may remain full simply because emptying it is awkward. Follow the stand’s instructions and consider the load of filled pots and collected water when comparing arrangements. Do not use an unverified weight estimate as permission to exceed a product or property limit.
Our container watering guide explains the inspection routine. A low stand with three accessible containers can be more useful than a fully occupied shelf with difficult drainage. If watering the upper tier requires lifting over your shoulder, leaning beyond the balcony or balancing on furniture, choose a different arrangement that you can maintain comfortably from the intended working position.
Check the display through changing light and growth
Record the light and care observations for each shelf over a normal week. Note whether an upper plant is shading its neighbor, whether a lower container stays damp longer and whether you keep moving a pot to reach another one. These observations reveal problems that a carefully arranged first-day photograph can hide.
Adjust one container at a time and keep the product’s loading and positioning instructions central to the change. A larger plant may require a different container or a separate position as it grows. Do not assume the display must keep the same number of pots throughout the season. Empty shelf space can be useful for access and visibility.
For the broader balcony arrangement, use our balcony plant grouping ideas. Keep required routes and property features clear when the stand is occupied, not only when it is empty. The successful vertical garden is the smallest arrangement that improves visibility and care while giving the plants suitable growing conditions. Adding another level is optional when the current collection already works.
Questions before adding height
Is a freestanding display automatically safe on a balcony?
No. Product instructions, loading, required anchoring, exposure, surface conditions, and building rules all matter. If the arrangement cannot meet those requirements, choose a different product or a smaller floor-level collection.
Can I attach a stand to the railing instead of the wall?
Do not improvise an attachment. The building and product must permit the intended installation. A no-drill or removable fitting is not a guarantee of suitability.
Where can I read more about container stability?
The University of Illinois guidance on container size and container conditions explain useful considerations for stability, wind, light, and temperature. Ask the building’s appropriate contact about structural weight limits rather than estimating them yourself.
Plan the next part of your space
Continue with our small container herb garden guide for a related part of your setup. For another practical starting point, explore renter-friendly balcony makeover and adapt the ideas to your space.
Save this guide for later
Save one of these Pinterest-style designs for your next outdoor-space planning session. All article images are design illustrations.