DIY Balcony Plant Corner: A No-Drill Project for Renters
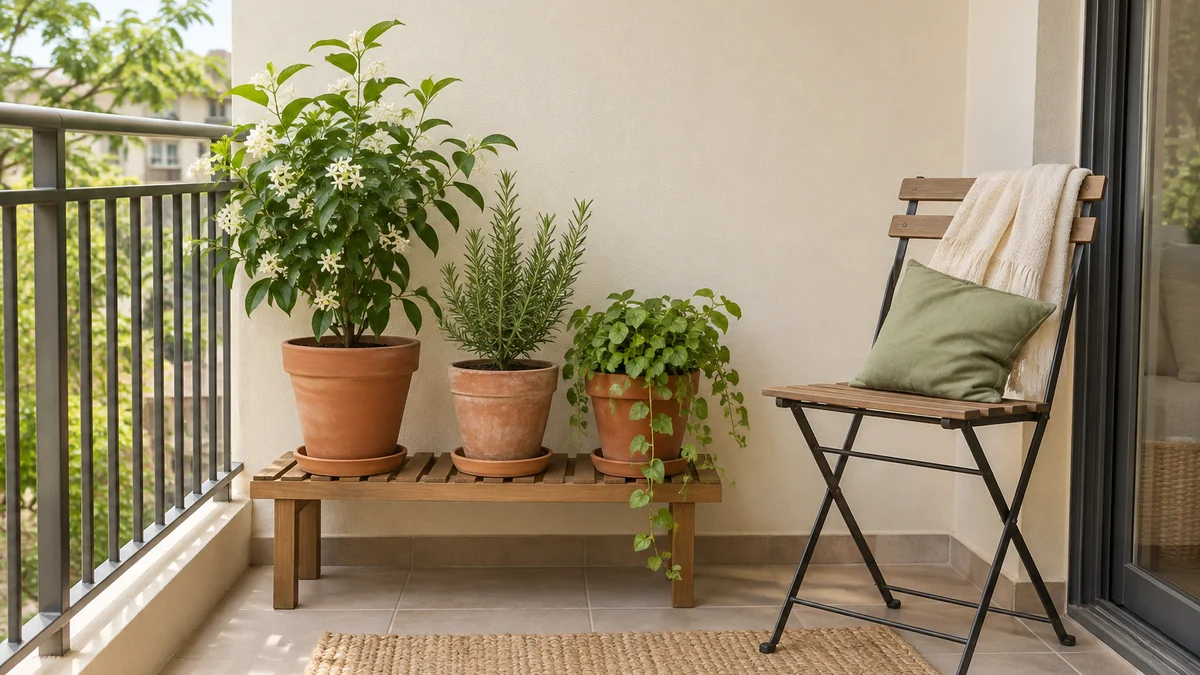
A DIY balcony plant corner is a small organizing project: choose one usable position, gather a manageable number of containers and make plant care easy to repeat. It does not require turning the whole balcony into a garden or attaching a display to the building. The project below uses separate pots and optional movable furniture so you can start with the pieces you already own.
The finished corner should support three things: suitable conditions for the plants, comfortable access for maintenance and a clear relationship with the rest of the balcony. For broader rental planning, use our renter-friendly balcony makeover guide. Check the lease and building rules before adding containers, storage or a stand. No drilling is one design choice; it does not automatically make every product or arrangement suitable.
In this guide
- 1. Define a three-pot project and gather the small kit
- 2. Confirm the usable position and building rules
- 3. Clean and inspect before arranging
- 4. Lay out the footprint with empty containers
- 5. Decide whether a stand improves the project
- 6. Prepare containers and the drainage arrangement
- 7. Choose a small planting example that fits the conditions
- 8. Arrange the planted group for access before appearance
- 9. Leave room to reach and inspect the display
- 10. Practise one complete watering session
- 11. Add one finishing detail that supports use
- 12. Keep a project record and review the first week
- Your small project kit
- Continue planning your small outdoor space
1. Define a three-pot project and gather the small kit
Write a brief that limits the first version: three separate plant containers, a reachable watering position and an open route beside the seat. A low suitable stand is optional. You are arranging a manageable corner, not building a fitted structure or filling every available edge. Confirm the property’s requirements before choosing the products and positions.
| Item | Job in the project | Decision to make first |
|---|---|---|
| Three suitable pots | Independent root space and care | Plant size, drainage and filled weight |
| Container growing mix | Support roots, air and moisture | Suitability for the selected plants |
| Small watering can | Controlled everyday watering | A manageable carry and runoff route |
| Hand tool and potting tray | Keep the planting session contained | A suitable temporary working place |
| Optional low stand | Improve visibility or reach | Whether its instructions and footprint fit |
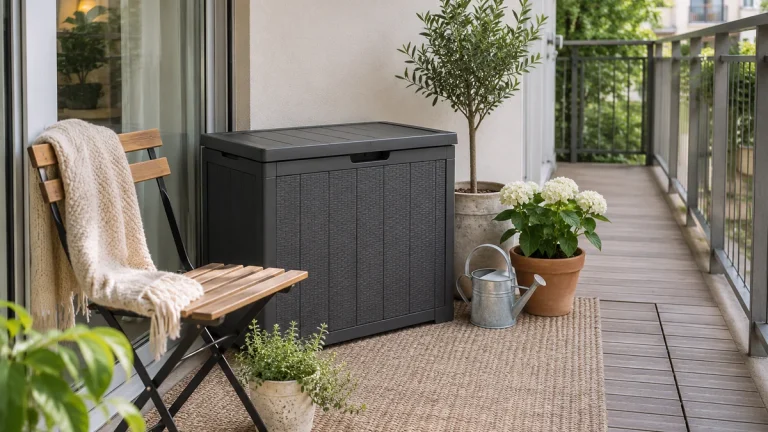
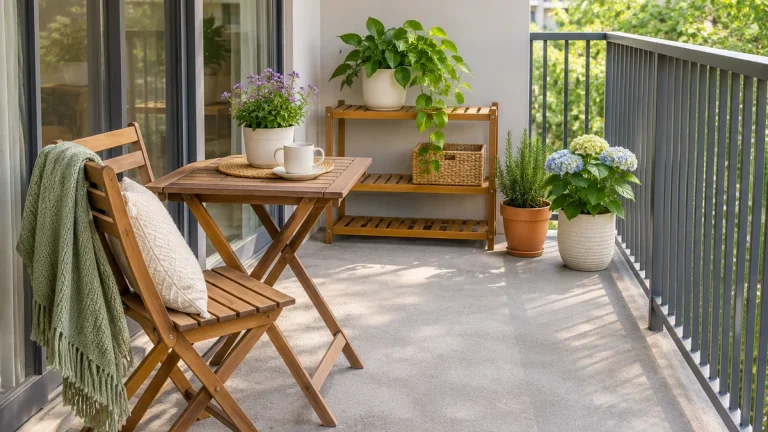
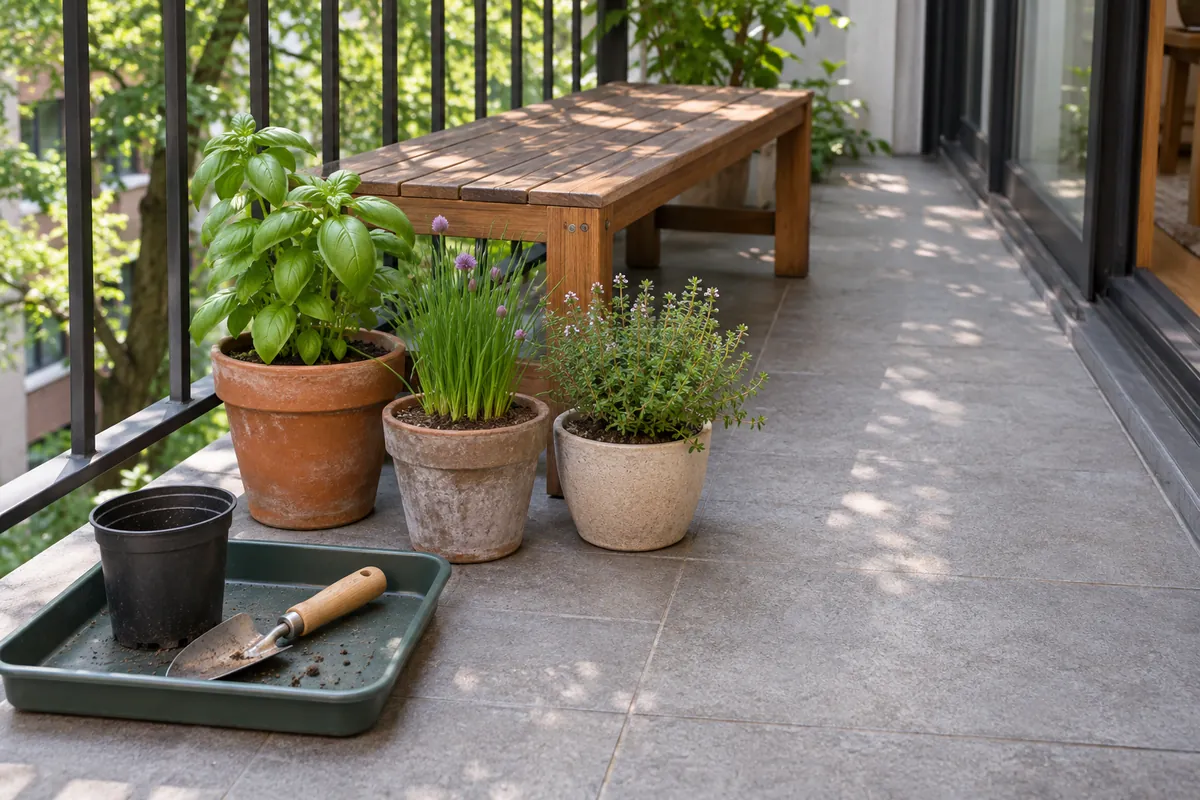
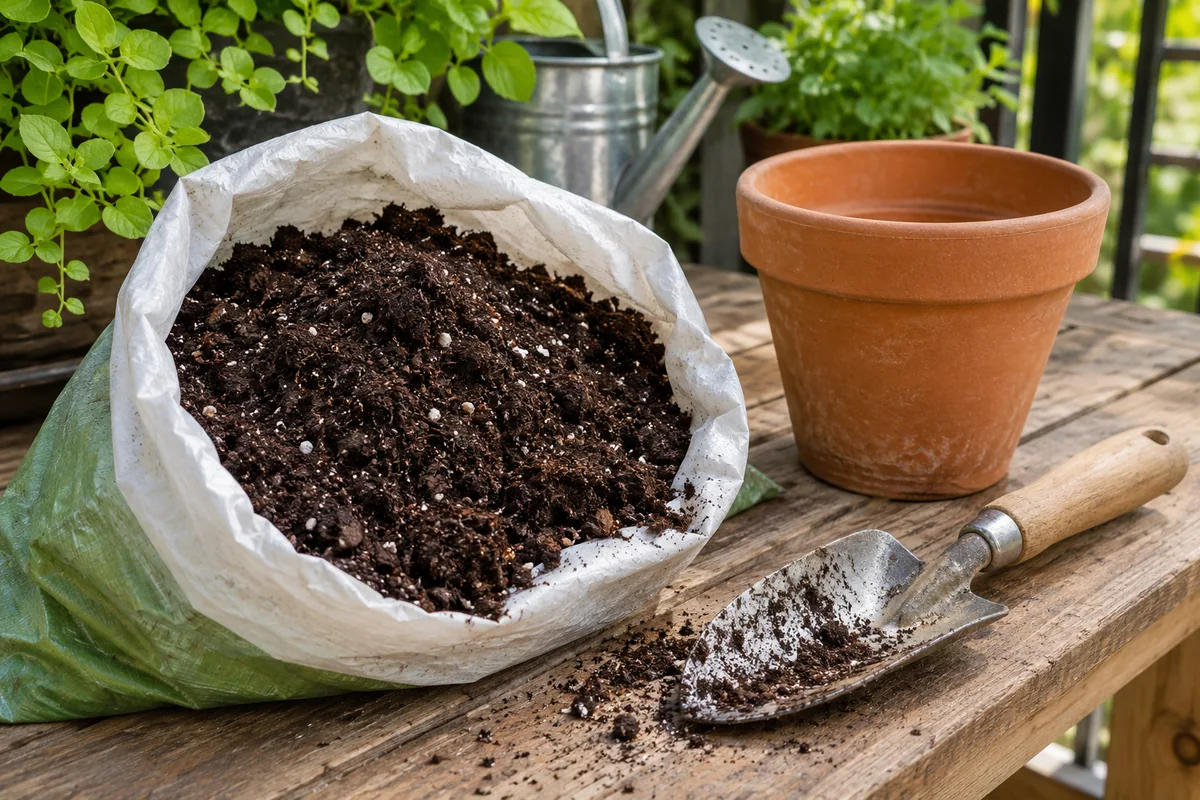
The illustration shows one modest project kit in use. Start with plants you want to grow and can maintain, rather than purchasing accessories to fill the corner. Our renter-friendly balcony makeover covers the wider seating and storage arrangement. Keep the plant project small enough that it fits into that everyday layout instead of taking it over.
2. Confirm the usable position and building rules
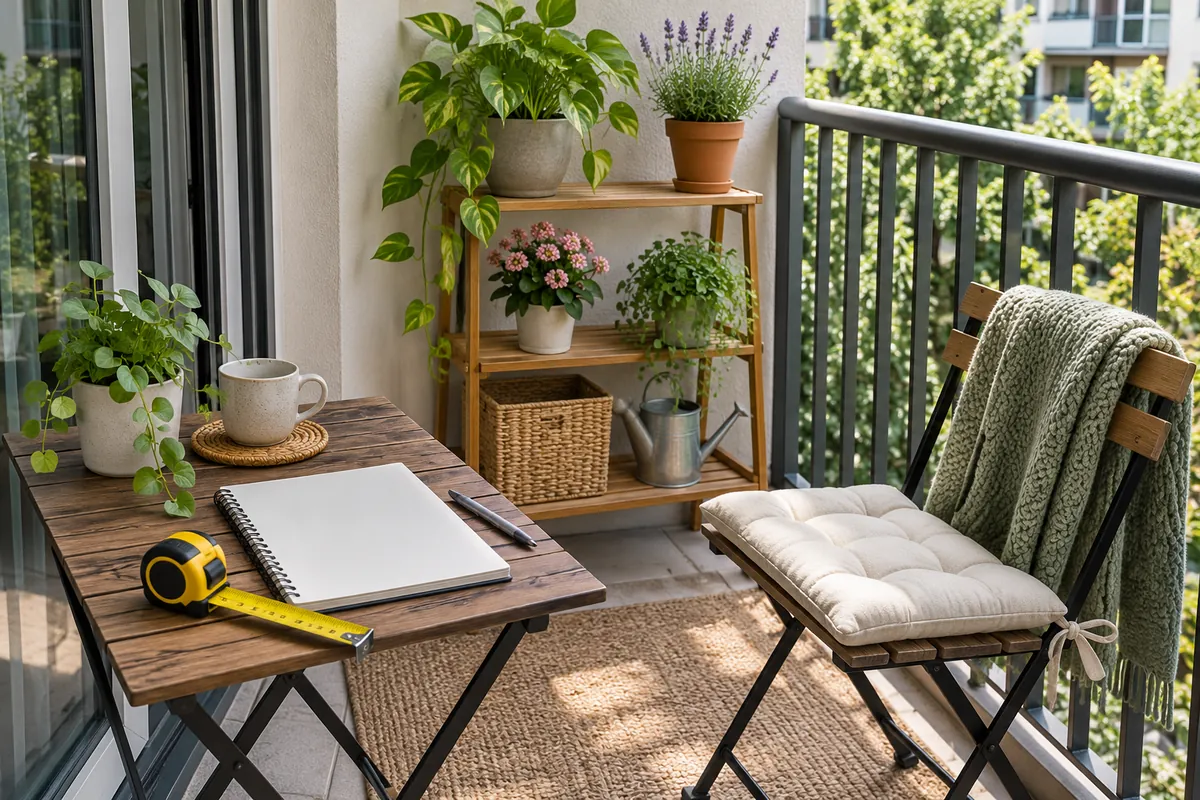
Measure the proposed corner and identify anything that must stay accessible. Check the door’s full movement, nearby drains and service points. Walk the route from indoors to the far end carrying a small can. The corner must fit the activity around it, not merely occupy a geometric area on a sketch.
Review the building guidance for plants, furniture, storage and attachments. Ask about a specific proposed item when the rules are unclear. Do not treat another resident’s display as proof that your arrangement is permitted or suitable. Keep relevant permission information with the project notes.
Weight matters when adding filled containers to a balcony. Ask the appropriate building contact about limits rather than estimating from appearance. Include wet growing mix, retained water, the containers, any stand, furniture and people in the broader discussion. If the intended collection cannot be accommodated appropriately, scale the project down. A smaller useful corner is a better outcome than forcing a larger plan into an unsuitable position.
3. Clean and inspect before arranging
Clear movable items from the working area and clean using methods appropriate for the surface and property. Keep loose debris and runoff from entering building drainage or affecting neighbors. Follow care instructions for the floor and existing furniture rather than introducing a strong cleaner because the project feels like a makeover.
Inspect the containers and any furniture you want to use. Look for damage, unstable feet or an unsuitable drainage arrangement. A decorative object should not become a plant support simply because its height seems convenient. Use each piece according to its intended function and instructions.
Look at the clean corner before deciding whether it needs a covering or background decoration. A cream wall, simple floor and coordinated pot group may already provide enough definition. Rugs, temporary tiles and screens add separate maintenance and permission questions. You can complete this project using the existing surface and leave decorative layers for later, after the plants and access routine have been tested.
4. Lay out the footprint with empty containers
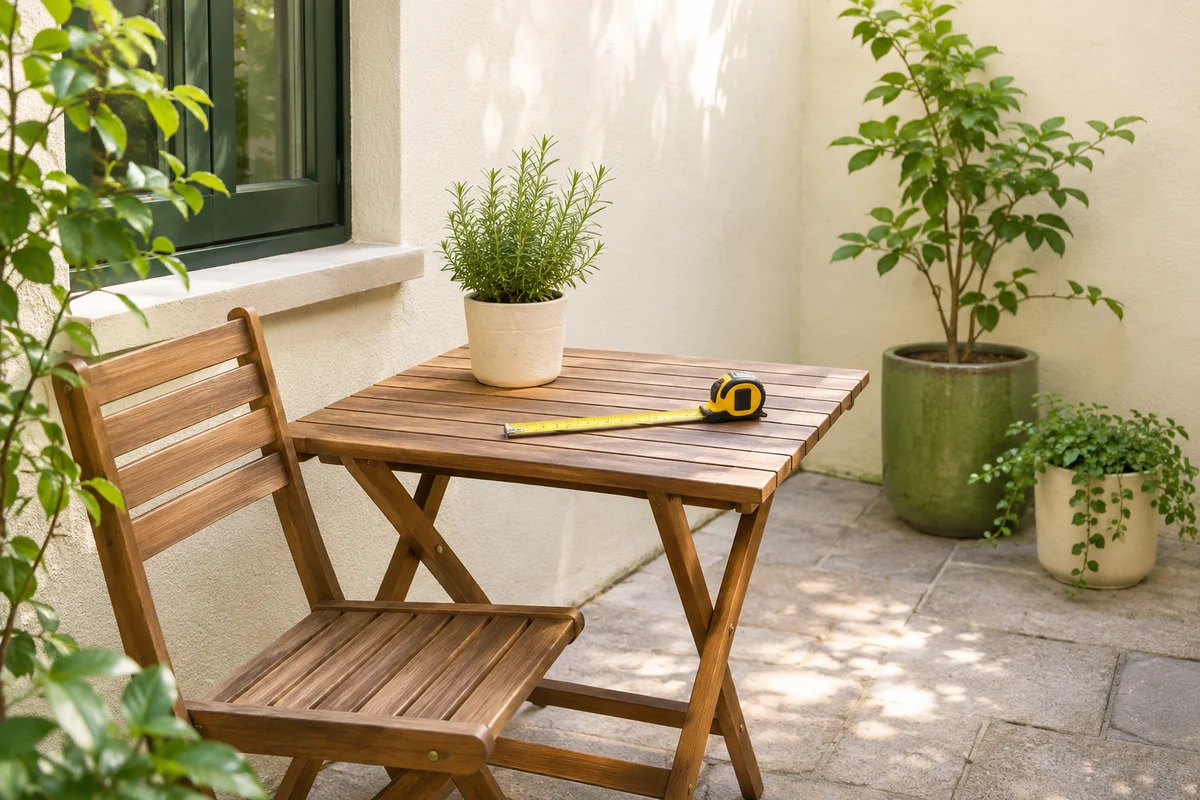
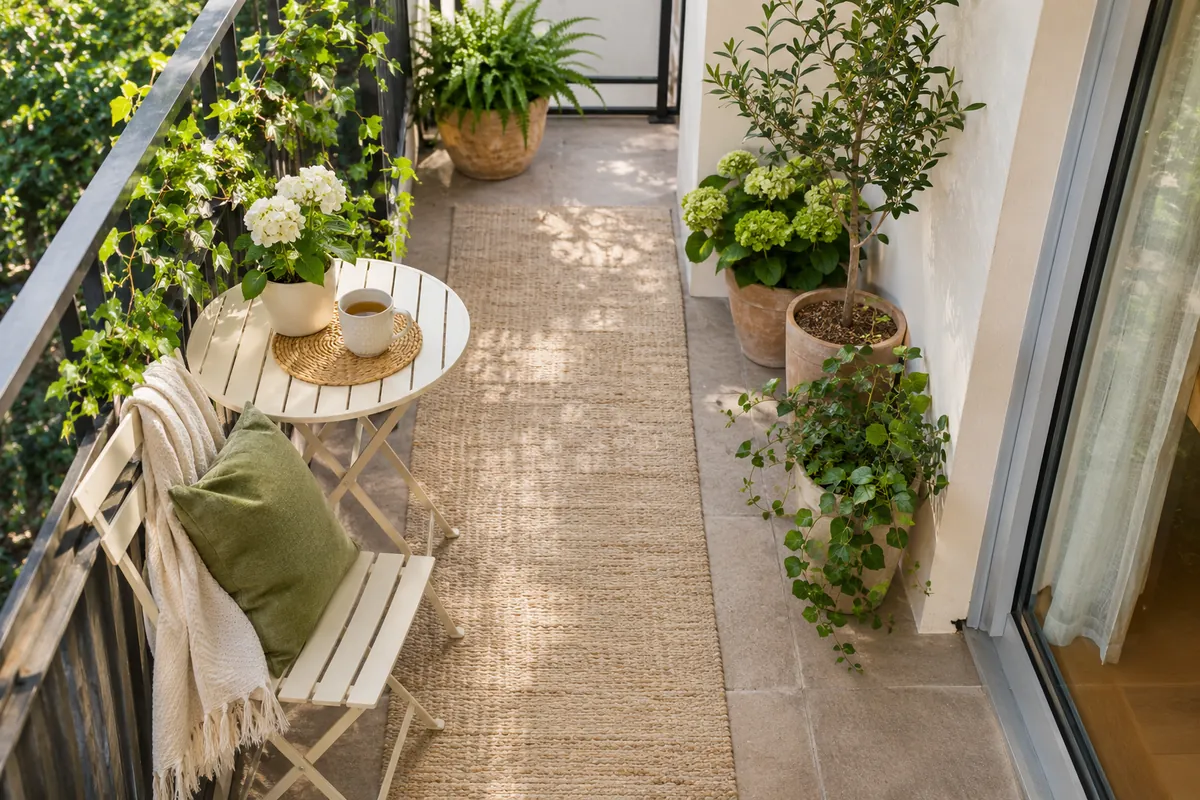
Use empty pots or removable paper templates to test the arrangement. Start with a small group and leave room at the front for inspection. Place the container you expect to reach most often where you can access it directly. Avoid a deep cluster that requires moving several pots to reach one at the back.
Check the occupied chair and the route again with the proposed plant group in place. Include mature foliage in your thinking, not just the width of the containers. A pot that seems tucked neatly beside a chair may grow into the sitting space later.
Try two versions and photograph both. One might use a simple triangle of pots; another might use a short line along the wall. Choose the version that works from the doorway and during watering, not only from the best camera angle. Our narrow balcony layout ideas provide useful ways to protect movement when a plant corner shares a long, compact balcony with seating.
5. Decide whether a stand improves the project
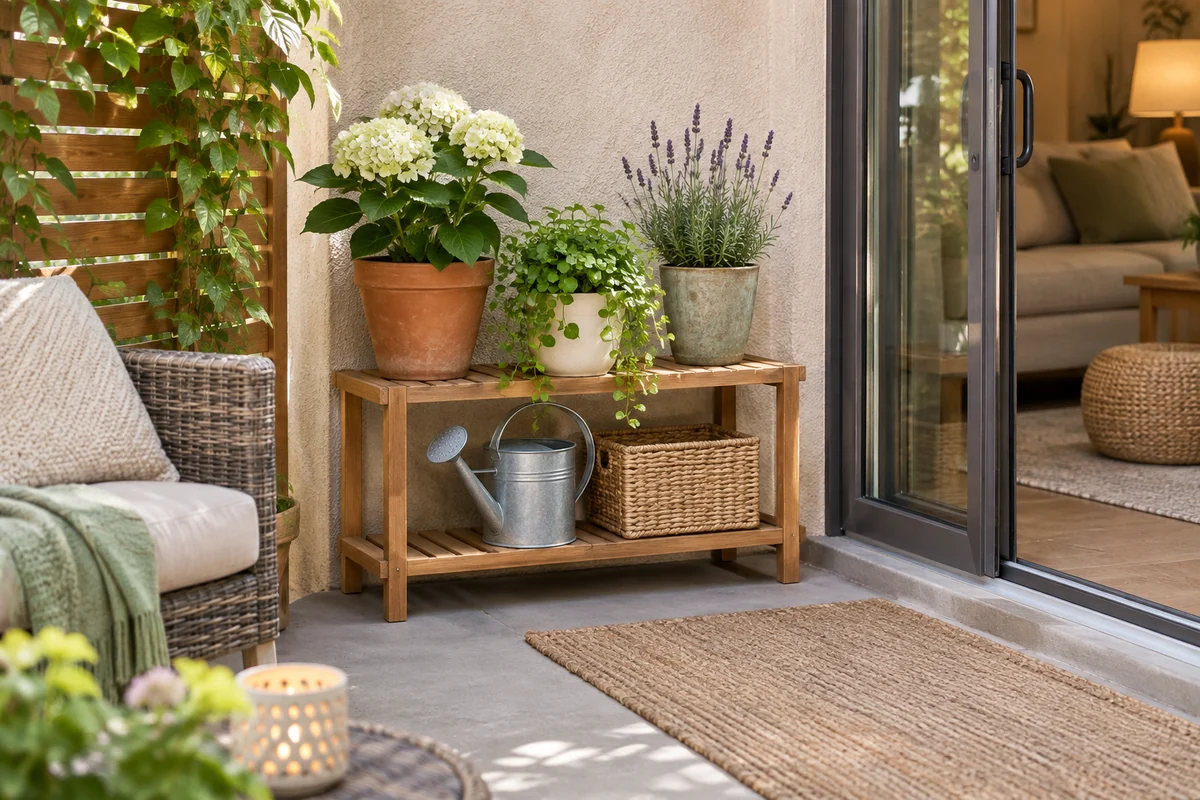
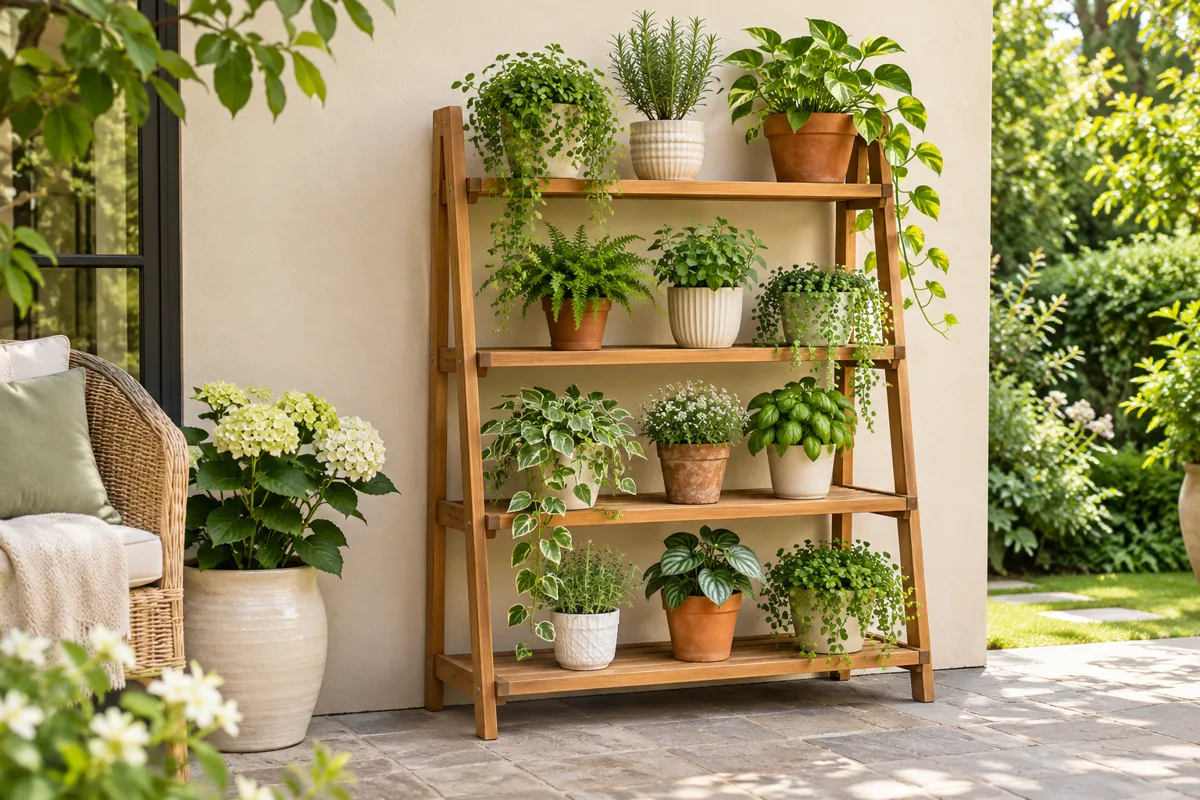
A suitable low stand can define the corner and gather small pots, but it is optional. Compare its complete footprint with the empty-container trial. If it makes the group harder to reach or occupies more useful floor than it saves, keep the pots at floor level.
Read the stand’s intended use, load limits, assembly instructions and anchoring requirements. Choose another product or arrangement if required anchoring conflicts with the no-drill project or rental rules. Do not skip an installation requirement because the finished shelf looks small or because a wall is nearby.
Assemble a suitable manufactured stand only according to its instructions and check its position on the actual surface before loading it. Keep access to every level practical. Our freestanding vertical garden guide explains the planning questions. The aim is a stable, manageable display, not a tall structure or an improvised combination of furniture, crates and supports whose intended uses are unclear.
6. Prepare containers and the drainage arrangement
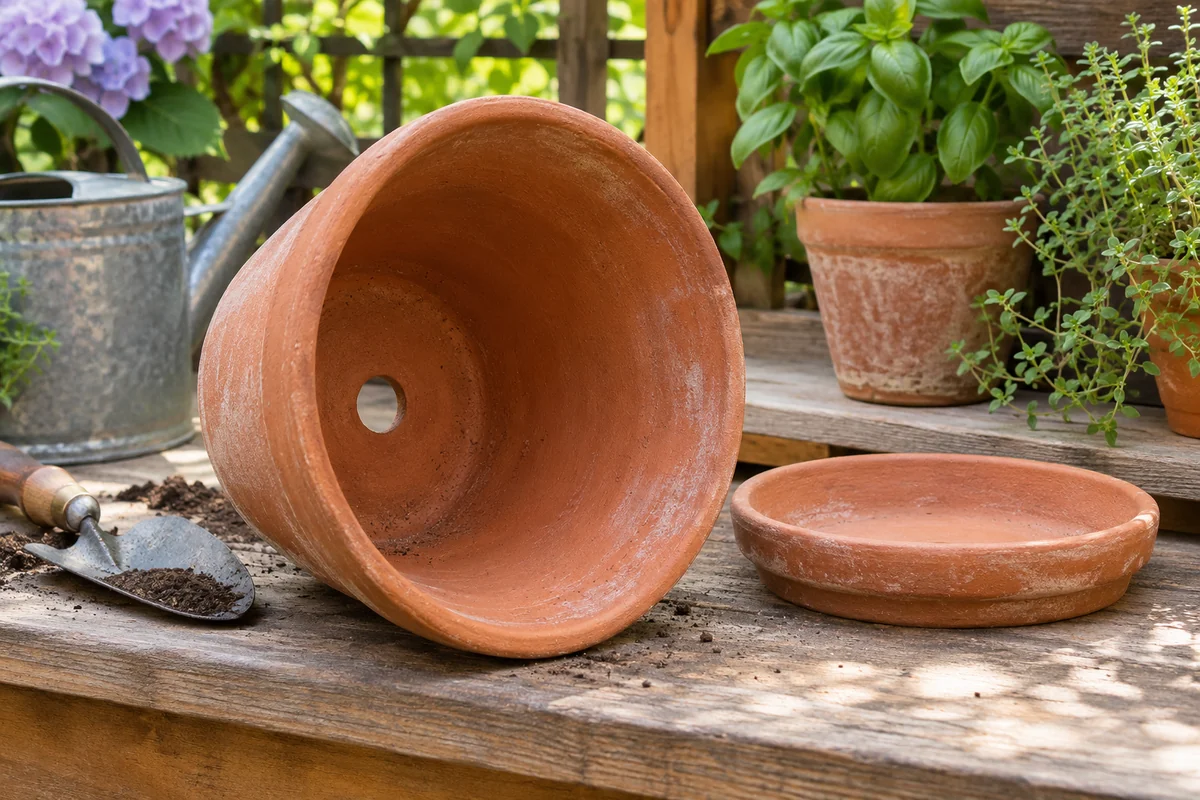
Choose each planting container for the plant’s root space, expected growth and care needs. Check drainage before filling it. If you use a decorative outer pot, plan how you will inspect the inner planting container and remove collected water. The final group should remain accessible at the base as well as around the leaves.
Set out suitable saucers or other surface protection where needed, following the products’ intended use. Keep the building’s drainage features clear. Do not rely on a hidden tray you cannot remove once the rest of the display is in place.
Consider handling before planting. A manageable empty pot can become a difficult move after adding wet mix and a plant. Decide the likely final position first and get appropriate help if an item cannot be moved safely. Our beginner container gardening guide provides the setup sequence. A clear planting system makes the corner easier to maintain than a decorative arrangement built around inaccessible water collection.
7. Choose a small planting example that fits the conditions
For a suitable sunny growing season, consider separate pots of basil, chives and thyme. Their different forms make a varied group, but their moisture needs should still be checked individually. Basil generally benefits from more consistent moisture than thyme. Separate containers let you respond to that difference without trying to make one shared planter suit every herb.
Confirm the actual varieties, mature sizes and local seasonal guidance before buying. If the corner has little direct sun, change the planting plan rather than expecting the same herb collection to work everywhere. A foliage display suited to the position may be a better goal than an edible harvest in insufficient light.
Use appropriate container mix and read its label for intended use and any nutrient supply already included. Keep the plant and mix information with your notes. University of Maryland Extension’s herb container guidance provides background on suitable drainage and mix. Our small container herb garden guide develops the three-pot example into a care plan. The first project should teach you the conditions in this corner, not commit you to an ever-growing collection.
8. Arrange the planted group for access before appearance
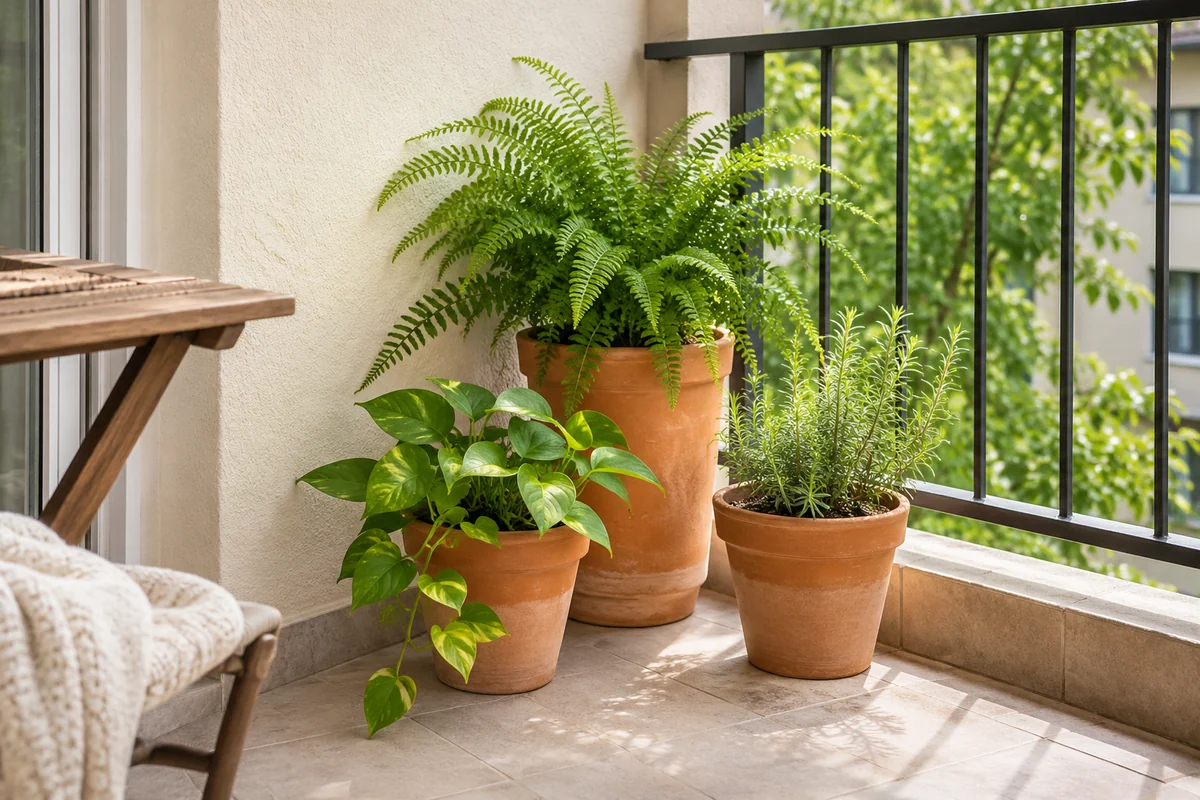
Set the planted containers in their proposed positions and approach them from the normal walking route. Check whether you can touch the mix, inspect the leaves and remove a collecting tray without moving another pot. A visually neat row may be less useful than an offset group when the back container otherwise becomes inaccessible.
Include the future spread of foliage, not only today’s pot rims. Leave the chair’s movement and required property access clear. If a stand is used, follow its actual loading and installation instructions; a pot that looks small may become much heavier when filled and watered. Place only what the suitable support and your care routine can accommodate.
Try the simplest version first, with the fewest containers and accessories. Use our balcony plant arrangement ideas to refine height and texture after access works. Keep space for a hand and watering can around the collection. The finished corner should feel ready for ordinary care rather than requiring a careful dismantling every time you want to water the plant at the back.
9. Leave room to reach and inspect the display
Check the corner as though you are doing routine care rather than admiring it. Reach the back pot, inspect the underside of a leaf and access a saucer. If any task requires stretching over other plants or repeatedly lifting a heavy container, adjust the layout now.
Keep the stand’s shelves and the floor around it from becoming general storage. Empty pots, tools and loose bags can gradually occupy the access space you carefully left during setup. Give those objects a separate storage address and return them after each task.
If the display uses several levels, look for shade and crowding created by plants above. Leave gaps rather than filling every level to capacity. Our vertical balcony garden ideas connect shelf use with maintenance. The successful corner is one where a short inspection stays short because every plant is visible, identifiable and reachable, not one that requires dismantling the arrangement before you can care for it.
10. Practise one complete watering session
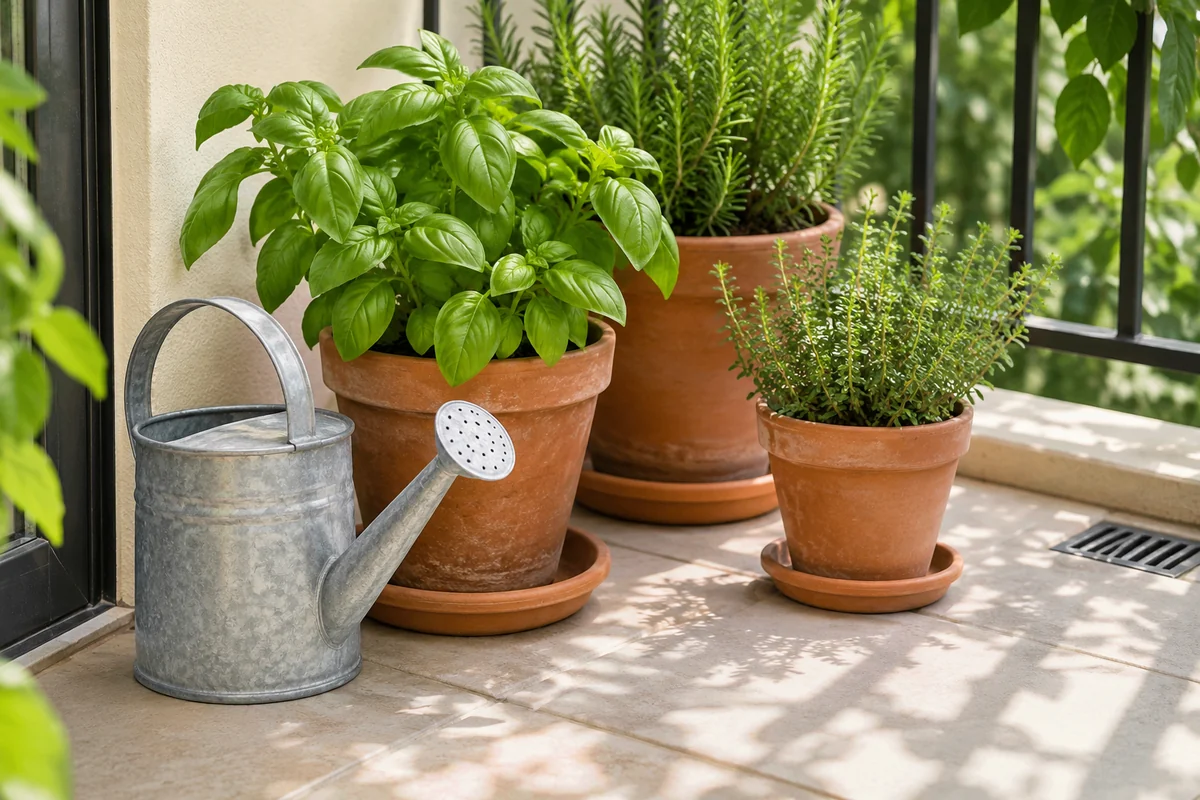
Check each plant’s needs and the growing mix before watering. Use a can you can control in the available space and observe the drainage arrangement. Note where excess water goes and whether you can deal with collected water without moving the rest of the display.
Keep the area below and beside the containers in view. Protect surfaces appropriately and avoid sending runoff onto neighbors. Do not leave pots standing in stagnant collected water. Return the can and any temporary tray to storage after the session so the route remains available.
If the task feels awkward, treat that as project feedback. Move a manageable pot to a more accessible position, reduce the group or reconsider the stand within its instructions. Do not assume you will become comfortable with a layout that repeatedly makes a simple task difficult. A no-drill corner should improve the way you care for the plants, not simply provide a more attractive place to postpone maintenance.
11. Add one finishing detail that supports use
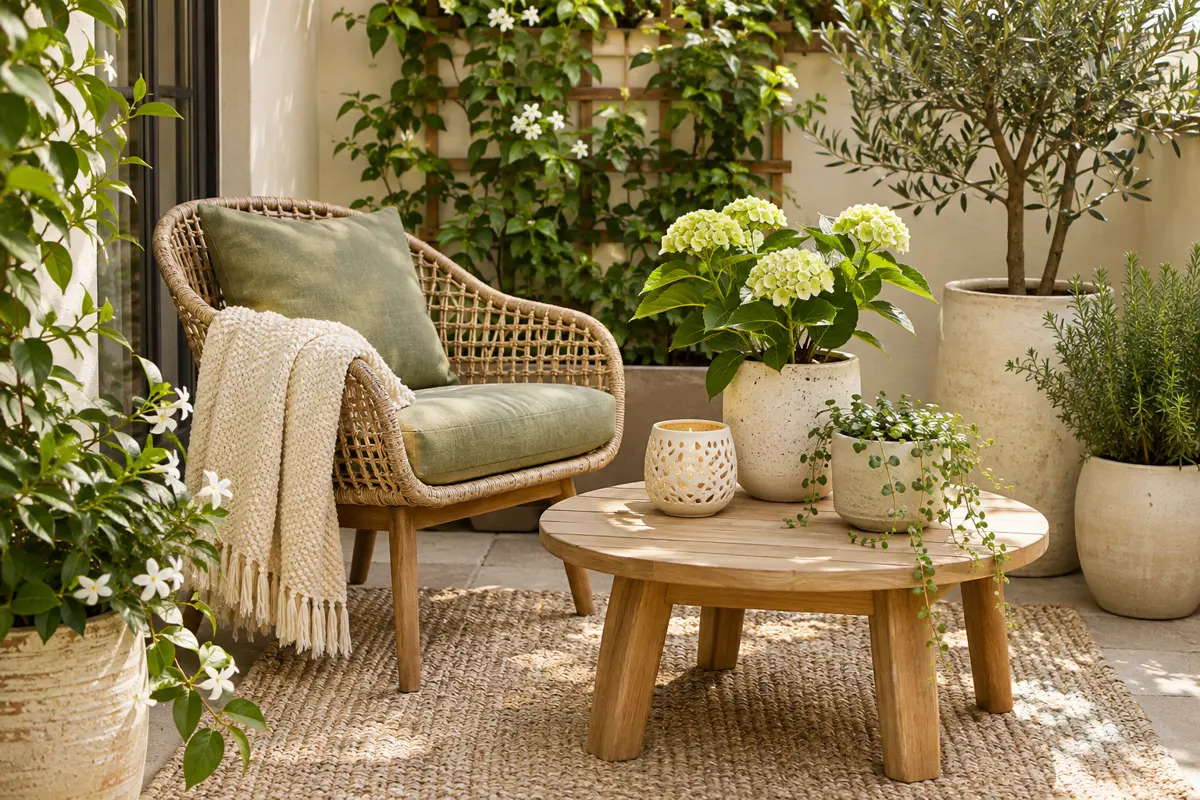
After the plants and access work, consider a small finishing detail. A well-fitting cushion on the nearby chair or one repeated color can connect the corner with the rest of the balcony. Begin with something you already own if it is suitable for the outdoor conditions.
Keep the table useful and the route clear. A collection of decorative objects can quickly compete with the plant corner for the same limited surfaces. Add a detail only when you enjoy it enough to maintain and store it appropriately. The project does not require a rug, lights or a privacy screen to look considered.
For the visual relationship between wood, foliage, textiles and containers, use our small patio color guide. A restrained palette can make a modest setup feel connected without adding several new objects. Pause after one change and live with it. You may find the plants themselves provide all the variation the corner needs.
12. Keep a project record and review the first week
Record the plant names, growing mix, approximate planting date and the source of relevant care guidance. Keep the stand instructions and any building permission information with the note. A simple record makes future changes easier and helps someone else understand the setup if they water while you are away.
Use the corner through an ordinary week. Note which pot is hardest to reach, where tools accumulate and whether the collection interferes with the seat or door. Change one thing at a time so you can see whether it improves the routine. Keep a photograph of the revised version for comparison.
Expand only after the first collection fits comfortably into daily life. An extra plant should have a purpose and a suitable position, not simply occupy an empty shelf. The project is complete when the corner is useful, care is straightforward and the rest of the balcony still supports the activities that made you want to improve it in the first place.

Your small project kit
Begin with the plants and containers you can maintain, a suitable container mix, a workable drainage arrangement, a small watering can, a measuring tape and a simple record. Add a manufactured outdoor stand only if its instructions and footprint fit the plan. Budget for essentials first and postpone decorative extras until you have used the corner.
Can I complete the project without a plant stand?
Yes. A carefully positioned floor-level group is a complete plant corner. A stand is useful only when it improves access or organization under suitable conditions.
Does no-drill mean no permission is needed?
No. Building rules can cover containers, storage, furniture and other balcony uses as well as attachments. Check the actual rules and ask about unclear items before adding them.
What if I move apartments later?
Keep the collection manageable, retain care and assembly instructions and plan appropriate handling of filled pots. Movable pieces can make a future change easier, but the next property’s conditions and rules will still need a fresh assessment.
Continue planning your small outdoor space
For a related part of your setup, explore watering container plants. You can also use our outdoor cushion ideas for small patios guide to connect the next decision with the space and routine you already have.
Save this guide for later
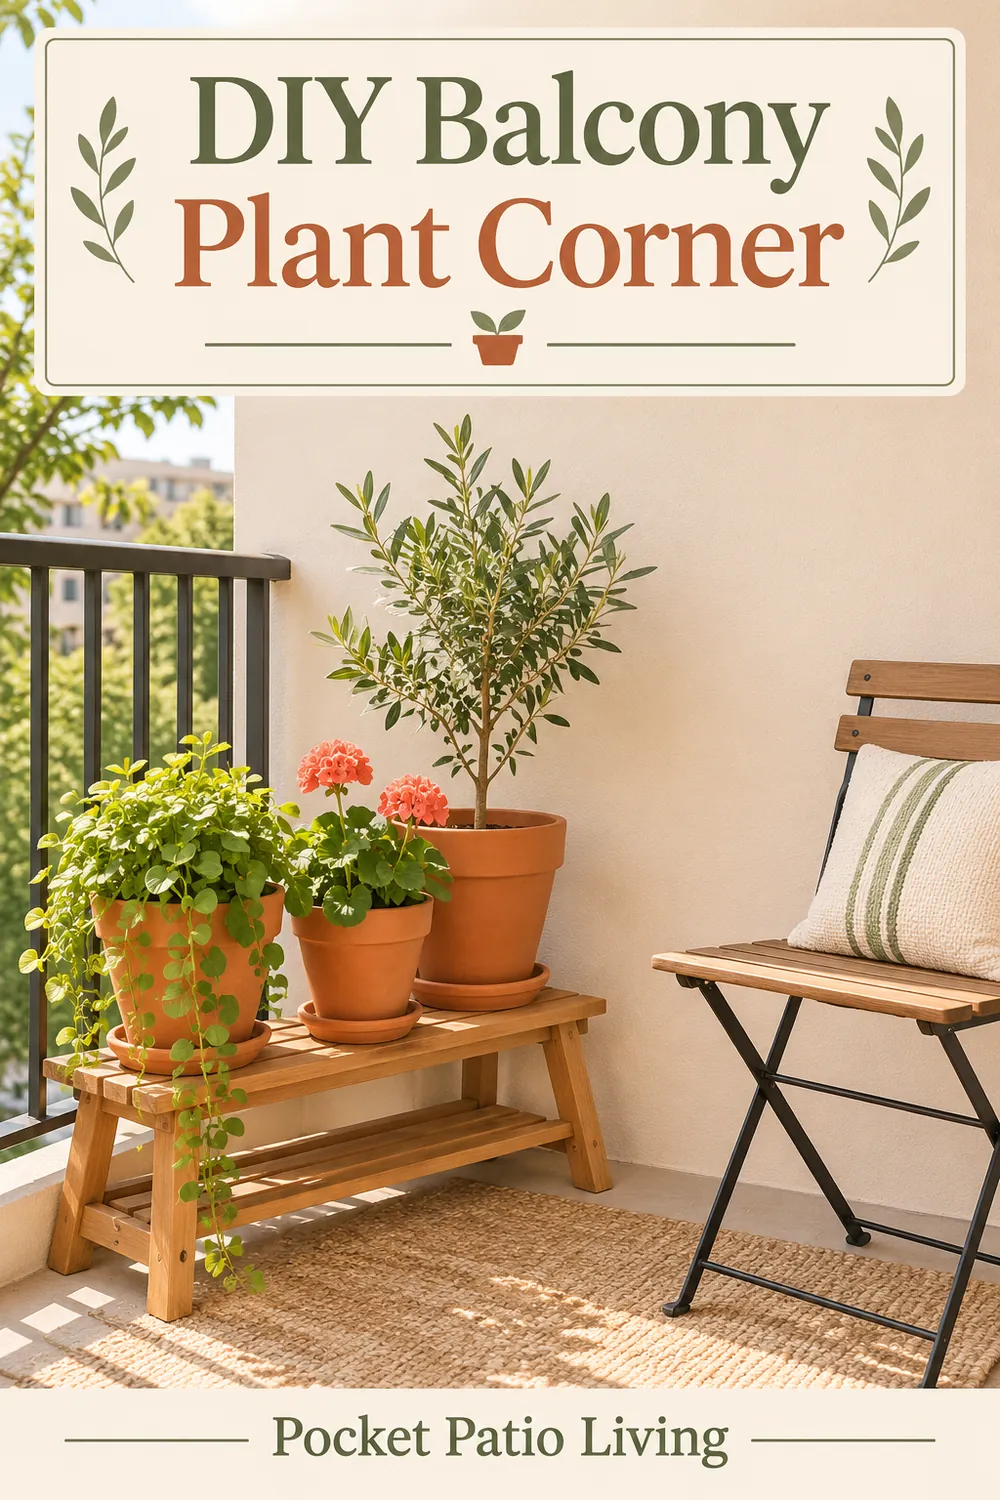
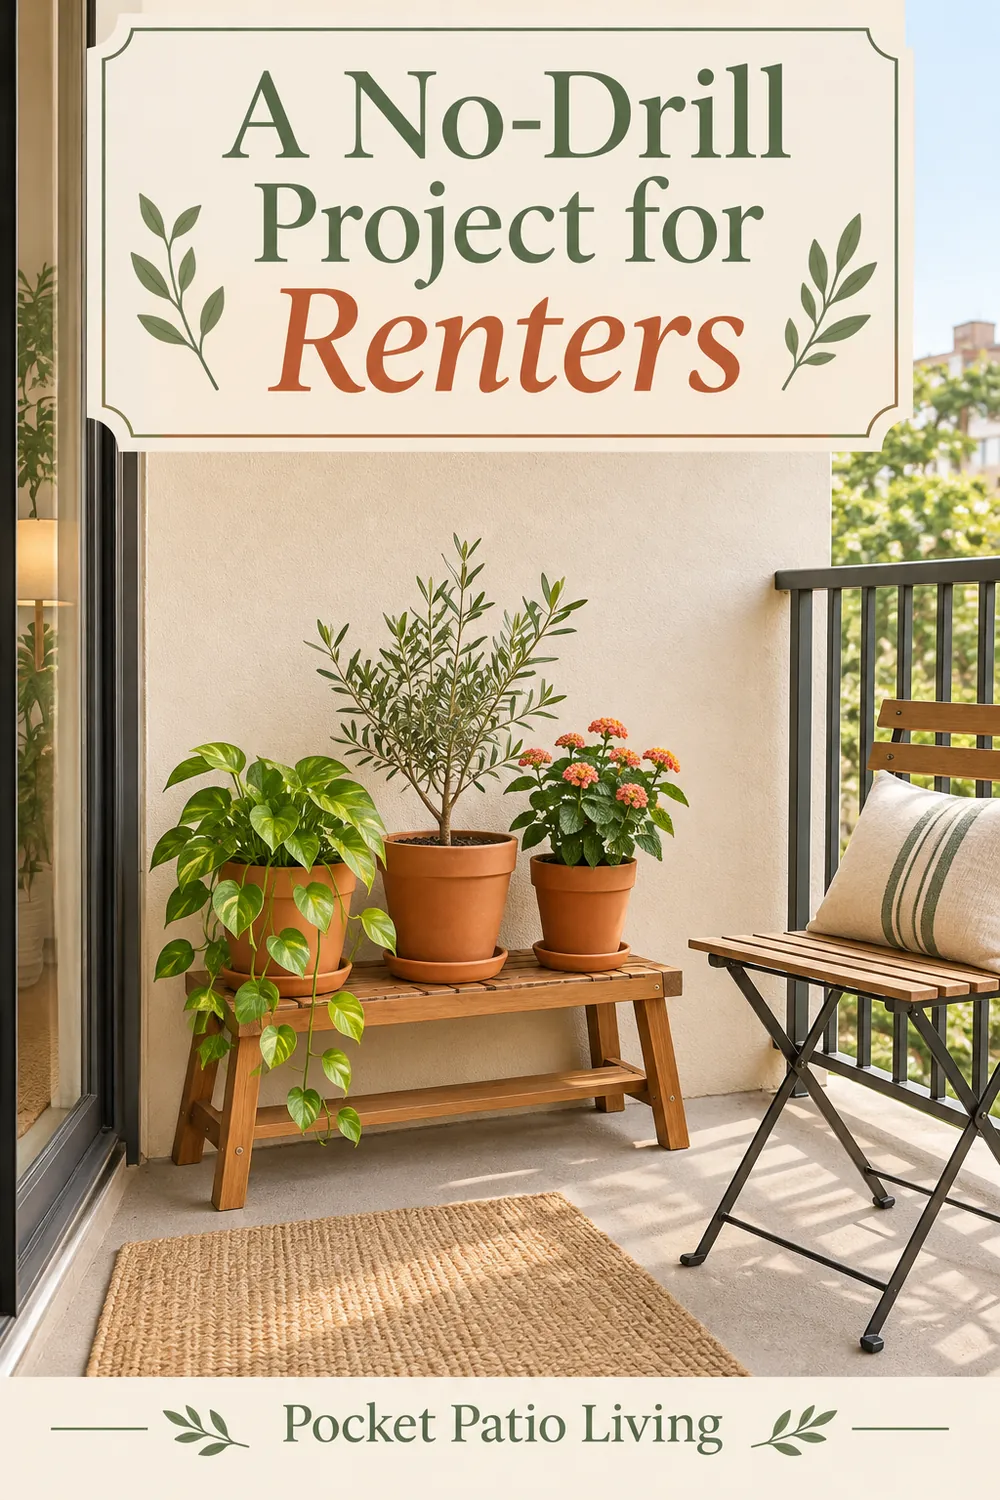
Save one of these Pinterest-style designs for your next planning session. All article images are design illustrations.