Watering Container Plants: A Beginner’s Guide to Moisture and Drainage
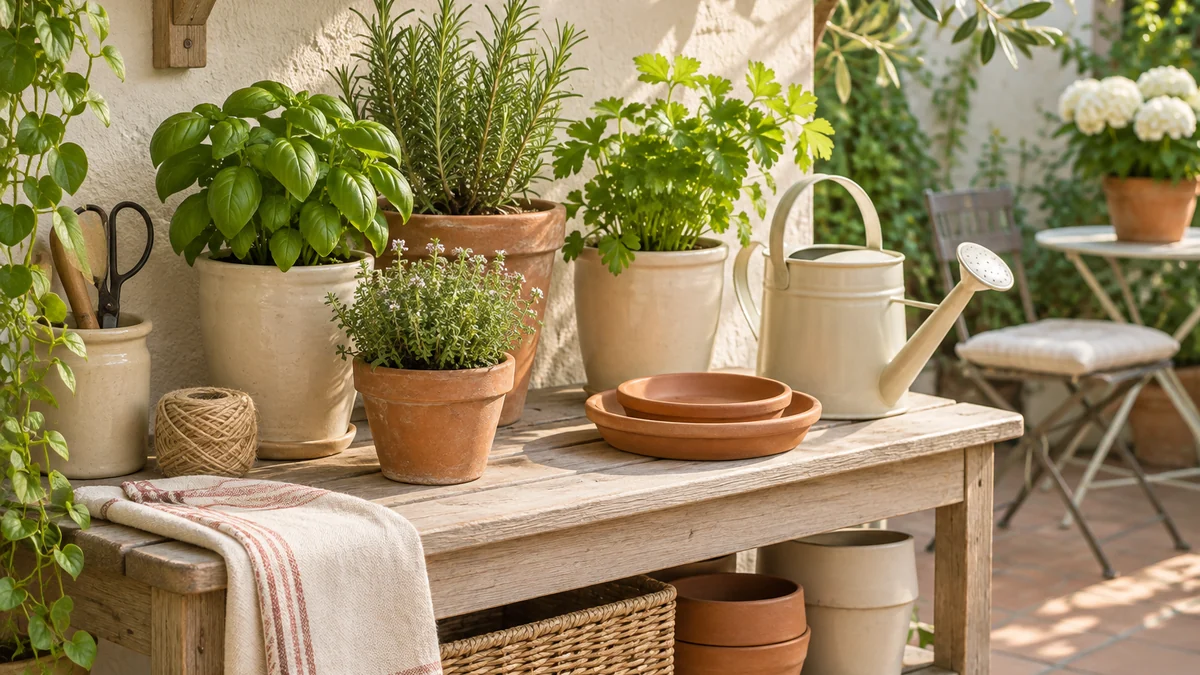
Watering container plants becomes easier when you replace one fixed schedule with a short observation routine. A small herb pot in an exposed position may behave differently from a larger container beside a sheltered wall. The useful question is whether this plant, in this mix and container, needs water now. The answer can change with weather and growth.
This guide covers a practical routine for ordinary outdoor containers used for herbs, flowers and foliage. Learn the requirements of the actual plant, especially if it needs a specialist growing system. Our beginner container gardening guide explains the initial setup; the steps below help you manage it after planting. Keep a small notebook and a watering can you can handle comfortably nearby.
In this guide
- 1. Identify the plant before choosing the routine
- 2. Know what is inside the container
- 3. Check the drainage arrangement before adding water
- 4. Check the root-zone condition before choosing the next action
- 5. Apply water to the mix and follow it through the pot
- 6. Empty collected water and reset the area
- 7. Learn why nearby pots dry differently
- 8. Adjust your checks when the weather changes
- 9. Distinguish fast drainage from a dry root ball
- 10. Use a symptom table as an investigation guide
- 11. Keep feeding decisions separate from watering decisions
- 12. Make a short handover plan for time away
- A three-pot example to practise the routine
- Continue planning your small outdoor space
1. Identify the plant before choosing the routine
Keep the plant label or record the name when you buy it. A useful watering routine begins with knowing what you are growing. Two plants in similar-looking pots may have different moisture preferences. Do not assume that all herbs, flowers or foliage plants should be watered together simply because they share a display.
Make a short plant card with the name, intended growing conditions and the guidance you are following. Leave space for your own observations. You are building a reference for this particular container, not trying to invent a universal rule for every plant on the patio.
If identification or care is uncertain, ask a reliable local nursery or extension service before changing several things at once. For a manageable edible starting collection, our small container herb garden guide explains why separate pots can help you learn individual needs. A clearly identified collection is easier to care for than a large group of plants whose labels disappeared on planting day.
2. Know what is inside the container
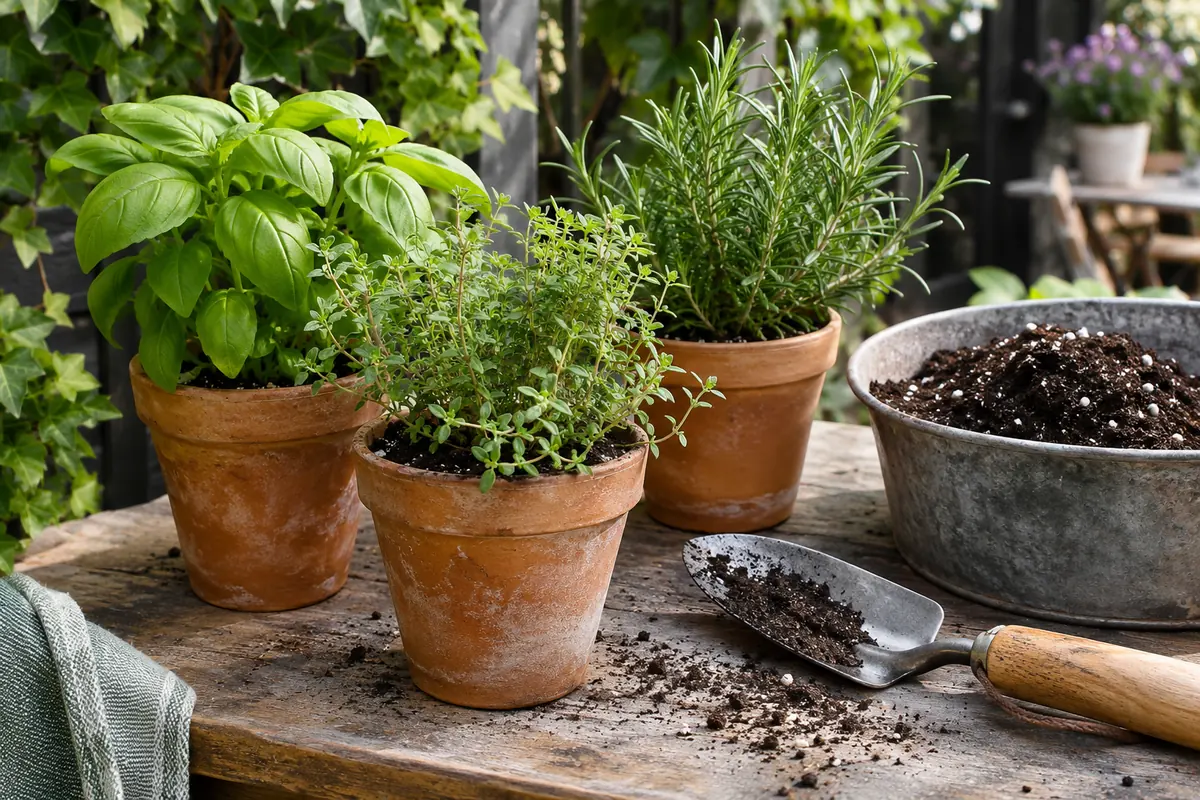
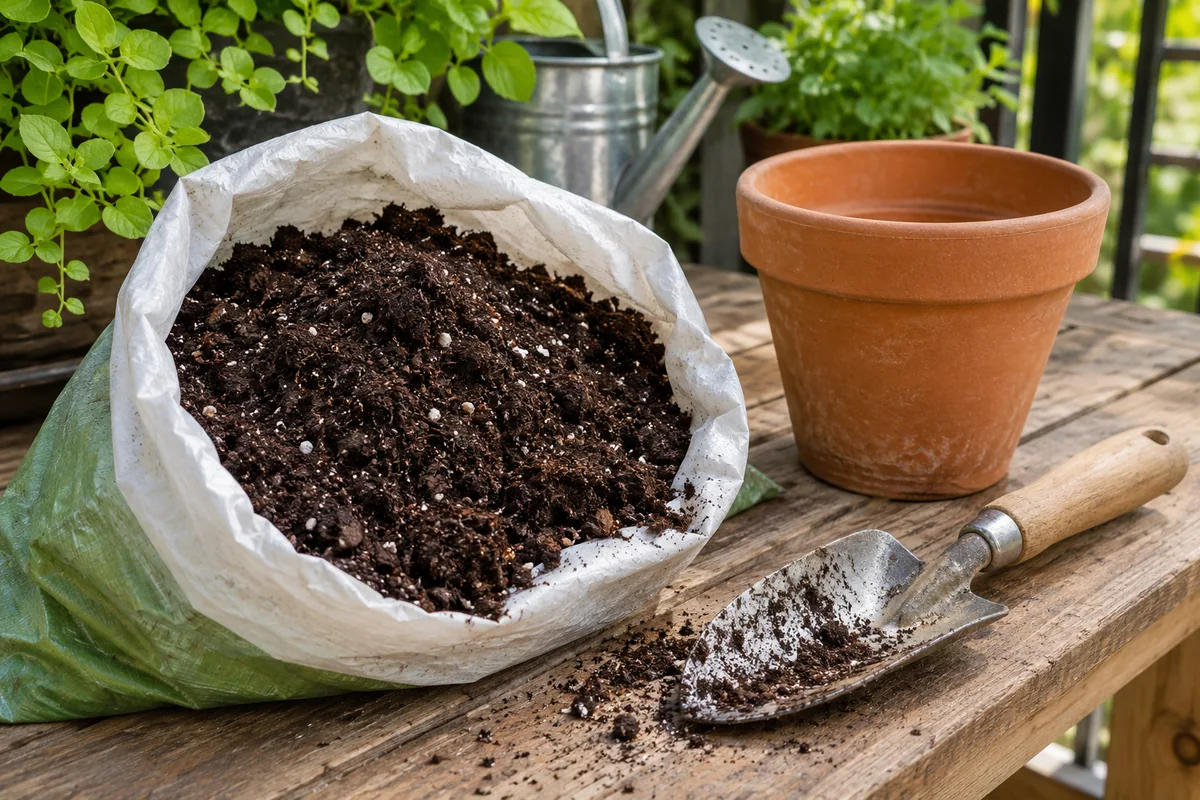
Record the growing mix and any fertilizer already included. Read the bag rather than assuming every product with a similar appearance behaves identically. Keep a photograph of the label with your plant notes so you can refer to it after the bag has been stored or used up.
The growing medium is part of the watering system, not just something that holds the plant upright. For a new planting, choose a suitable container mix based on the plant’s requirements. Avoid changing several amendments in response to one disappointing watering, because it becomes difficult to understand what made a difference.
Use your notes to separate observation from guesswork. Write “mix still feels damp at the next check” instead of “this plant hates water.” The first statement describes something you can investigate; the second may lead you to an unhelpful generalization. NC State Extension’s container gardening handbook provides background on growing media and the factors that affect container care.
3. Check the drainage arrangement before adding water
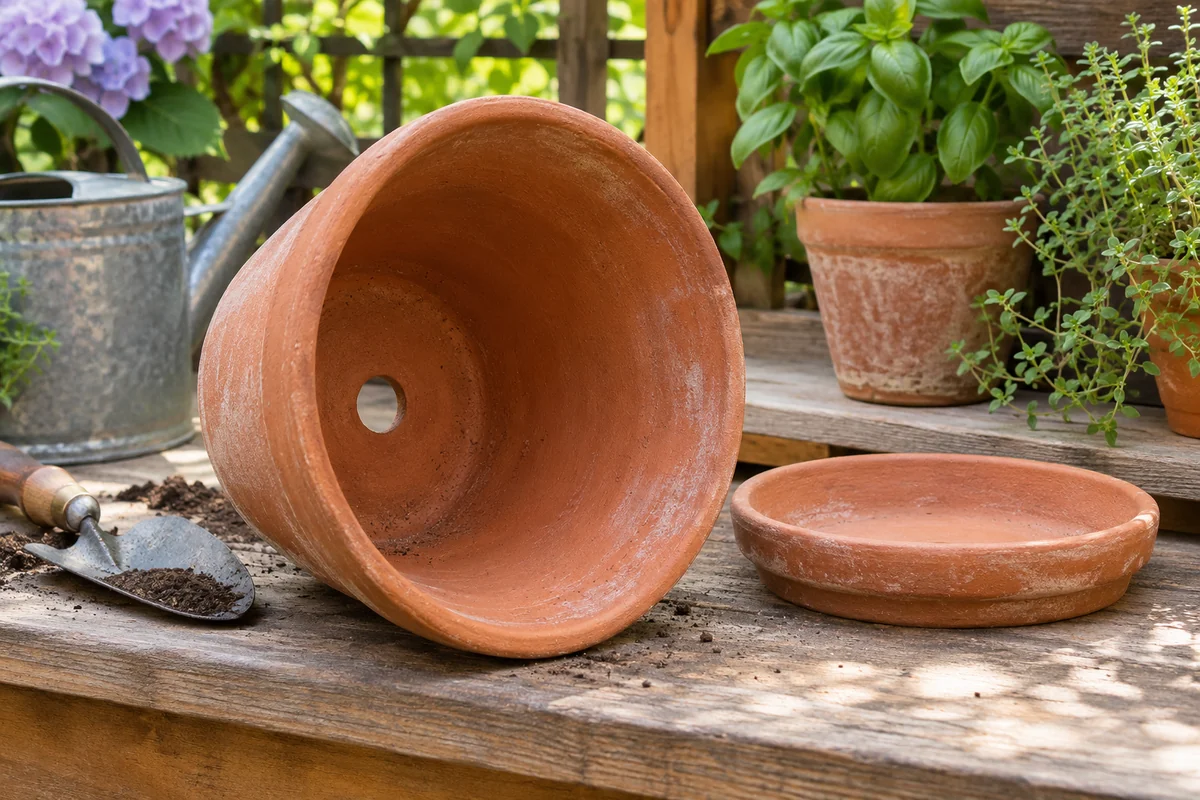
Look at how excess water can leave the planting container. Drainage holes should remain workable, and a decorative outer pot should not conceal a reservoir you never inspect. If a nursery pot sits inside an outer container, make sure you can reach or remove it appropriately and deal with collected water.
Keep the supporting surface in mind. A pot on a plant stand may drain toward another shelf; a balcony container may affect the area below. Protect surfaces using a suitable arrangement and keep building drains clear. Plan the route of water before the first full watering rather than discovering it through a spill.
Do not use a layer of gravel as a substitute for a suitable container and drainage arrangement. University of Maryland Extension explains that adding rocks beneath the mix does not improve drainage and can worsen it. Its container growing guide also discusses managing collected water. Keep the planting system accessible so you can see what happens during watering.
4. Check the root-zone condition before choosing the next action
Begin with the plant’s actual requirements and inspect the mix below the surface where you can do so without damaging roots. A pale, dry-looking top layer can sit above a moist root zone. For manageable lightweight containers, learning the difference between freshly watered and drying weight provides another clue. Do not lift a heavy container merely to copy that method.
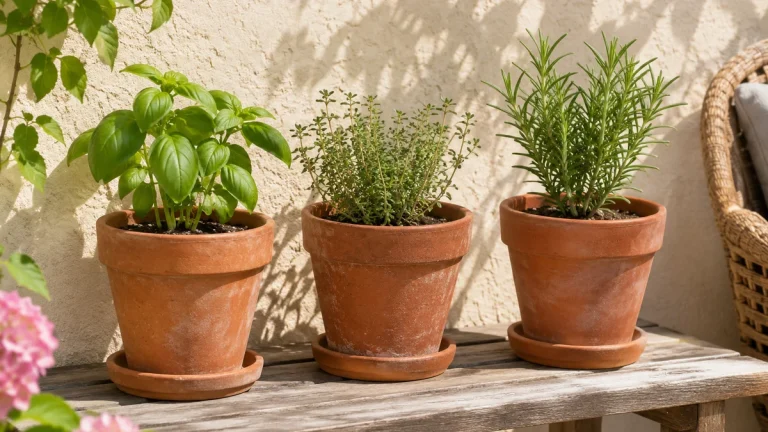
Decide whether the plant needs water from the combined observations. Basil in active growth may need a different interval from thyme in another pot, even when both stand on the same bench. Weather, container material and root growth also change the interval. A daily reminder can prompt a check without prescribing a daily drink.
If the deeper mix remains wet, investigate the drainage arrangement and recent conditions before watering again. If it is approaching the dryness appropriate to the plant, water steadily and observe the result. University of Maryland Extension’s container care guidance explains why checking the medium is more useful than following one fixed calendar. Keep notes until you recognize the behavior of your own containers.
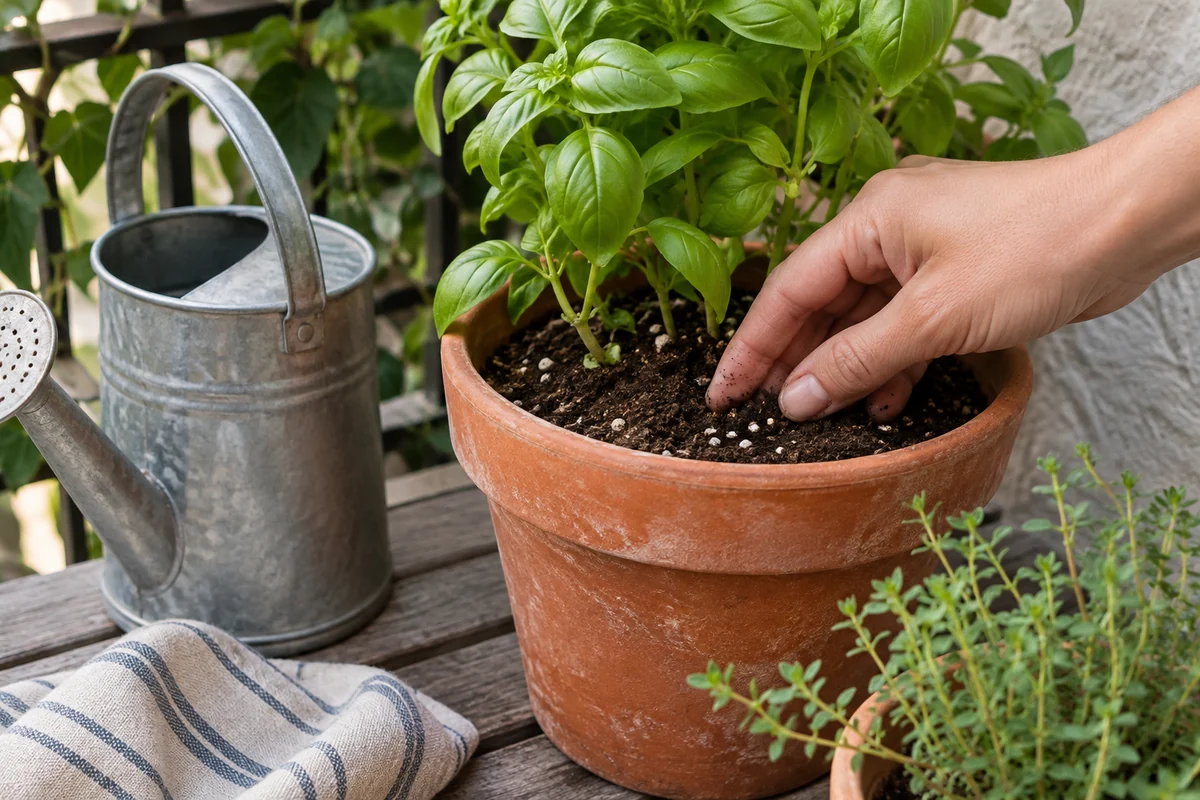
5. Apply water to the mix and follow it through the pot
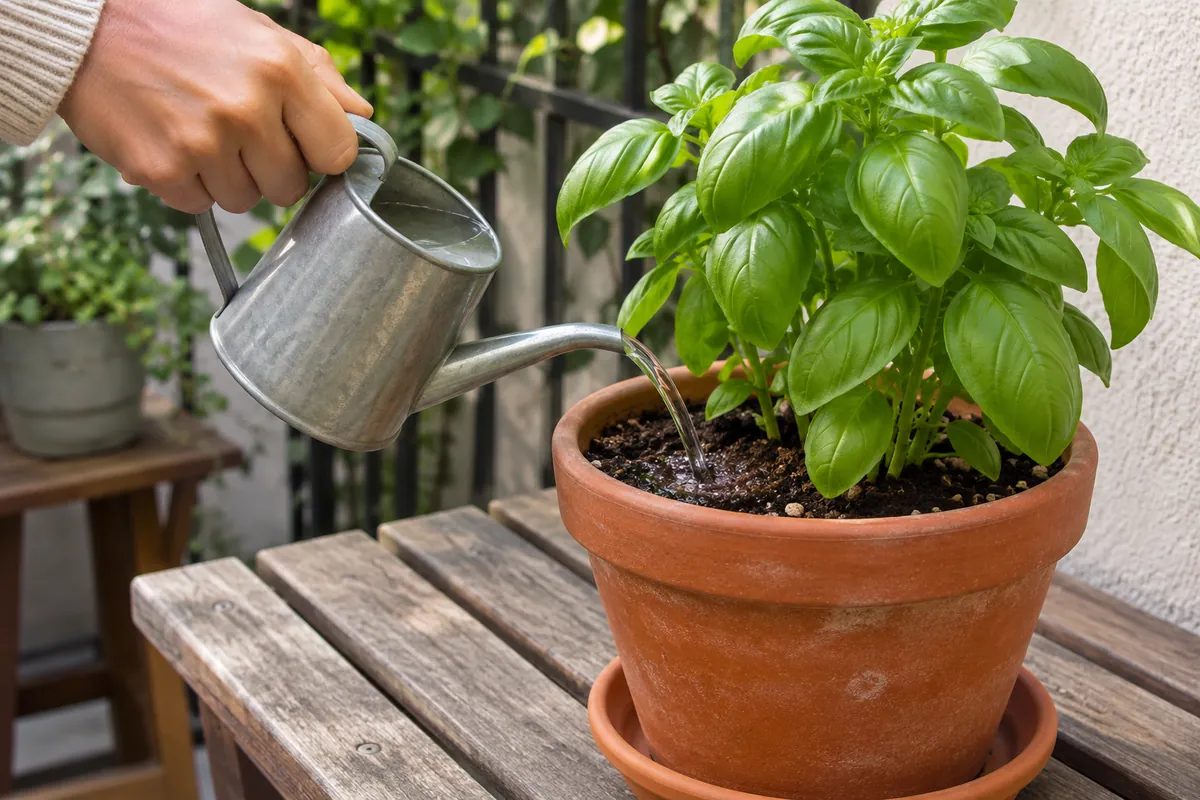
Direct a gentle flow toward the growing medium around the plant, giving it time to soak in rather than pouring rapidly over the foliage. Work around the accessible surface where appropriate so one narrow channel does not receive all the water. Keep the rim clear enough that you can see whether water is soaking in or running away.
For ordinary free-draining containers, the aim is an evenly re-moistened root zone with excess water able to leave. The amount and pace depend on the container and condition; there is no single cup measure that suits every plant in the collection. Specialist systems and self-watering reservoirs need their own product-specific routine.
Watch the runoff in a permitted place, then inspect and empty temporary collecting trays as needed. Do not let drainage become a hidden pool inside an outer pot. The illustration shows controlled watering at the mix, not a fixed dose. University of Minnesota Extension’s watering guidance provides background on maintaining suitable moisture without prolonged waterlogging.
6. Empty collected water and reset the area
Finishing the watering means checking the whole arrangement, not only putting down the can. Inspect saucers or outer containers and deal with collected water appropriately. Do not leave plants sitting in stagnant water. Make sure runoff has not collected where you cannot see it beneath a shelf or behind another pot.
Return the watering can and tools to their storage place. Wipe or address spills using methods suitable for the surface, and keep the route through the patio clear. A simple reset makes the next inspection easier because an old spill or forgotten tray will not be confused with a new problem.
On a balcony, check what happens beyond the container itself. Protect neighbors and maintain access to the building’s existing drainage. Our balcony garden planning guide helps you consider these layout details. A good routine ends with a plant checked, water controlled and the shared outdoor space ready for ordinary use again.
7. Learn why nearby pots dry differently
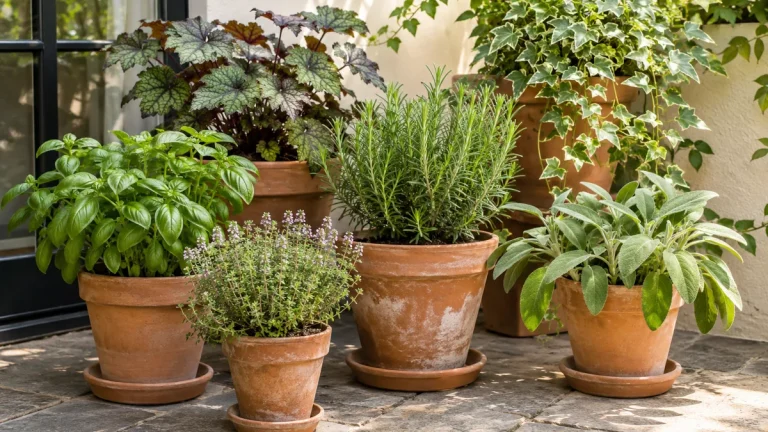
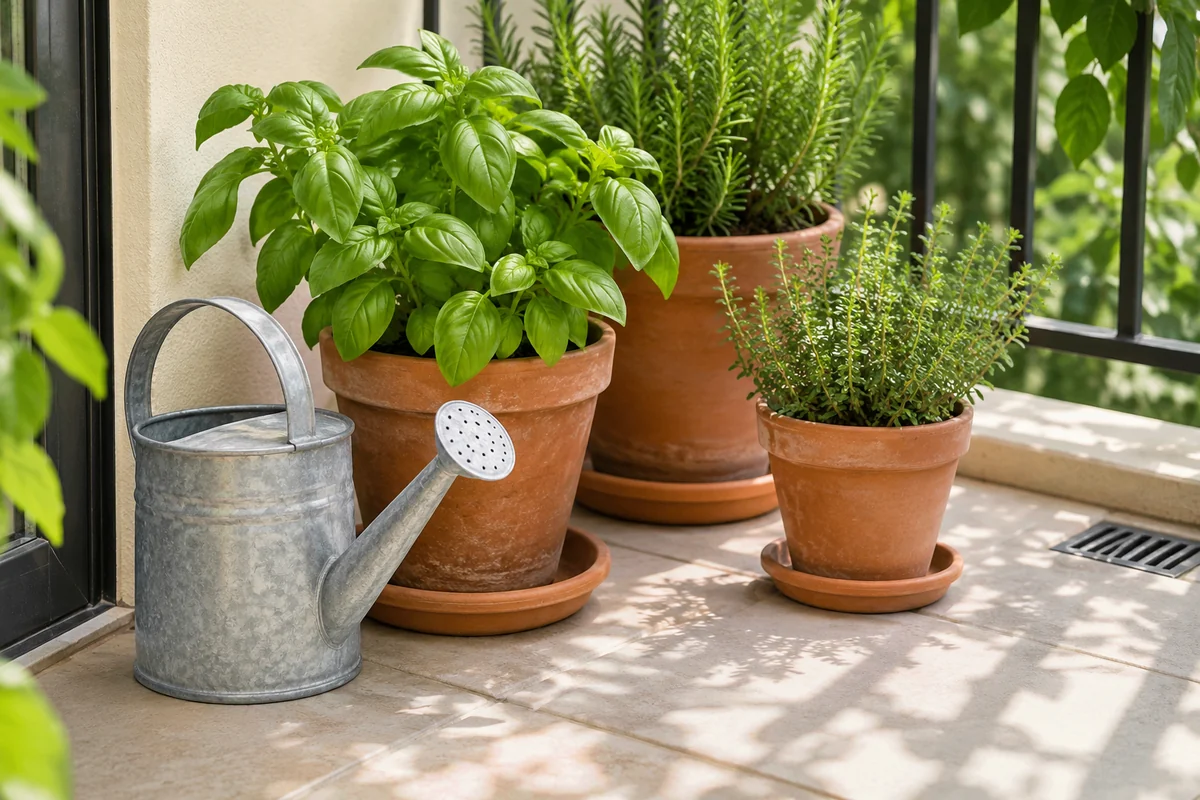
Size, material, plant growth, mix and exposure can all affect how quickly a container dries. A pair of matching pots does not guarantee matching moisture. One may contain a larger plant, sit in stronger wind or receive more reflected heat. Notice these differences before treating an uneven pattern as a mystery.
Compare two pots in your notes without trying to force them onto the same schedule. Record their positions, the plants and what you felt during the check. Over several observations, you may see a useful pattern. Keep the comparison practical rather than turning it into a complicated measurement project.
University of Illinois Extension discusses how container materials and conditions affect watering. Use that background to ask better questions about your own pots. If one container consistently behaves differently, investigate its setup and the plant’s needs. Buying a larger watering can or increasing water for the whole group will not necessarily address the actual cause.
8. Adjust your checks when the weather changes
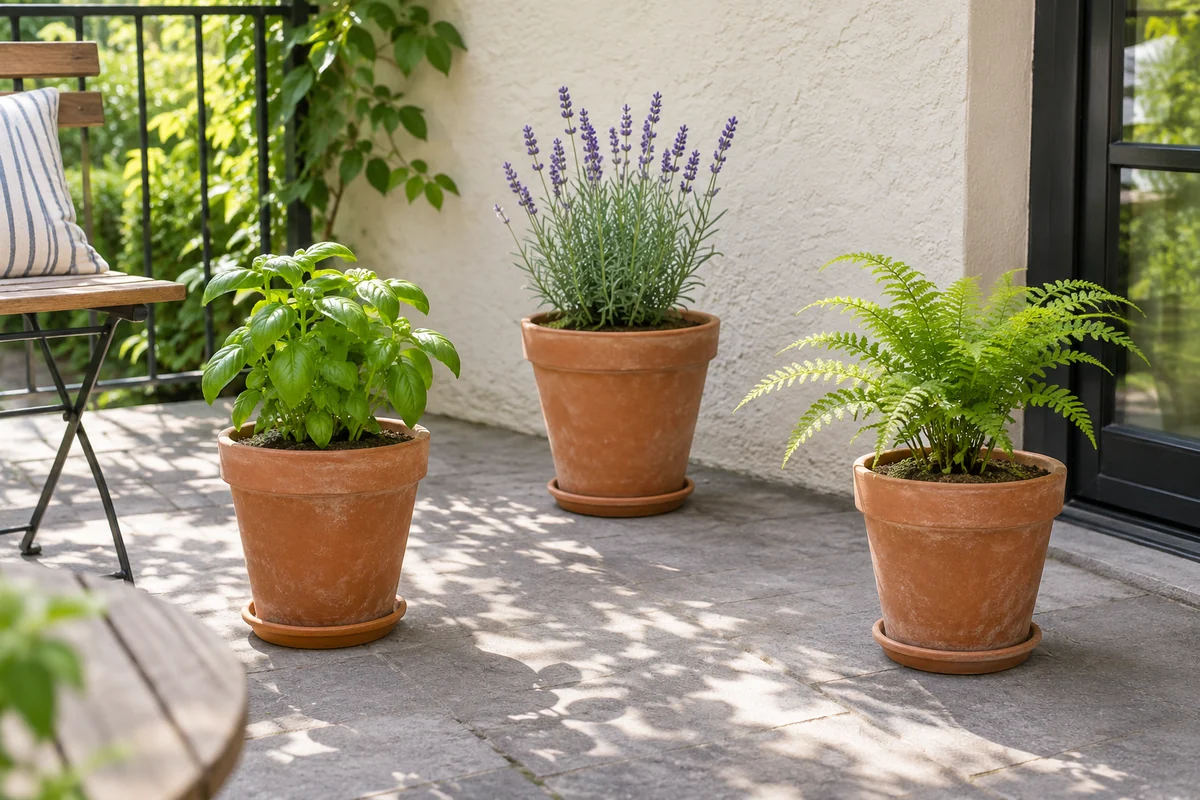
A routine learned during mild weather may need closer observation during a hot, windy period. A sheltered balcony can behave differently from an exposed patio, and rainfall may not reach pots beneath an overhang. Look at the containers themselves after a weather change instead of assuming rain or a cool day settled the question.
Use a simple response: inspect the growing mix more attentively, observe the plant and follow its needs. Avoid changing watering, feeding and location simultaneously unless a clear problem requires it. When several variables change together, your notes become less useful for understanding the result.
Consider whether the position itself is appropriate. University of Illinois guidance on container conditions discusses light, heat and wind. If relocation is appropriate and manageable, follow building rules and safe handling. Do not move heavy wet pots around casually in search of a perfect microclimate. Choose a practical position that supports the plant and the household routine.
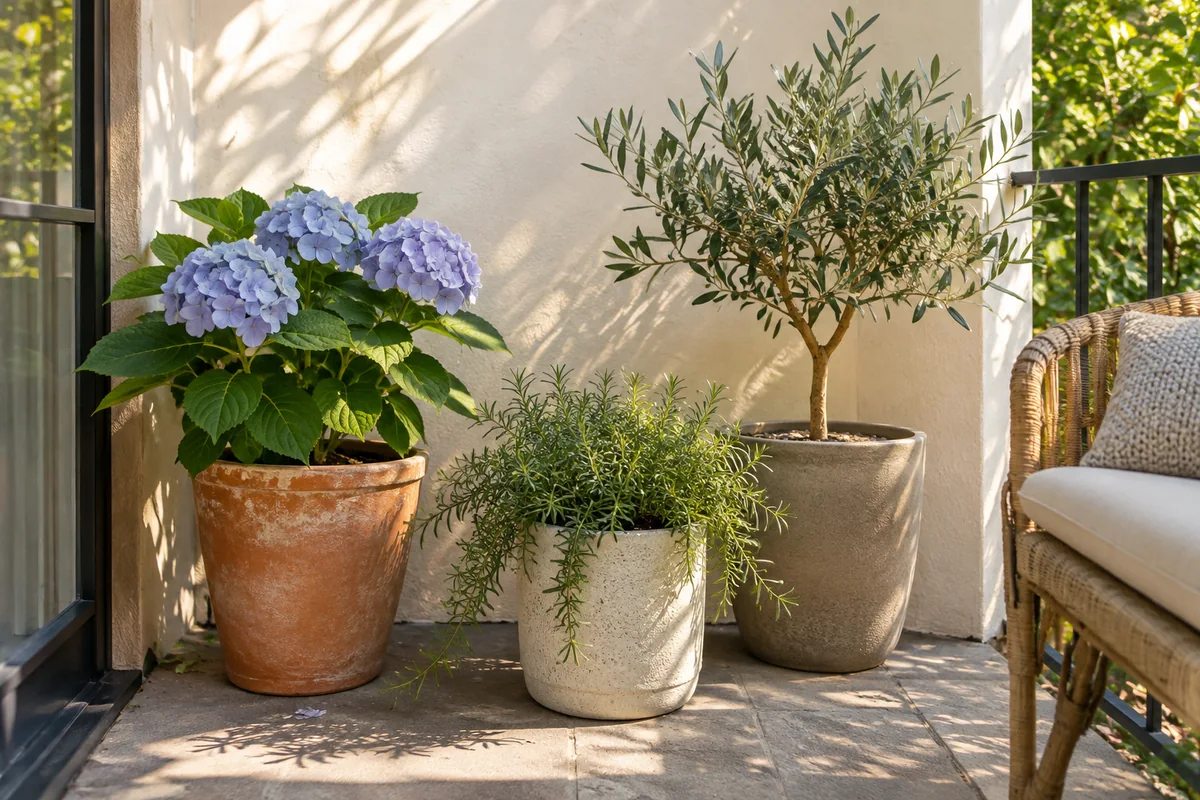
9. Distinguish fast drainage from a dry root ball
Water running immediately from the base does not prove that the root zone has been evenly wetted. Very dry potting mix can repel water, allowing it to travel through gaps or channels. A densely rooted container can behave differently again. Inspect the condition of the mix rather than using the first drip as the only signal to stop.
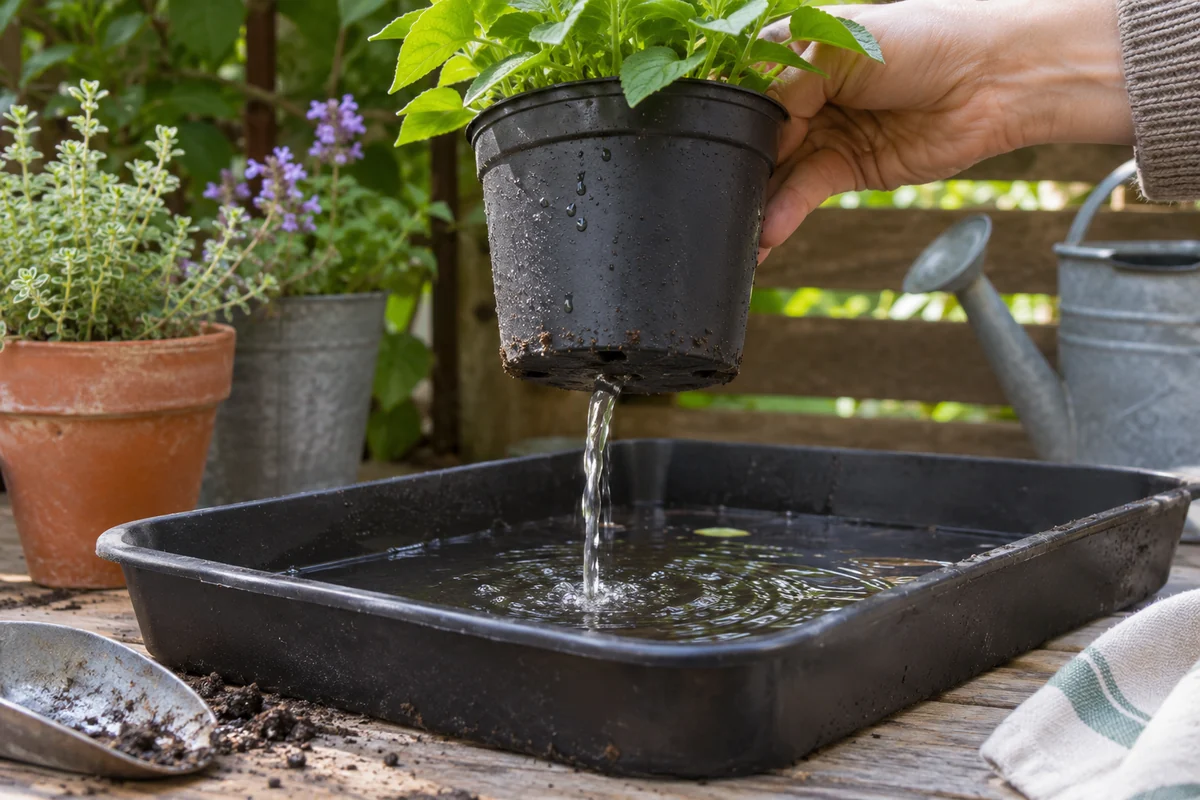
Apply water gradually in manageable passes and check whether the medium begins absorbing it more evenly. Follow the guidance for the actual growing mix and plant. Do not leave an entire collection soaking indefinitely as a general remedy. If a removable nursery pot needs a different rewetting method, use an appropriate supervised setup and let excess water drain afterward.
Review repeated episodes of rapid drying or runoff. Pot size, root density and unsuitable exposure may need attention beyond the immediate watering. University of Maryland Extension’s growing-media guide explains the behavior of container mixes. Record the symptom and change one relevant factor at a time so you can see whether the root zone, rather than just the saucer, has improved.
10. Use a symptom table as an investigation guide
A wilted or yellowing plant needs observation rather than an automatic extra drink. Check the root-zone moisture, light, recent weather and plant identity before changing the routine. The same visible symptom can have several causes, and a photograph alone may not reveal which one applies to your container.
| Observation | Check before acting | Avoid assuming |
|---|---|---|
| Wilting in a warm afternoon | Moisture within the root ball and heat exposure | Every wilted plant is dry |
| Mix staying wet | Drainage, root condition and shelter | A scheduled watering is still necessary |
| Water escaping immediately | Dry channels or a crowded root ball | Fast runoff proves even watering |
| Yellow leaves | Moisture, nutrition, season and plant-specific symptoms | Fertilizer or more water is always the answer |
Write down what you found and what you changed. If the cause remains unclear or symptoms continue, use reliable guidance for the specific plant or contact a local extension service. Our beginner container gardening guide helps you revisit pot and mix choices. A small accurate record makes the next decision more useful than changing water, fertilizer and location together without understanding the original problem.
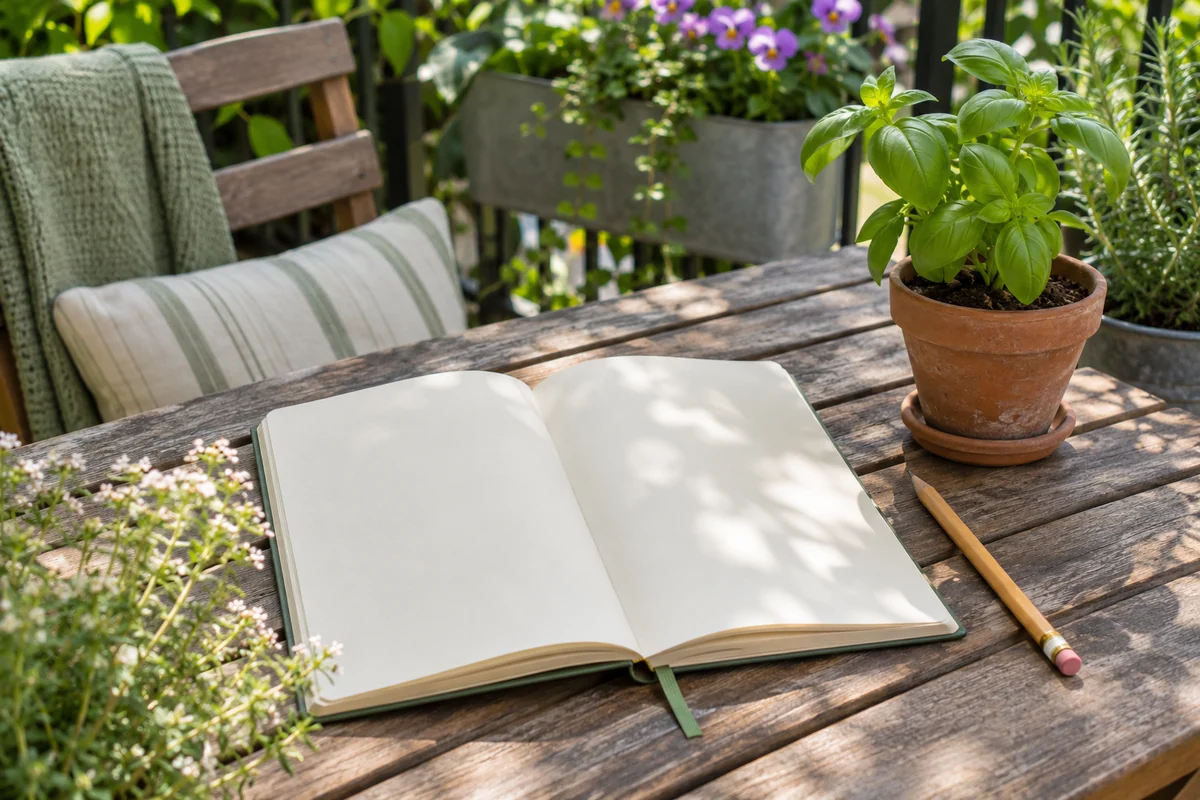
11. Keep feeding decisions separate from watering decisions
Watering and feeding belong in the same care record, but they are different decisions. Check nutrients already present in the mix and follow the fertilizer label for the actual plants. Do not add fertilizer simply because you are already holding a watering can or because a plant looks disappointing.
Write down the product, date and label-directed use when feeding. Store products as instructed, and keep the record accessible to anyone helping with the plants. A shared routine is easier when the second person can see what has already been done rather than guessing from an empty bottle or a damp pot.
University of Minnesota Extension explains how watering and nutrient management interact. Keep the practical takeaway modest: monitor the plant and growing conditions, read labels and avoid automatically adding more. A small collection can be managed with a clear record; it does not need an increasingly elaborate assortment of products to compensate for uncertain observations.
12. Make a short handover plan for time away
Before asking someone to care for the garden, show them the actual pots and the checking routine. Identify each plant clearly and explain where water should drain. A note saying “water everything daily” may be easy to write but can conceal important differences between containers.
Keep the collection accessible and provide a manageable can. Explain which observations should lead them to contact you instead of improvising. Leave product labels and plant-specific instructions available, but do not ask the helper to make unfamiliar feeding or treatment decisions as part of an ordinary watering visit.
After you return, review the notes and the plants before resuming your usual routine. Conditions may have changed during the week. For organizing a group so care remains straightforward, our vertical balcony garden guide covers access and shelf placement. The best watering system is one you can explain clearly because it is based on identifiable plants, visible conditions and a simple sequence of checks.
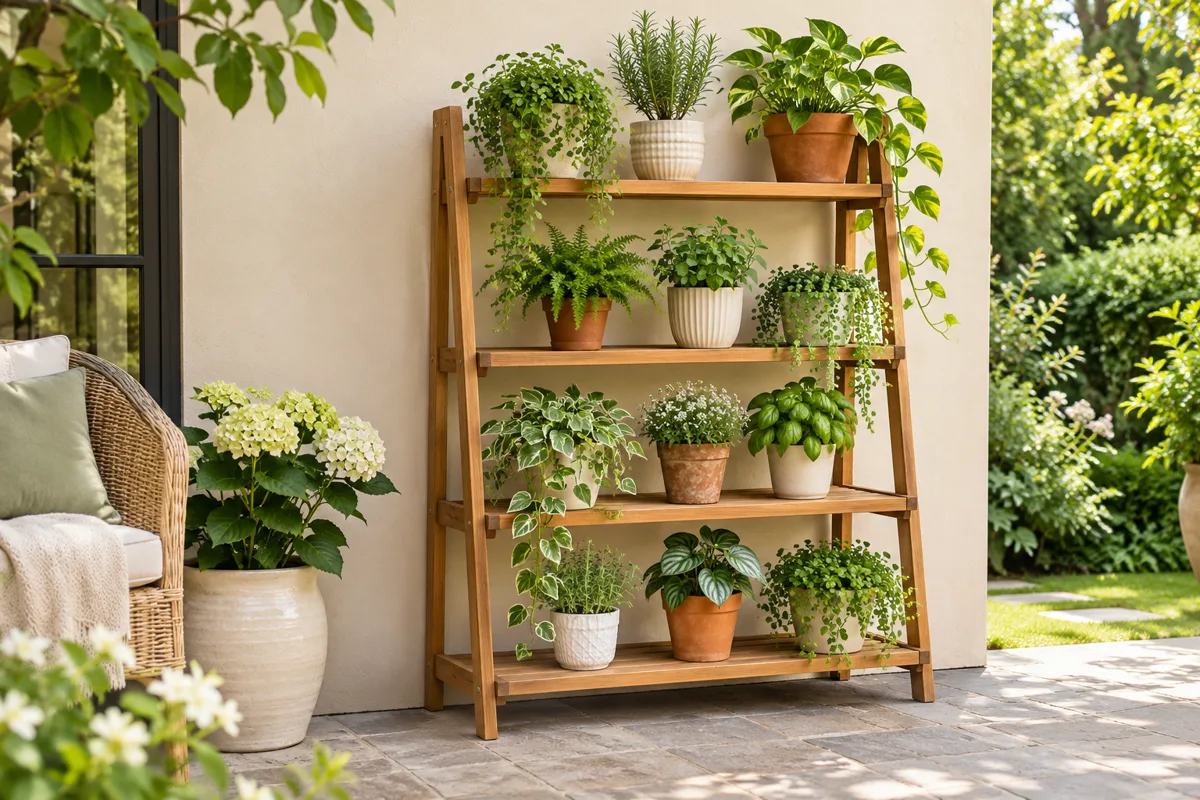
A three-pot example to practise the routine
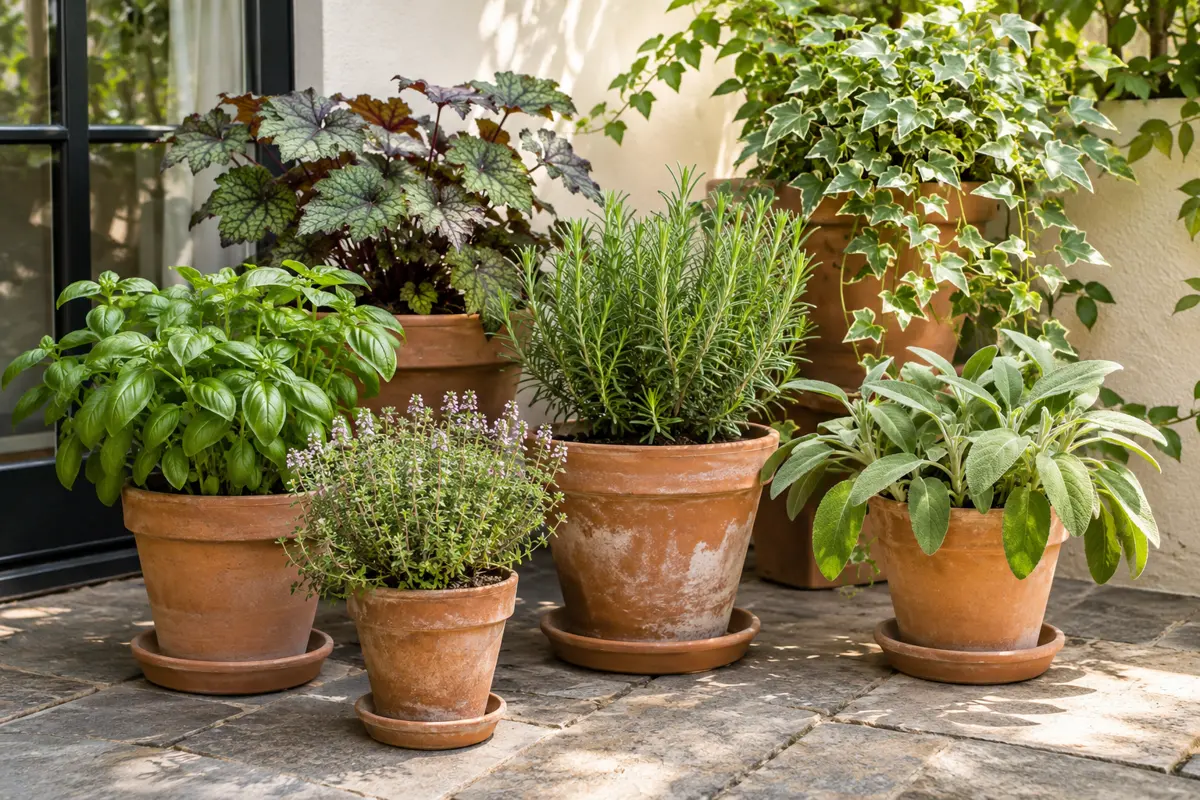
Label three separate containers A, B and C. At the same inspection, record the plant, position and condition of the growing mix in each. Decide individually whether to water, then note the outcome. Repeat during ordinary weather and after a noticeable change. The point is not to produce identical entries; it is to learn why different decisions may be appropriate within one small collection.
Does checking every day mean watering every day?
No. Checking is observation. Water only when the plant and growing mix indicate it is appropriate. Frequency changes with the setup and conditions.
Can I judge from the saucer alone?
No. Inspect the mix and drainage arrangement as well. Collected water does not reliably describe moisture throughout the root area, and it should not be left stagnant beneath the plant.
Continue planning your small outdoor space
For a related part of your setup, explore how to arrange plants on a tiered stand. You can also use our balcony plant arrangement ideas guide to connect the next decision with the space and routine you already have.
Save this guide for later
Save one of these Pinterest-style designs for your next planning session. All article images are design illustrations.